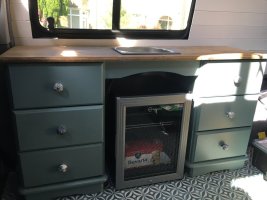
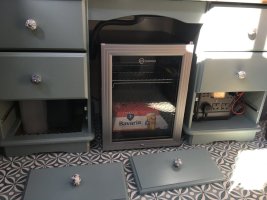
Ok well I put my Bi-fold bed plan into action and unfortunately it didn't work because the angles were wrong. Which meant I had to reorder some new parts and send some other ones back for a refund. Sigh.
Second time around -
This is what I did, in case anyone else is thinking of converting a Westdubs installed bed board into a bifold bed:
New equipment I needed to buy (total cost around £55):
2x gas struts 100N 66cm total length with eyelets
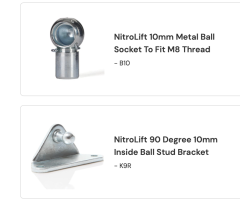
2 x brackets I got these from SGS, as part of a larger order but I had to return incorrect parts (see picture below)
2 x10mm Metal Ball Socket To Fit M6 Thread (not M8) (I actually already had these from a broken gas strut)
This is what I did:
1) remove exiting gas struts and brackets
2) Saw the board into two pieces - the short one 38cm long - (this length may not be optimum, but was determined by gas strut length.)
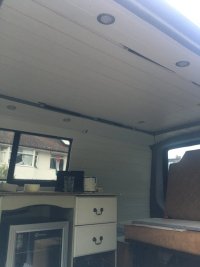
2.5) I decorated the boards (faux wood panelling)
3) fix 2 x door hinges
4) screwed brackets into shorter board
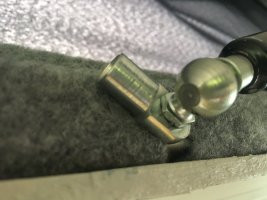
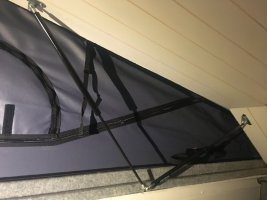
5) refitted gas struts using existing fitting on frame, now pointing the other direction. And cunningly also using the same fixing post to hold the eyelet for the other gas struts for lifting driver end of the board.
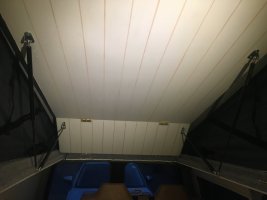
6) put in bigger board,
7) attach hinges
8) prop up bigger board in correct LIFTED position (taking care to allow space for mattress)
9) mark out position for news struts bracket
10) fix in new gas stuts
Phew.
It sort of works. Problem is the opening and closing action is now quite complicated and not intuitive as previously. I need to fit some handles at the "top" end of the short board so that I am not petrified of trapping my fingers when I pull down the board. Also, the 100N struts are not very powerful, I can't decide yet if I think that's good or bed - they basically hold the weight of the board plus matress in a fixed position (ie not going up or down).
And just in case anyone is wondering, my original plan was to have a solid rod in place of the forward gas struts, but due to the fixing point, the rod would have had to be longer than possible on the bed board. I guess it might have worked on an LWB, or if I have put in a new fixing point towards the rear, but that was what I was trying to avoid, so a second pair of gas struts was my compromise.
Second time around -
This is what I did, in case anyone else is thinking of converting a Westdubs installed bed board into a bifold bed:
New equipment I needed to buy (total cost around £55):
2x gas struts 100N 66cm total length with eyelets
2 x brackets I got these from SGS, as part of a larger order but I had to return incorrect parts (see picture below)
2 x10mm Metal Ball Socket To Fit M6 Thread (not M8) (I actually already had these from a broken gas strut)

This is what I did:
1) remove exiting gas struts and brackets
2) Saw the board into two pieces - the short one 38cm long - (this length may not be optimum, but was determined by gas strut length.)
2.5) I decorated the boards (faux wood panelling)
3) fix 2 x door hinges
4) screwed brackets into shorter board
5) refitted gas struts using existing fitting on frame, now pointing the other direction. And cunningly also using the same fixing post to hold the eyelet for the other gas struts for lifting driver end of the board.
6) put in bigger board,
7) attach hinges
8) prop up bigger board in correct LIFTED position (taking care to allow space for mattress)
9) mark out position for news struts bracket
10) fix in new gas stuts
Phew.
It sort of works. Problem is the opening and closing action is now quite complicated and not intuitive as previously. I need to fit some handles at the "top" end of the short board so that I am not petrified of trapping my fingers when I pull down the board. Also, the 100N struts are not very powerful, I can't decide yet if I think that's good or bed - they basically hold the weight of the board plus matress in a fixed position (ie not going up or down).
And just in case anyone is wondering, my original plan was to have a solid rod in place of the forward gas struts, but due to the fixing point, the rod would have had to be longer than possible on the bed board. I guess it might have worked on an LWB, or if I have put in a new fixing point towards the rear, but that was what I was trying to avoid, so a second pair of gas struts was my compromise.


