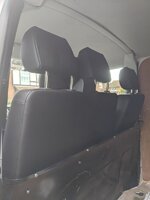
Picked my van up a few weeks ago & it came with a full, factory fitted bulkhead. I decided I wanted to remove the top half, but for the time being, leave the lower section in place, although I may trim it down in height so that I can get full adjustment of my driver's seat, (the bulkhead restricts full rearwards movement of the drivers seat, which for taller drivers is a bit of a pain).
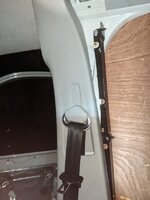
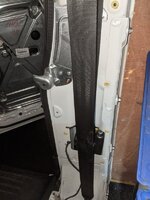
I had a quick go before Christmas by removing the visible 10mm nuts in the load area, but the top refused to budge & I suspected there must be more nuts above the headliner somewhere even though a mate had told me there weren't any above the headliner. So, I left it for another day when I had a bit more time & had had chance to make some investigations before I damaged something.
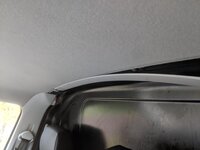
Anyway, turns out there are four Torx 30 screws located above the thin plastic roof trim in the cab area. Once I'd worked out, via YouTube !! where the plastic clips were that hold the plastic trim in place I used a tool I have to prise the trim off. With that trim off the four Torx 30 screws are visible & easily removed. With them out the top half of the bulkhead comes out very easily !!
For anybody doing this job the following pictures will be of help I hope.
It's best to start in the middle of this trim strip as it gives you some wiggle room to get the ends of the trim past the B-pillar trim once you get it free.
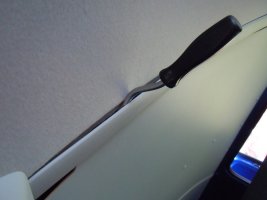
Ideally, if you can locate the four plastic pegs you can insert a similar tool either side of the peg, which avoids breaking the pegs especially in cold weather !
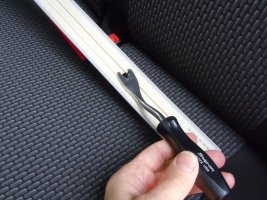
With the plastic trim strip off, you can see three of the four Torx 30 screws that secure the top of the bulkhead in place. The small black washers next to each Torx screw are where the plastic roof trim clips locate.
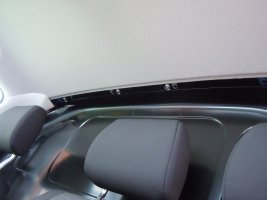
Top half of the bulkhead is now out & ready for the tip.
