Thank you!Could you not raise the frame up so it sits over the top of the wheelarch? Great work you have done so far!!
The height of the bed clears the arch, it’s the sides of it that need modifying.
Thank you!Could you not raise the frame up so it sits over the top of the wheelarch? Great work you have done so far!!
Thank you - that’s what I was hoping to be able to use the holes already thereLooks great and the difference in floorboards is barely noticeable.
You can put rivnuts in some of those holes along the drivers side and attach your furniture directly to them with bolts or put eye bolts and you can use straps.
It might have to be.Was thinking L brackets into the floor?
Yes, a batten would also work. I’ll have a look about where the best placement would be.It might have to be.
I fixed our Ply Guys using M6 threaded inserts in the floor and then bolting down to those. But I see your kit doesn't have a flat base floor piece so it'll have to be some kind of 90 degree fix.
Could you add a batten along an edge to give something to screw down through?
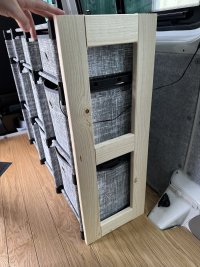
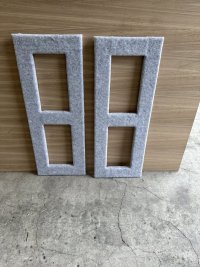
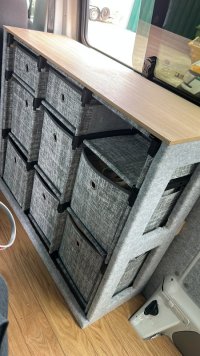
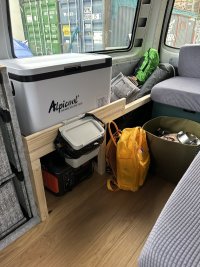
That bin is from ikea - £3.50! And also a matching dustpan & brush for £1.50Late to this thread but I love it. I need a bin, now that I’ve seen yours.
Ordered! Thank you.That bin is from ikea - £3.50! And also a matching dustpan & brush for £1.50

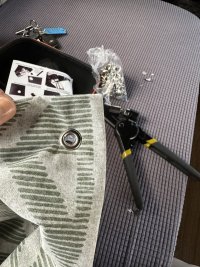
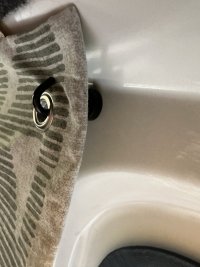
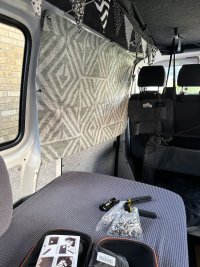
What a great idea! We got our first van for conversion yesterday and I've been reading all your posts.Got a new gadget for my “curtains” for the sliding windows. The tool makes eyelets.
And also got some magnetic hooks to hang the curtains
View attachment 210520
View attachment 210521
View attachment 210522
I didn’t want the curtains permanently on show so this way they can be folded away when not being used.
Really get the most of the light coming in the windows and the view out without the typical curtains blocking half of it
That’s awesome, make sure you share some pics of your van!What a great idea! We got our first van for conversion yesterday and I've been reading all your posts.
Wow thank you so muchLate to this thread but how amazing does your van look?! Must be very satisfying knowing you’ve done that yourself - which I had half your skills (and patience!). Thank you for sharing.
