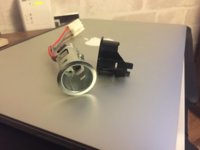
If you are running cooling pipes then you need to follow these next steps for plumbing in pipe works.
Remove the radio trim surround which also includes the two vents. Start at the top left corner and work your way accross. Once the top edge is lose then do the bottom.
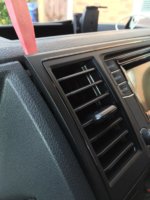
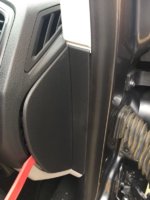
Then remove the vent on the left side. Start with a trim removal tool at the bottom and firmly press the vent upward. I found you have to leave a trim tool in the lower edge while then prying the top edge out. The vents are really tight if they've not been removed before.
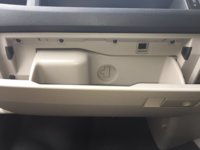
Then remove the top console: there is one screw which is accessed front the glovebox.
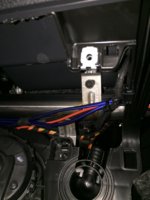
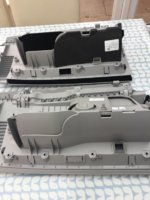
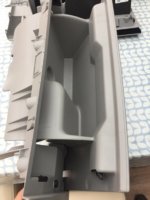
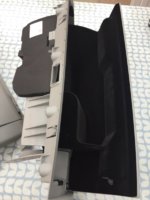
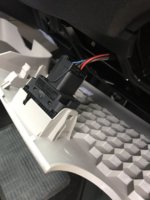
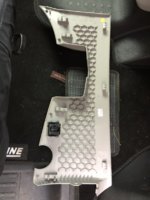
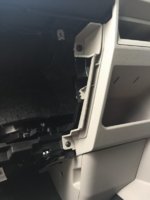
To remove the top console, you need more than trim tool. It takes a lot of effort and you have to firmly leverage the unit out as the clips aren't really designed for being removed. I started along the right side first, then moved accross the top right side to left. I spent about 30min removing this. I've posted the image of the compartment removed so you can see where the clips are.
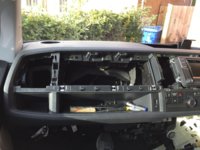
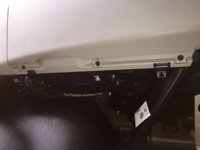
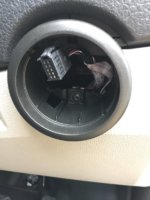
To locate the grommit for connecting the t-piece you need to feel in the top right corner. You have to run your hand over the back plastic unit and as you move you hand over the right edge of the box you can feel the grommet
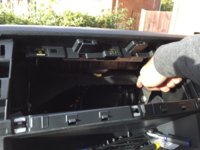
To remove the grommet, with you right hand wedge the angled trim tool under the grommet (use your left hand to help line the trim tool up) it should pop off)
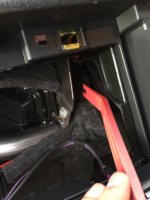
The pipe kit you get isn't long enough to reach both the glovebox and the bottle cooler. It's fine if you only do one or the other, but the short hose is too short to reach the glovebox or the bottle cooler.
I needed to connect both the glovebox and bottle cooler, so basically what I did was add a small piece of hydraulic hose into the short pipe
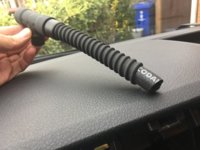
I then connected up the T piece and routed the long pipe from where the grommet is down to the centre console (behind the re-enforcement bar)
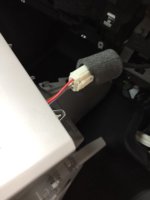
The pipe is plenty long enough so I cut some off the end leaving just enough to reach the plastic pipe connector: below shows how to mount the plastic pipe kit. Attach the hose before mounting the plastic fitting.
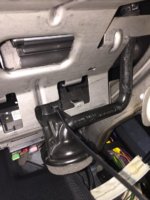
The piece I cut off, I then used by connecting it to the short hose which now has the small piece of hydraulic pipe in it. Below is the result.
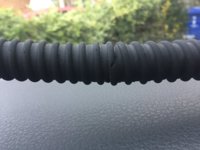
Finally, connect the hose to the glovebox cooler fitting.
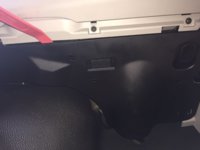
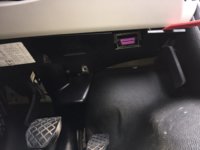
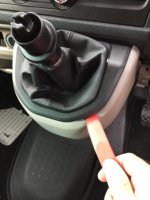
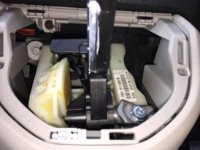
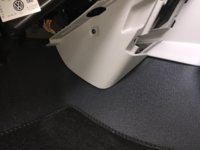
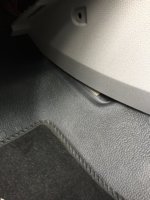
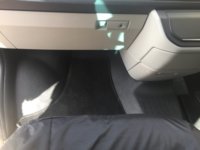
To fit the centre console, you need to trim the black plastic cover that's fitted over the floor which protest the wiring / gear shift components. In total I trimmed about 3 inches of the left edge down to about 2 inches accross the front left edge.
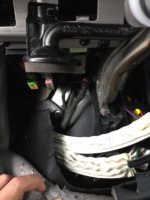
I had to putt a couple small cuts into the rubber flooring to enable the lower edge to fit nicely. Screw in the hex screw to the right of the dues holder and the 3x screws on the left (and 2 on the right side no pic sorry)
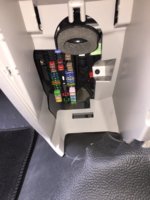
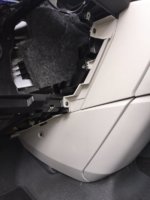
The screw in the 2 screws above the black plastic tray and another 2 accross the top edge of the console
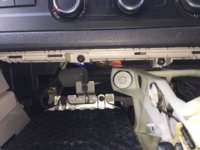
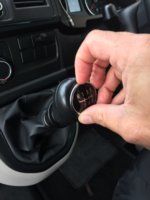
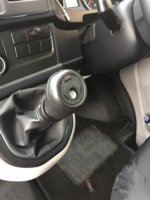
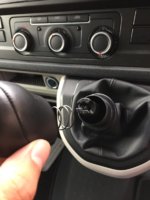
I clip the gear 'gaitor' by releasing the 3 clips. Tip, undo the top one first before the sides.
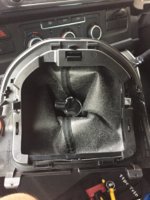
Then reinstall the gaitor onto the new top panel. Do so before mounting the panel as it requires quite a firm push to click in the clips.
Clip the top panel by starting at the top edge first then the bottom.
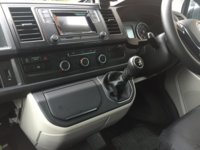
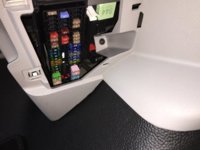
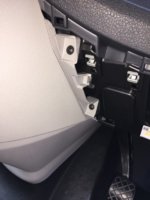
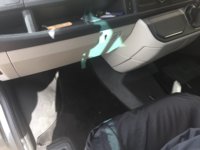
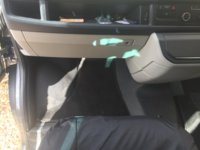
Then, refit the glovebox, lower dash trims, light switch holder and switches.
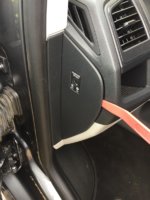
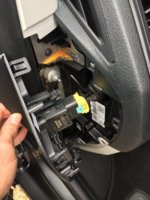
Refit the side panels (don't forget to plug in the airbag switch) and reinstall the two footwell panels.
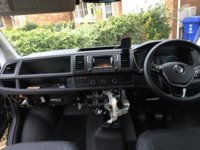
Hopefully, you now have something like this.
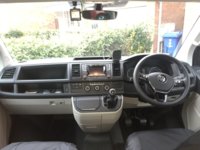




 does the van feel any quieter on the road with the extra sound deadening that these parts have compared to the older trims? Think I would leave that small gap as it is, really got to look for it.