T6 LWB White (for now) Camper Build

HotandCold

Senior Member
T6 Guru
This is my second camper build, I did a T4 conversion a few years ago and really enjoyed it, both the build and the camping.
So on to number 2...
Details keep changing as ideas come and go, but basics are a full camper with rear kitchen, side mounted, slide out bed (not travelling seats) behind the drivers seat.
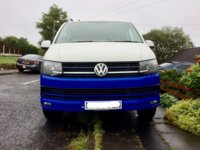
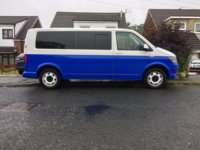
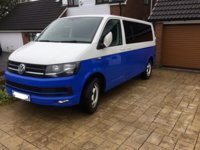
I'm planning a bit of a retro look...
IMG_0296.JPG

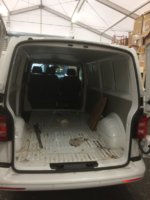
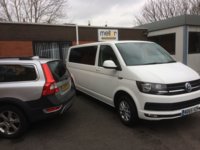
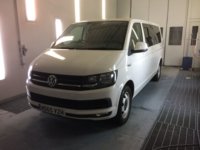
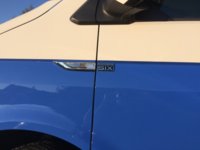
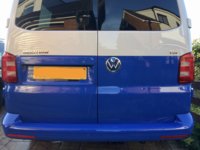
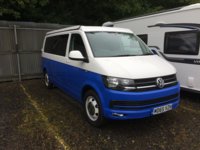
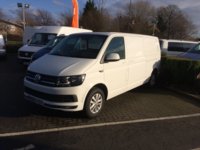
This is the starting point, candy white highline panel van, 102 manual, long wheelbase 12 months old and 8000 miles. I have ordered a SCA rear lift roof, it's a long lead time, so I have been doing the windows and lining while waiting for the roof.
 
First job, remove ply lining and bulkhead

IMG_0301.JPG

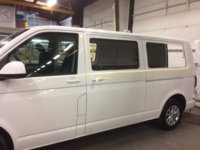
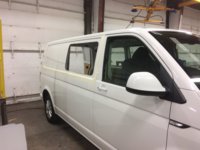
Then onto the windows


IMG_0303.JPG


IMG_0304.JPG
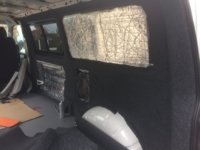
I decided on a dummy window on the offside rear quarter as there will be full height cupboards behind there.
IMG_0312.JPG

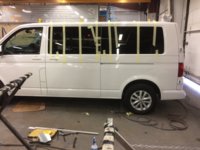
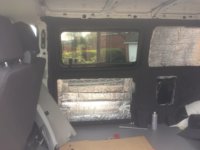
I went for Kiravans glass, privacy tint with sliders on the sliding doors and opposite, I'm very happy with the quality and fit and no leaks from the sliders!

IMG_0316.JPG

This was all within the first 24 hours of the van being delivered! I had a chance to use the workshop of one of my customers, so made the most of it.
 
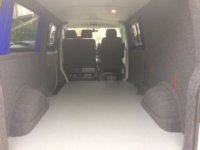
I don't have many pictures of this stage, the ply floor and Altro is in and the carpet lining and insulation is in progress

IMG_0328.JPG

IMG_0330.JPG
IMG_0414.JPG

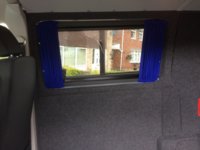
I have used window trims from Vehicle Glass Company to finish the inner steel edges and curtains from Veedub transporters, very happy with the quality and fit. I did consider vanshades blinds, but wasn't sure about how they would work with the sliders. The panels aren't fully fitted in the picture here, I have left them loose to get the wiring behind.
In the sliding door, I have fitted the loc8 table from I camper solutions.
IMG_0409.JPG
 
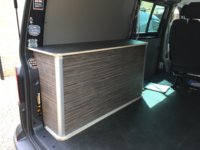
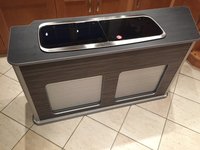
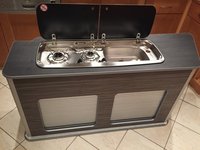
The pod looks good, I will be doing similar, with units on both sides, I haven't managed to do much in the last couple of weeks, been busy with work, but I have been ordering parts for electrics, water and heating systems and managed a weekend camping in Wales with an airbed in the back and tried out the new awning. We had a great time, managed to catch the good weather!
 
Great work, looks like you have more to do in the communing weeks. Be good when it's finished
 
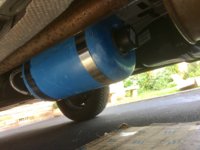
I managed to get some time for the van at the weekend, made a start on fitting the heater and the hot water systems. The fresh water tank is the 38 litre CAK tank that fits in front of the spare wheel,

IMG_0541.JPG
The blue cylinder is the calorifier which uses engine heat, the Eberspacher or a mains immersion heater to produce hot water.

IMG_0539.JPG


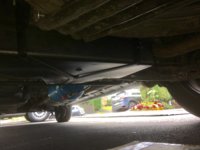
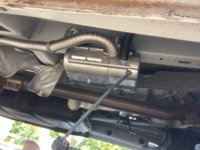
This is the hydronic heater, 5 Kw, it sits nicely under the van below the drivers seat area and protected by the undertray.
IMG_0509.JPG
 
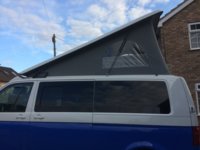
The van has been away for two weeks having the roof fitted, its been a long wait since I paid the deposit, 7 months! But the long wheelbase rear lift roof is a factory order, when I placed the order, I was quoted 12 weeks and it's been a real test of my patience. The wait has been worthwhile because the build quality of the roof and the standard of the fitting are first class and well worth the (considerable) cost.

IMG_0635.JPG IMG_0617.JPG
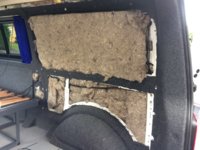
So now the build can get going properly, I have decided to change the insulation to sheep's wool. The converter who did my roof uses this on all their campers, it costs a bit, but as well as thermal insulation, it absorbs water vapour from the air and releases it again when the temperature rises, helping to reduce condensation overnight.


IMG_0615.JPG
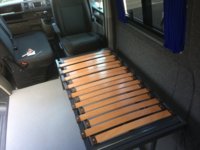
My side mount bed also arrived and after a lot of careful measuring, is now in place

IMG_0619.JPG
 
looking good
We have that roof on our LWB and are very happy with it.
Have the roof bed also and so far we are both able to clamber up relatively easily!!
Duvalay topper arriving tomorrow so hope it fits!?
 
The van has been away for two weeks having the roof fitted, its been a long wait since I paid the deposit, 7 months! But the long wheelbase rear lift roof is a factory order, when I placed the order, I was quoted 12 weeks and it's been a real test of my patience. The wait has been worthwhile because the build quality of the roof and the standard of the fitting are first class and well worth the (considerable) cost.

View attachment 13222 View attachment 13221
So now the build can get going properly, I have decided to change the insulation to sheep's wool. The converter who did my roof uses this on all their campers, it costs a bit, but as well as thermal insulation, it absorbs water vapour from the air and releases it again when the temperature rises, helping to reduce condensation overnight.


View attachment 13220
My side mount bed also arrived and after a lot of careful measuring, is now in place

View attachment 13219
Looks like a great start there @HotandCold. Have only seen a couple of vans with the rear opening roof, most are front facing. What benefits/ disadvantages do you know of, that made you have it mounted that way around?
 
Looks like a great start there @HotandCold. Have only seen a couple of vans with the rear opening roof, most are front facing. What benefits/ disadvantages do you know of, that made you have it mounted that way around?

We have the kitchen pod set up at the rear of the van and with the tailgate option it affords the height to jump in and out of the rear of the van.
 
Back
Top