So I figured out that I'd like to keep track of this as I go along. It's not a full build thread which I will probably tag this into.
However I decided when I paid out last year to do a freshen up of my electric install.
When I initially did the van last year I ran out of time and the most important bit in my eyes was a bit rushed.
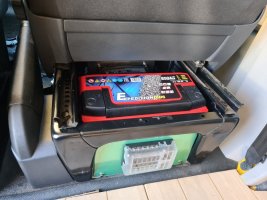
So anyway I started out with this....
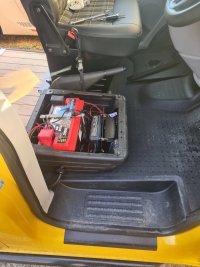
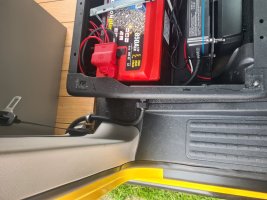


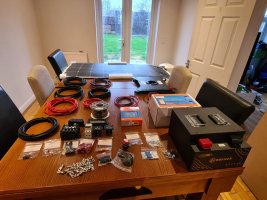
So equipment brought the obligatory photo of stuff taking up loads of room is needed.
Equipment list for install:
Roamer 230ah seat base battery
Ctek 250se
Victron ip65 smart charger
Victron 75/15 smart solar controller
Renogy 175w solar panel
Victron inverter
Fused distribution
Earth bus bar
isolated
Anderson connectors
About £150 of various fuses connectors cables and other general goodness.
Obviously I like a bit of a challenge and I wanted to keep as much of this in the seat base as physically possible.
A compromise was made.and I decided to move the 12v fuse box for the lights etc away from under the seat to a new location.
A quick sketch was made of the wiring layout (I'm yet to cad this out)
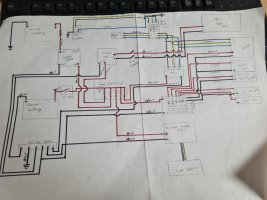
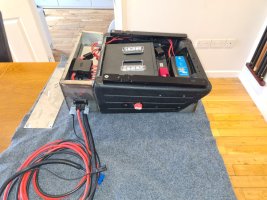
One of my main aims for this was to make it an almost drop in drop out style seat base. A few Anderson connectors and the seat base bolts and you can almost entirely remove the system from the front of the van. It's a heavy beast with the roamer battery still in that's for sure.
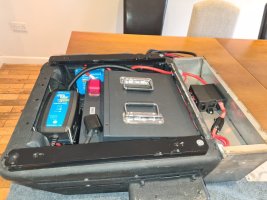
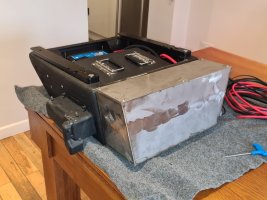
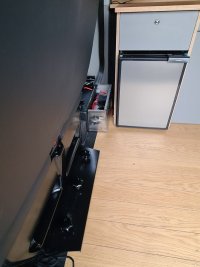
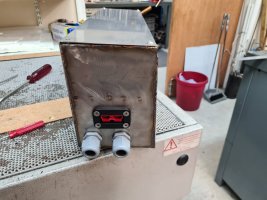
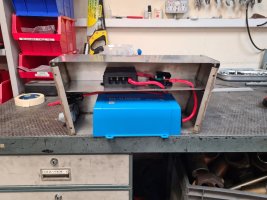
Easiest way I saw of gaining enough real estate was to make an add on for the rear of the seat base.
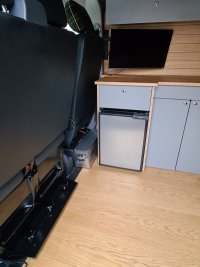
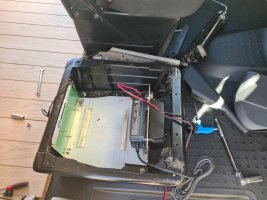
With a kitchen layout there's a good 12cm of wasted space between that and the seat.
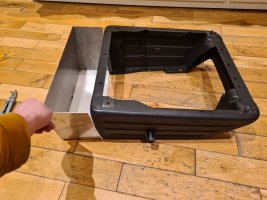
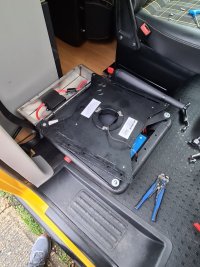
With it looking like it would just about work I knocked up an under seat base tray.
The old one donated to a local club member.
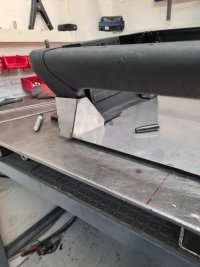
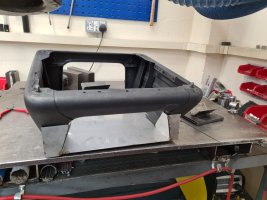
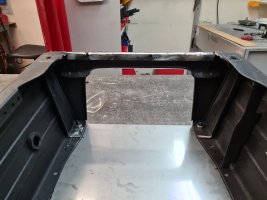
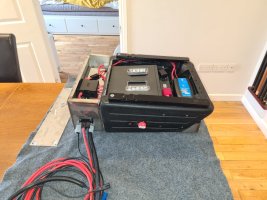
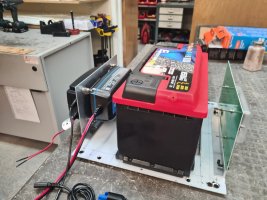
Then all laid out to get a rough idea....
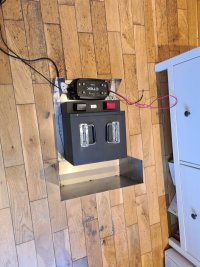
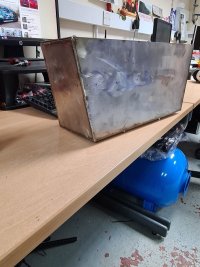
Little bit of the metal fab for anyone interested.
Disclaimer I'm not a trained welder or fabricator. I just make this stuff up as I go along. Sure a pro would do it much better.
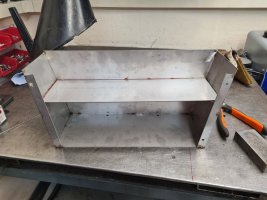
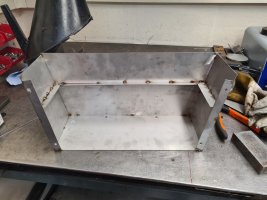
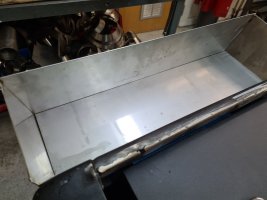
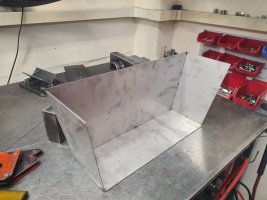
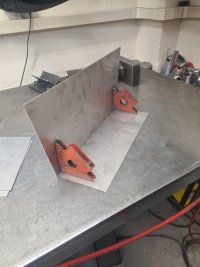
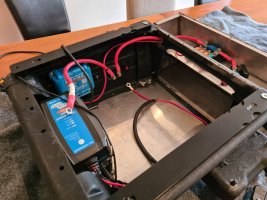
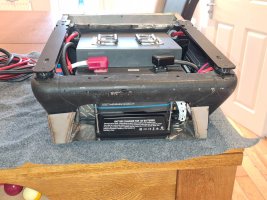
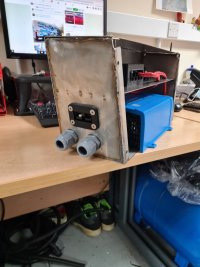
With the undertray and rear extension box made it was time to play see how it all fits......
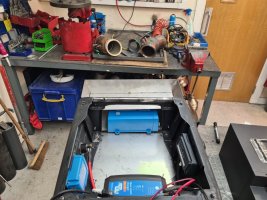
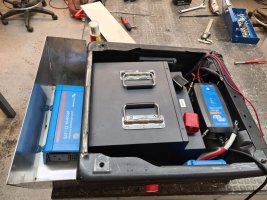
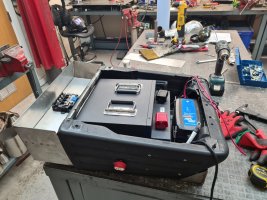
Actual answer to that is not to badly. The Eagle eyed amongst you may note some slight modifications made.
These were needed to make the battery a bit easier to remove.
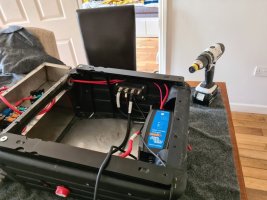
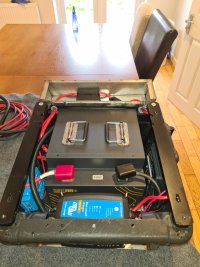
Few wires made up and checking the clearance for the seat swivel....
Last picture actually shows quite well how the wasted space is used.
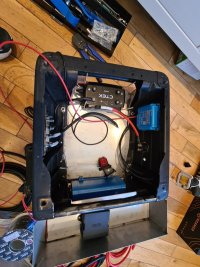
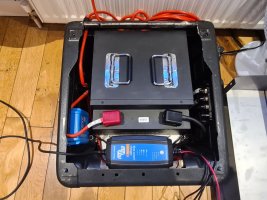
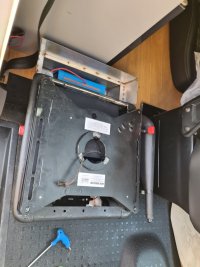
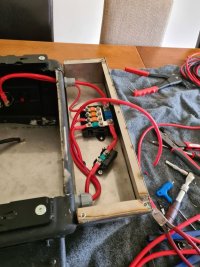
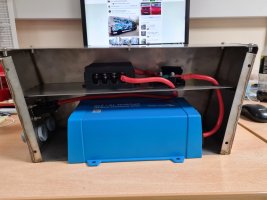
So with that done a bit more work required on the rear box.
This is the point I'm up to this evening.
Once I've made all the cables up everything will be stripped back down and then raptor painted.
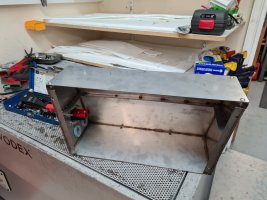
However I decided when I paid out last year to do a freshen up of my electric install.
When I initially did the van last year I ran out of time and the most important bit in my eyes was a bit rushed.
So anyway I started out with this....


So equipment brought the obligatory photo of stuff taking up loads of room is needed.
Equipment list for install:
Roamer 230ah seat base battery
Ctek 250se
Victron ip65 smart charger
Victron 75/15 smart solar controller
Renogy 175w solar panel
Victron inverter
Fused distribution
Earth bus bar
isolated
Anderson connectors
About £150 of various fuses connectors cables and other general goodness.

Obviously I like a bit of a challenge and I wanted to keep as much of this in the seat base as physically possible.
A compromise was made.and I decided to move the 12v fuse box for the lights etc away from under the seat to a new location.
A quick sketch was made of the wiring layout (I'm yet to cad this out)

One of my main aims for this was to make it an almost drop in drop out style seat base. A few Anderson connectors and the seat base bolts and you can almost entirely remove the system from the front of the van. It's a heavy beast with the roamer battery still in that's for sure.
Easiest way I saw of gaining enough real estate was to make an add on for the rear of the seat base.
With a kitchen layout there's a good 12cm of wasted space between that and the seat.

With it looking like it would just about work I knocked up an under seat base tray.
The old one donated to a local club member.


Then all laid out to get a rough idea....

Little bit of the metal fab for anyone interested.
Disclaimer I'm not a trained welder or fabricator. I just make this stuff up as I go along. Sure a pro would do it much better.


With the undertray and rear extension box made it was time to play see how it all fits......


Actual answer to that is not to badly. The Eagle eyed amongst you may note some slight modifications made.
These were needed to make the battery a bit easier to remove.
Few wires made up and checking the clearance for the seat swivel....
Last picture actually shows quite well how the wasted space is used.


So with that done a bit more work required on the rear box.
This is the point I'm up to this evening.
Once I've made all the cables up everything will be stripped back down and then raptor painted.


