Coradia63

Senior Member
T6 Pro
Hi All,

I know this topic has been raised across several Transporter forums but I havent been able to find all the info I need I have a swb T6 kombi I am going to remove the rear bench seat and fit the caravelle rails i have a set of double rails the ones that allow you to have the table I understand what work is involved to fit them I work in the engineering profession so feel confident to do it and have done similar on different vehicles the information I am looking for is which and how many reinforcing brackets I need?

The rails I have have came with the proper bolts there are 5x in each of the outer rails and 7x in each inner rail I've seen a couple of types you can get online (I do intend to get genuine VW ones) has anyone got any photos of the underside of a T6 with the rails fitted or even illustrated parts catalogue?

I just want to make sure I have all the parts ready before I start rather than strip it all to bits and realise I dont!

Thanks
Stuart
 
Hi stuart i will try to dig out the part numbers and details for you. Its not the fitting of the rails thats tricky its making a descent job of the floor that takes the skill
 
Thanks @slidepods any help appreciated I do have the Caravelle flooring to go with the rails although it doesn't fit fully as it is cut to allow for Caravelle internal panels which I don't have however I have a plan to get round that will post some pictures when I make a start on it.

Cheers
 
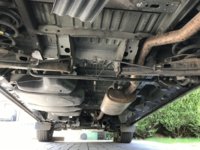
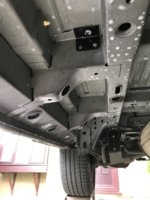
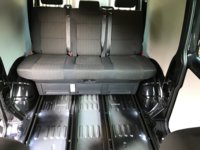
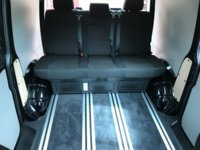
IMG_0224.JPG IMG_0197.JPG So finally got round to starting the Caravelle rail fitment, stripped the bench seat out flooring and fittings then stripped all the underframe panels/heat shields off wasnt to bad a job will drop the fuel tank in the morning shouldnt have to much in it only showing 10 mile range left then start the drillling....
 
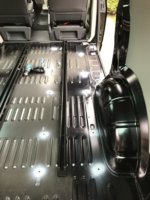
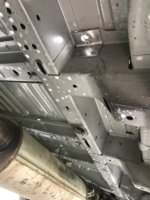
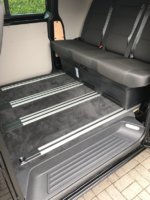
Holes drilled, rails fitted, seat fits and works glad I got the rails in the correct positions! was 2x reinforcing brackets short for the inner rails fortunately they are above the spare wheel so I dont have to wait before I cant refit all the other under floor panels.IMG_0231.JPG IMG_0228.JPG IMG_0229.JPG IMG_0234.JPG Tomorrow's job take seat back out and make a start on the floor.
 
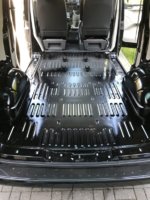
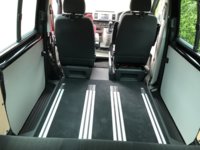
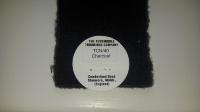
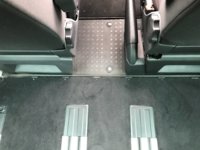
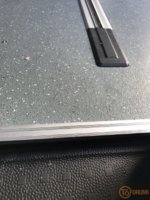
Got the floor in today its the original Caravelle floor I got with the rails I need to modify it a bit and fill in the gaps where its cut for the panels fitted in the Caravelle will then need to remove the existing carpet and redo would like to source the same carpet to retrim, I also need to trim the B piller trims at the bottom to fit the raised floor planning to line the van and do the floor in the next couple of weeks yet againIMG_0235.JPGIMG_0238.JPGIMG_0237.JPG work has got in the way of my leisure time!
 
Got the floor in today its the original Caravelle floor I got with the rails I need to modify it a bit and fill in the gaps where its cut for the panels fitted in the Caravelle will then need to remove the existing carpet and redo would like to source the same carpet to retrim, I also need to trim the B piller trims at the bottom to fit the raised floor planning to line the van and do the floor in the next couple of weeks yet againView attachment 8115View attachment 8116View attachment 8117 work has got in the way of my leisure time!
Looks awesome mate good job :thumbsup:
 
I did buy a great match for the carpet a couple of years back. I will do some digging and see if I can find out where it was from for you. :thumbsup:
 
Yes @T6Paul the fitting of the rails was easy the hardest part I found was having to constantly crawl in and out from under the van as I only had a set of drive up car ramps to use Just as well I haven't lowered the van yet! There's a lot of panels/heat shields to remove, drop the fuel tank and exhaust all straight forward took me a couple of days to do
 
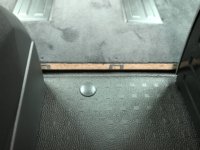
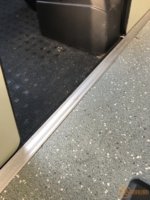
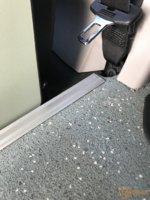
Next question any suggestions on how to finish the floor edge between the cab and the rear the caravelle floor is higher im not to bothered about having a small step just want a good finish.

IMG_0242.JPG IMG_0241.JPG
 
Last edited by a moderator:
That looks familliar! :)
I was about to suggest a right angle aluminium trim. fixed down with screws into the chipboard as a self adhesive strip one wont take to the carpet. just remember to countersink the ally strip first to make the screws sit nice and flush :thumbsup:
 
Back
Top