'Plug and play' solar panels.

Think of it like trying to fill a bucket, that has a hole in it. ( The Battery )

Your solar charge controller is trying to fill the bucket, as fast as it can....this will be a function of the panel and charge controller.... 6A per 100w as a rough guess.

The fridge is the hole draining water or power.

The voltage will rise gradually as the SOC increases due to the potential difference of the charge source and battery voltage... and internal resistance.

The only way to see that immediate increase in voltage is to have a charge source that's higher than the battery can absorb.... ie 15A.

So.. just leave the solar connected... it may take 10 -24 or more hours to charge the battery.

A few hours just wont do it... (unless you have a higher charge capacity like 20A or similar)

edit:

thats why you will see that instant rise in voltage from the van engine running from your DC-DC/VSR. . . . . there is much more power available to charge the battery so the voltage will show high from the start.

The water pressure (voltage) will overcome the leak in the buck and the fill rate (current) can fill the buck faster than it is draining.
 
Last edited:
Thanks - I just couldn’t work out when the battery was at its lowest and fridge on, it was pulling in that voltage but when off and in bright sun it wasn’t a few hours later.

The battery will get a good charge down the M5 anyway this week but I’ll then monitor the solar at full charge rather than empty
 
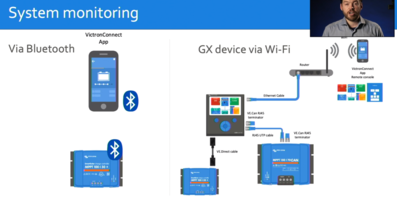
If you have a battery monitor like a victron bmv712 you can see exactly what is going on, it should take all the confusion out.

Your battery at 11.8v is getting too low, under 50 % , try not to take it so low without charging either solar or 240v charger or alternator by driving.

Very rarely will you see full output from a solar panel, eg its rated at 9amps but even in bright sunlight it may deliver less due to angle of sun, temperature etc.
When i angle my panel directly at the sun you can see the amps rise so if you have your panel on a flat roof or not pointing at the sun you will rarely get a full output from your panel.

I've had mine in full sun with a 150w panel and the fridge compressor is running and hardly any power going back into battery as fridge is using 4amps to 5amps and panel is outputting about the same so they cancel each other out.

A shunt based battery monitor is the only true way of seeing your soc of your battery.
 
Last edited:
So, really confused with Amazon atm...if I click @Dellmassive 's link above for the Victron 75/15 controller it brings the page up with the controller with a cost of £106.98...whereas if I dont go via the link it comes up at £87.99! Am I being really really dumb and missing something here as im sure it is the same unit? :eek:
 
id agree, the naming convention seems a bit wrong.

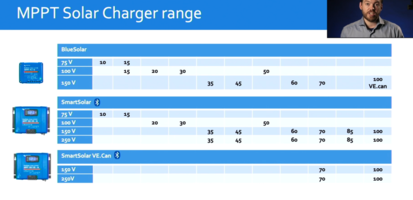
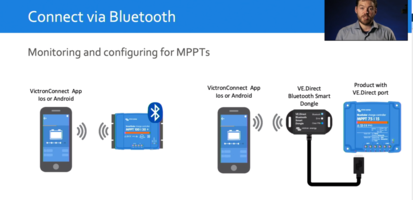
SMART solar - HAS Bluetooth

BLUE solar - does NOT have Bluetooth

using the word Blue in a non-bluetooth devcice adds confusion,

i got caught out myself when i got my first 75/15 off ebay. . . . . i got the BlueSolar assuming it was the BT version.


1623218573885.png
.

1623218799403.png
1623218814691.png
1623218834273.png

1623218889233.png
 
So purchased a BF 120w solar panel from a fellow Forum member, not been used I dont think but seems to missing a few leads and just wondering the best method of connecting up, as and when required, to my set up as on my initial post (although I've taken @Dellmassive's advice and bought a Victron Smartsolar MPPT 75 1 15 controller to replace the PU one.
I want to leave connected to the Victron a short set of flying leads and then connect in a longer set to reach the panel wherever that may be positioned. ( All using quick release couplings )
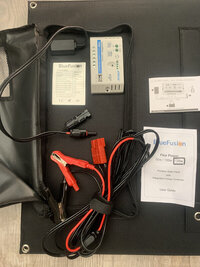
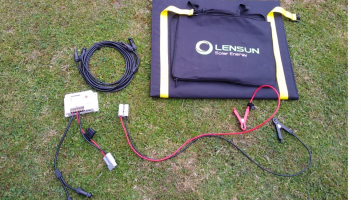
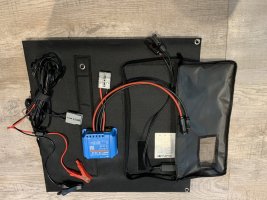
Bit confused with all the leads supplied...theres no mention in the instructions of connecting the small black box attached to the internal fabric of the storage pouch which I guess connects to the solar panels? Your advice is much appreciated as always. Thank you.IMG_4096.jpeg
 
Your missing 2x short conection leads from look8ng at that pic.

1x mc4 to solar input cable.

1x controler to red anderson battery output cable.

Have you got them?

Or need to make them?
 
Although the mobile solar panel comes with a controller, in pic, I guess this is not required if im going to connect to the van PU controller or the new Victron controller which is replacing the PU in time? Cheers
 
ok . .

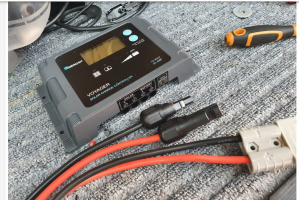
this is what you need:

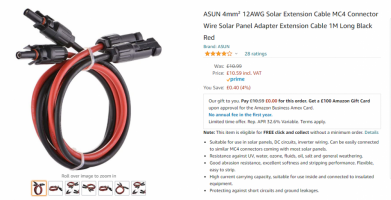
get this MC4 PV lead and cut it down to give the the cables for the PV Solar input on the solar controller.


1623694225031.png


then . . . .

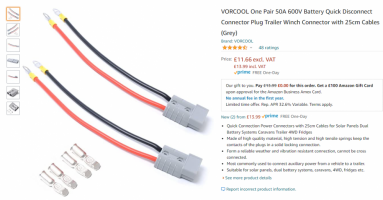
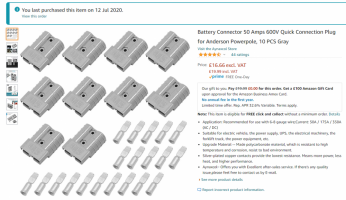
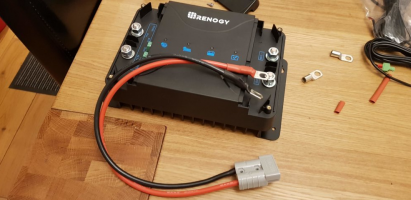
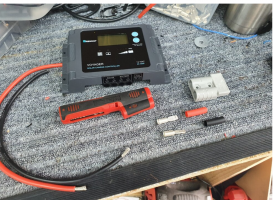
get this Anderson pack.

fit one side to the solar controller. . .

then swap over the red cover for the grey cover . . . (they different colors are keyd different)


1623694392770.png


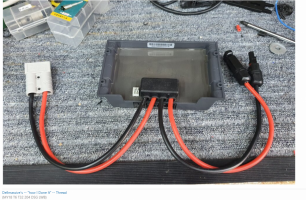
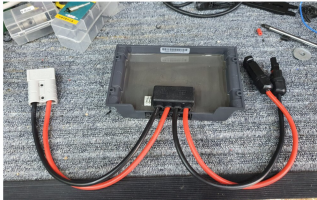
you should end up with something like this. . .

make sure all battery connections are fused within inches of the battery.


note: there is a missing fuse next to the red battery clip in the pic bellow. its to be fitted before connection.


1623694438860.png

and this . . .

1623694476033.png
 
Last edited:
Thats great thanks @Dellmassive...so with a temporary panel hooked up there are in fact two controllers, one by the panel and one in the van.
Can I get the fuse holders from Jeff too, and along with the set of extension cables which I think you've listed previously.
Cheers.....every day a school day! ;)
 
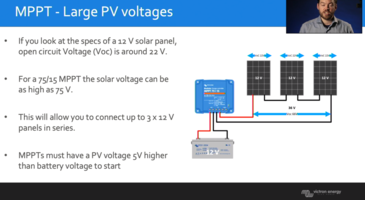
one panel -> one solar controller -> one battery. ( The basic starter setup )


so you can use either the PU one, OR the Victron SOLAR CONTROLLER.

you can Velcro the Victron in place of the PU if you wish.

you can use extension leads to mount the panel away from the van.

you can extend the PV MC4 side or the Anderson power side.

The most efficient way is to extend the PV side and leave the battery side short as possible.


Remember fuse all connections to a battery.
 
sure:

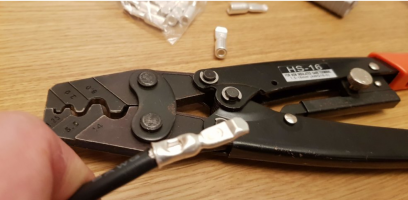
this is what i use. . . . .


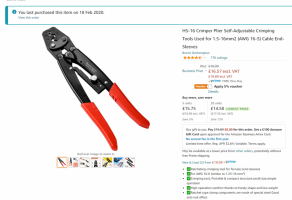
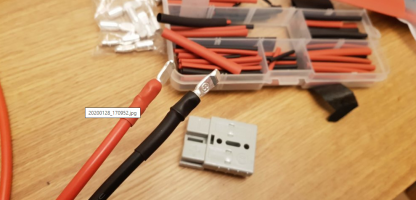
HS-16 for all standard crimps including Anderson connectors.


1623704721202.png


++++


standard Anderson plugs here:


1623704793749.png


++++

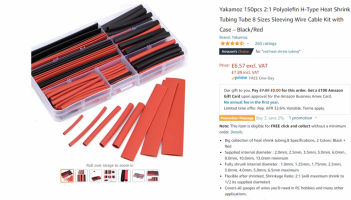
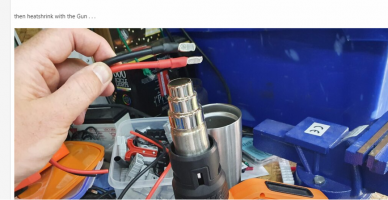
Red & Black heat shrink


1623704867990.png


++++


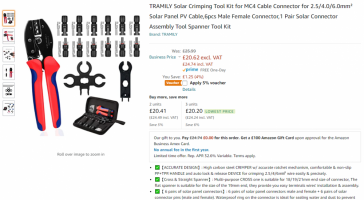
PV MC4 crimp kit . . .


1623704940481.png


++++


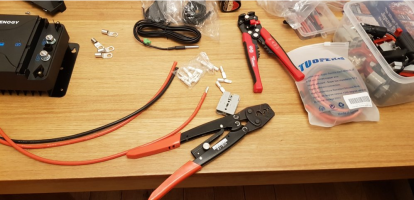
have a look here at some examples . .


1623705086341.png1623705094270.png1623705102387.png1623705117448.png


+++++


1623705603979.png1623705611627.png1623705618214.png1623705626188.png


++++

more info here:


++++
 
Hi @Dellmassive, Just checking I've done this correctly before I put into use? :unsure:...
When I swap out my existing PU controller in my van for my new Victron controller(pictured), and want to add this solar panel to supplement the van roof solar panel....thinking out loud....(obs the battery cables from the Victron in the photo will be removed and the battery cables from the leisure batt will be installed in lieu)...should I be ok to fix 2 sets of cables to the solar input side or is a splitter or piggy back best. Cheers for all your help! ;)IMG_4161.jpeg
 
Hi @Dellmassive, Just checking I've done this correctly before I put into use? :unsure:...
When I swap out my existing PU controller in my van for my new Victron controller(pictured), and want to add this solar panel to supplement the van roof solar panel....thinking out loud....(obs the battery cables from the Victron in the photo will be removed and the battery cables from the leisure batt will be installed in lieu)...should I be ok to fix 2 sets of cables to the solar input side or is a splitter or piggy back best. Cheers for all your help! ;)View attachment 120379
Pic above looks good. - that will work great.

as for fitting in van or adding extra panels.


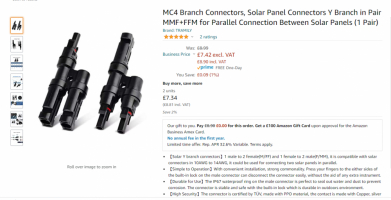
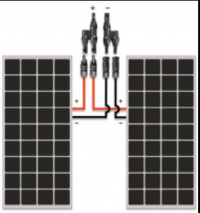
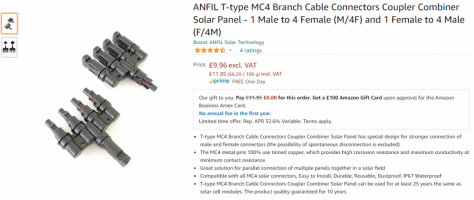
you need to get a set of Y or branch connectors. if you want to connect them in parallel.

like this set . . .


1624125540965.png


like this . . .


1624125586125.png


....

or these . . .


1624125752662.png


.


.
 
Back
Top