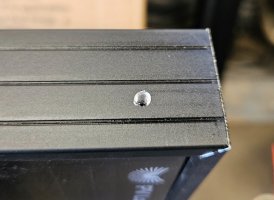
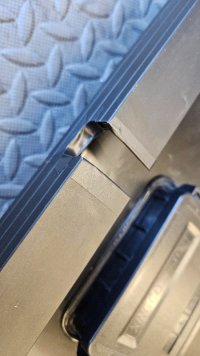
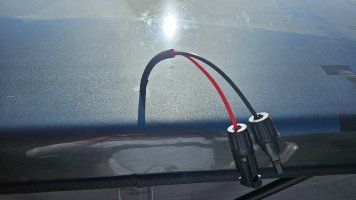
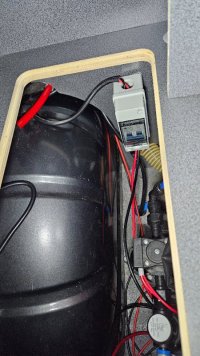
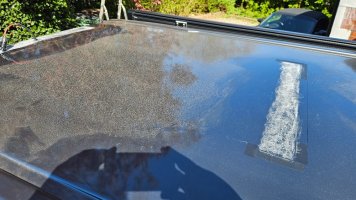
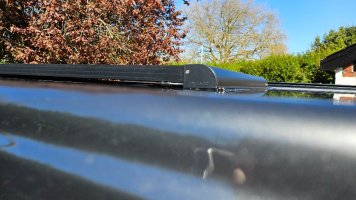
I’ve taken some pictures along the way, so in case it helps anyone else, here’s a series of posts on “how I done it” (chanelling my inner @Dellmassive).
I chose the mono high-density rigid panels from PV Logic as I wanted an efficient panel that looked neat, had an air gap underneath for longer life, and I thought they looked really smart when I saw the same panel on @Salty Spuds van.
Link to blurb on panels

 www.solartechnology.co.uk
And their aero brackets

 www.solartechnology.co.uk
I chose the mono high-density rigid panels from PV Logic as I wanted an efficient panel that looked neat, had an air gap underneath for longer life, and I thought they looked really smart when I saw the same panel on @Salty Spuds van.
Link to blurb on panels

Mono High Density Solar Panels - PV Logic | Solar Technology
Our quality Mono High Density solar panels in our PV Logic range deliver premium performance for off-grid living; perfect for boats, caravans & motorhomes.
And their aero brackets

Aero Brackets for the MHD 125W150W200W Solar Panel
Stylish aero brackets designed especially for the Mono High Density solar panel

