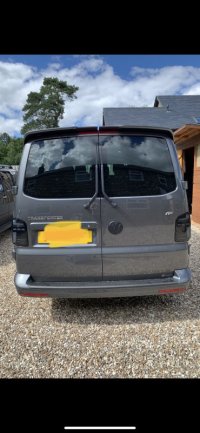
T6.1 LED - REAR LIGHTS UPGRADE (Barn Doors) -- How I Done It --
Its that time again . . . . Rear light cluster upgrades.
++++
This time with the transporterhq.co.uk pre-made LED T6.1 copy setup.
These units come with sequential indicators and a FULL LED setup.
this is what the site says:
+++
The price is for a pair.
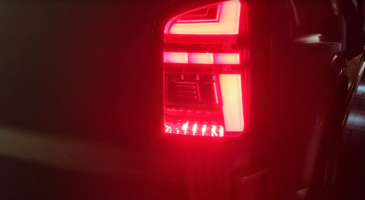
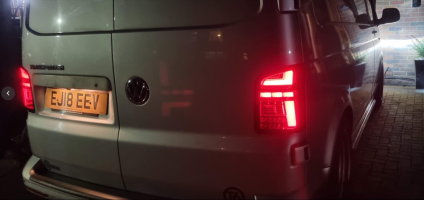
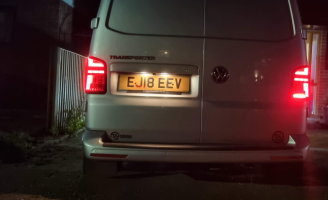
T6.1 Style LED rear lights with sequential indicators for VW T6 with Barn Doors.
Our rear lights come with Audi-style sequential indicators. Also Available in Red and Black Smoke.
Our lights require no coding and give no warning lights on the dash. They also work perfectly with our T6 headlights, which are now also available with sequential indicators.
Check out the image gallery for more photos.
Play and Play, with no warning lights or error codes.
Only suitable for VW Transporter T6 Models with Barn Doors.
2015~Current Model
++++
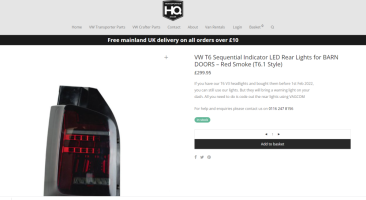
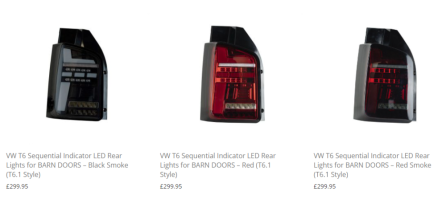
they are available in three colours. . .
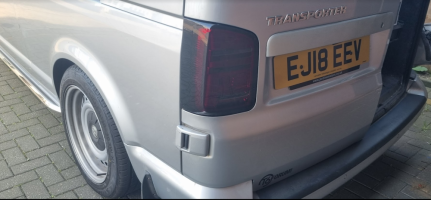
smoke as shown above. . .
then
Black Smoke,
Standard RED,
Red Smoke
.
 transporterhq.co.uk
.
light wise this is what i had OEM from Factory . . . .
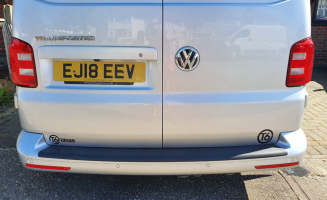
.
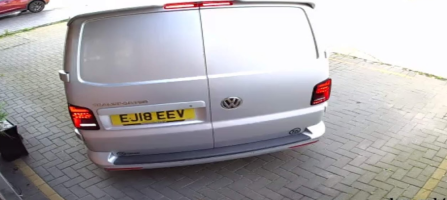
Then we swapped out for the T6.1 standard style . . .
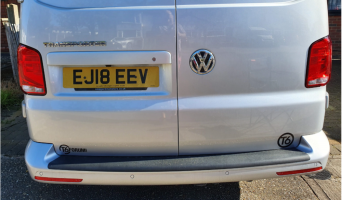
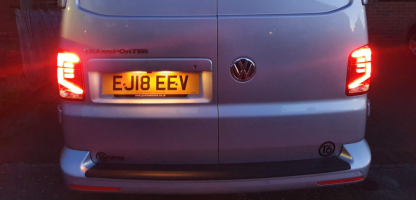
that mod can be seen here : T6 [Guide] To T6.1 BARN-DOOR TAIL-LAMP UPGRADE -- How I Done It --
moving forwards . . .
id always fancieed the idea of full LED . .
but for some reason the "barn door" was never an option . . . only VW knows why.
in the meantime there were people that were doing the mod . .
but that caused bulb errors and dash warnings etctetc.
so i never bothered.
++++
that was unit now.
THQ has these produced that are basically plug and play.
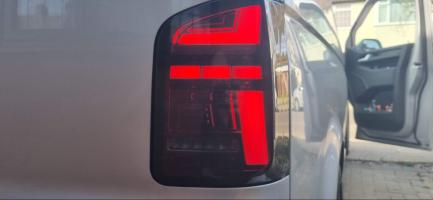
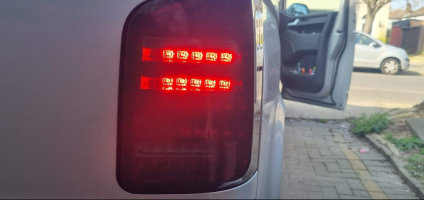
They are full LED with sequential indicator LEDs ( that means the sequence / scroll across like the Audi LED Indicators do)
They also include the Ballast resistors that are needed for a plug and play kit - to prevent the BCM triggering bulb out warning errors
...
sounds good right . . . . . Thats what i thought.
Problem was they were out of stock . . . . . . . for months.
it looks like the 2020/21 Pandemic had an effect on the shipping.
moving into 2022 thwy finally arrived . . . Yay !!!
+++++++++++++
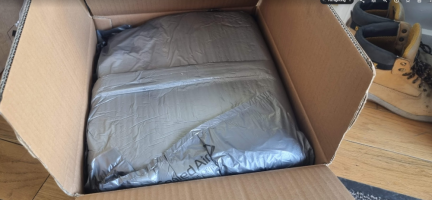
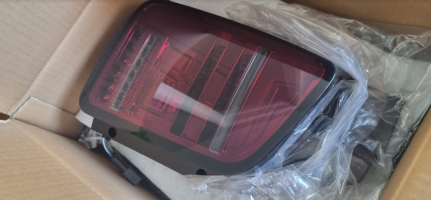
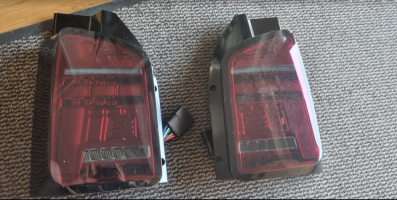
This is what we get . . .
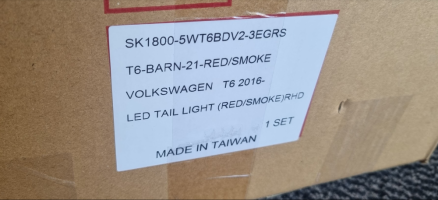
.
one box, including bothe rear light clusters . . . . and some THQ leaflets . .
out the box they look good . . . nice and fresh.
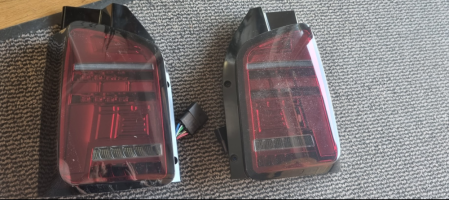
round the back we can see how they done it.
from the feel of the plastic you can tell they are no OEM.
having said that they have a good quality feel about them.
..
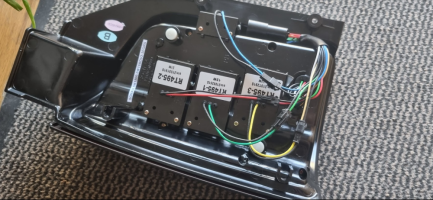
The have the OEM style connector with the cables epoxied in, I'm assuming for waterproofing.
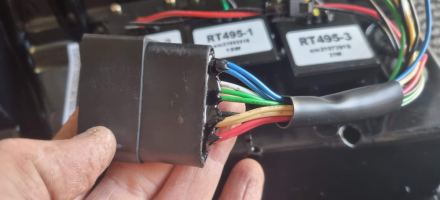
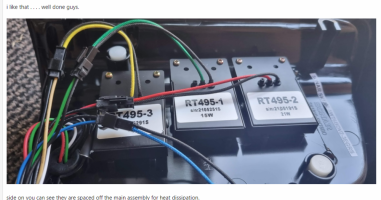
The also have the ballast resistor's screwed to the rear casing.
I've not seen this style before . . . . and must admit they look very good.
you can see they have used braded cables on the resistor packs ( as they will het HOT) to deal with the heat.
They are individually marked up for the wattage. . . . 15w, 21w etc,
They are also individually connected with a 2pin connector, and are screwed in place - so fully serviceable and replaceable id needed.
i like that . . . . well done guys.
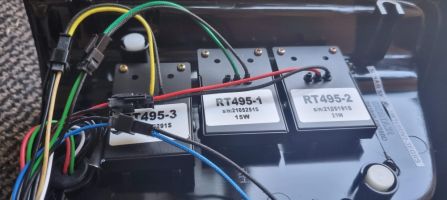
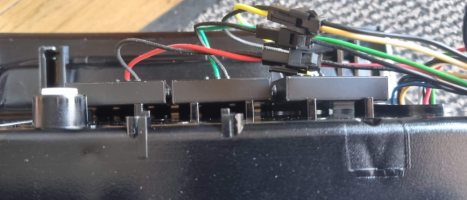
side on you can see they are spaced off the main assembly for heat dissipation.
..
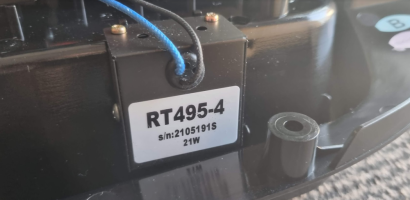
one thing that stood out was the passenger side had 3 ballast packs . .
but the drivers side had 4 ballast packs . . .? i wasn't sure why at first, but later on i found out this was for the FOG LIGHT which was drivers side only . .
you can see the fourth ballast here with the blue wire connector. . and the ballast mounted on the side.
THE INSTALL . . .
well same again really. . .
remove the two Philips screen from each cluster. .
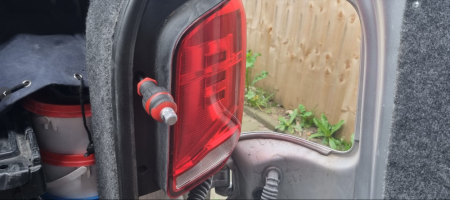
slide off the locating peg out to the side of the van . . . (dont pull towards the rear - you will break something.)
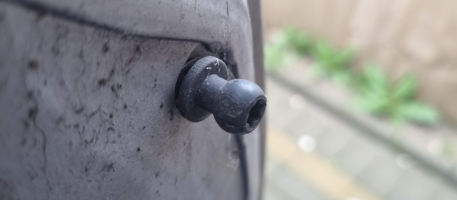
once off the pegs you have this.
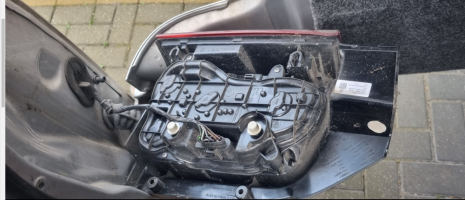
squeeze the lock tab on the loom connector to remove them . .
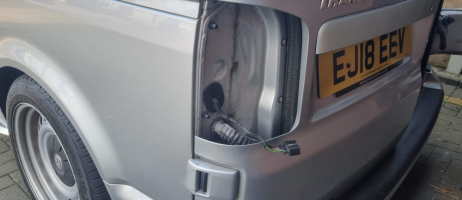
at this point things are slightly different for me . . . . .
as i re-pinned the connectors last time for the OEM T6.1 lights.
These units are aftermarket so have the plug and play wiring connectors. . . .
That meant that i had to re-pin my loom connectors back to the T6 standard configuration.
no problem as i had pics of the original setup when i swapped them before. . .
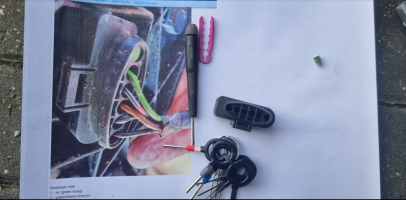
so printing out the pin-outs . . .
slide out the purple locking tabs.
then use the de-pinning tool to press the pins in - then pull the connector out.
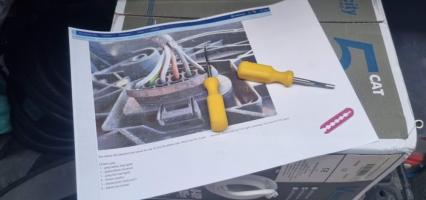
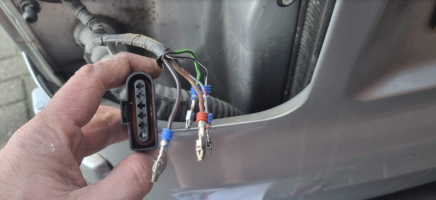
copying the diagram and re-pinning back to standard. .
.
end part1:
Its that time again . . . . Rear light cluster upgrades.
++++
This time with the transporterhq.co.uk pre-made LED T6.1 copy setup.
These units come with sequential indicators and a FULL LED setup.
this is what the site says:
+++
The price is for a pair.
T6.1 Style LED rear lights with sequential indicators for VW T6 with Barn Doors.
Our rear lights come with Audi-style sequential indicators. Also Available in Red and Black Smoke.
Our lights require no coding and give no warning lights on the dash. They also work perfectly with our T6 headlights, which are now also available with sequential indicators.
Check out the image gallery for more photos.
Play and Play, with no warning lights or error codes.
Only suitable for VW Transporter T6 Models with Barn Doors.
2015~Current Model
++++
VW T6 Sequential Indicator LED Rear Lights for BARN DOORS – Red Smoke (T6.1 Style)

they are available in three colours. . .
smoke as shown above. . .
then
Black Smoke,
Standard RED,
Red Smoke

.
T6 Lights - Transporter HQ
.
light wise this is what i had OEM from Factory . . . .

.
Then we swapped out for the T6.1 standard style . . .


that mod can be seen here : T6 [Guide] To T6.1 BARN-DOOR TAIL-LAMP UPGRADE -- How I Done It --
moving forwards . . .
id always fancieed the idea of full LED . .
but for some reason the "barn door" was never an option . . . only VW knows why.
in the meantime there were people that were doing the mod . .
but that caused bulb errors and dash warnings etctetc.
so i never bothered.
++++
that was unit now.
THQ has these produced that are basically plug and play.
They are full LED with sequential indicator LEDs ( that means the sequence / scroll across like the Audi LED Indicators do)
They also include the Ballast resistors that are needed for a plug and play kit - to prevent the BCM triggering bulb out warning errors
...
sounds good right . . . . . Thats what i thought.
Problem was they were out of stock . . . . . . . for months.
it looks like the 2020/21 Pandemic had an effect on the shipping.
moving into 2022 thwy finally arrived . . . Yay !!!
+++++++++++++
This is what we get . . .


.
one box, including bothe rear light clusters . . . . and some THQ leaflets . .
out the box they look good . . . nice and fresh.

round the back we can see how they done it.
from the feel of the plastic you can tell they are no OEM.
having said that they have a good quality feel about them.

..
The have the OEM style connector with the cables epoxied in, I'm assuming for waterproofing.

The also have the ballast resistor's screwed to the rear casing.
I've not seen this style before . . . . and must admit they look very good.
you can see they have used braded cables on the resistor packs ( as they will het HOT) to deal with the heat.
They are individually marked up for the wattage. . . . 15w, 21w etc,
They are also individually connected with a 2pin connector, and are screwed in place - so fully serviceable and replaceable id needed.
i like that . . . . well done guys.

side on you can see they are spaced off the main assembly for heat dissipation.

..
one thing that stood out was the passenger side had 3 ballast packs . .
but the drivers side had 4 ballast packs . . .? i wasn't sure why at first, but later on i found out this was for the FOG LIGHT which was drivers side only . .
you can see the fourth ballast here with the blue wire connector. . and the ballast mounted on the side.

THE INSTALL . . .
well same again really. . .
remove the two Philips screen from each cluster. .

slide off the locating peg out to the side of the van . . . (dont pull towards the rear - you will break something.)

once off the pegs you have this.

squeeze the lock tab on the loom connector to remove them . .

at this point things are slightly different for me . . . . .
as i re-pinned the connectors last time for the OEM T6.1 lights.
These units are aftermarket so have the plug and play wiring connectors. . . .
That meant that i had to re-pin my loom connectors back to the T6 standard configuration.
no problem as i had pics of the original setup when i swapped them before. . .
so printing out the pin-outs . . .
slide out the purple locking tabs.
then use the de-pinning tool to press the pins in - then pull the connector out.


copying the diagram and re-pinning back to standard. .
.
end part1:
Last edited:

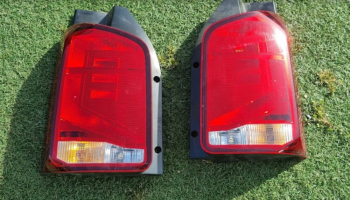
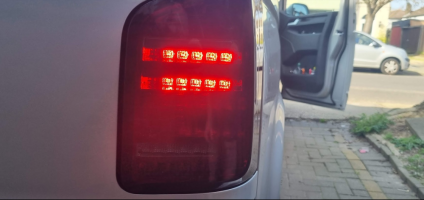
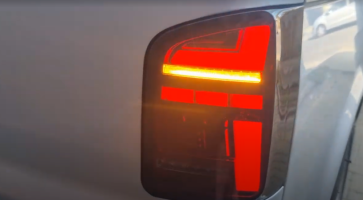
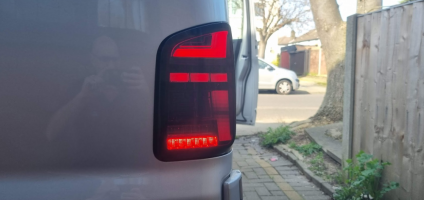
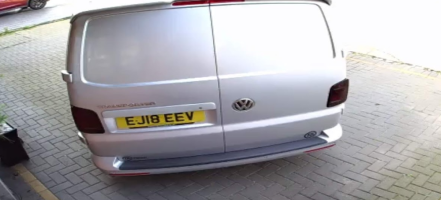
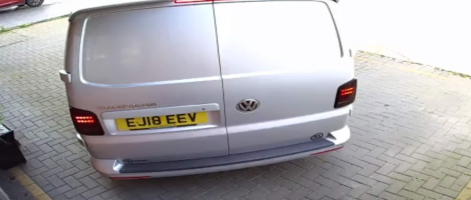
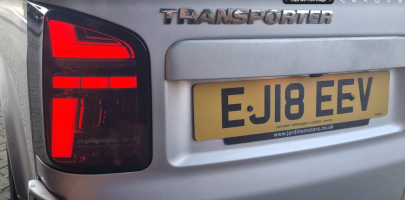

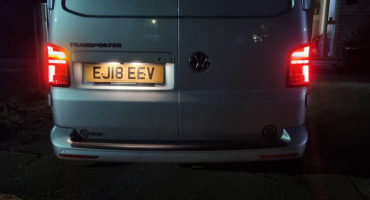
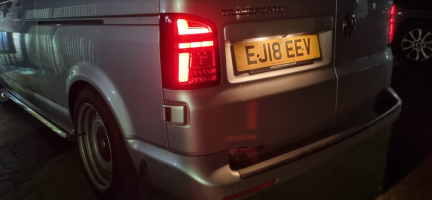
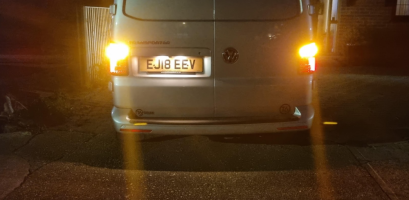
 and great write up as always.
