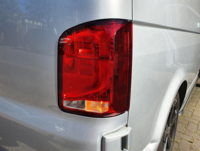
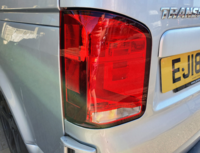
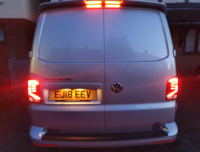
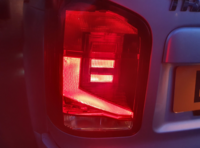
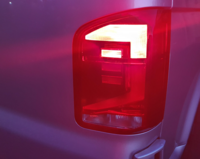
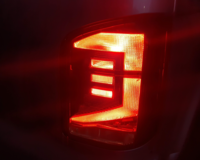
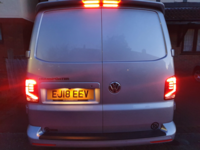
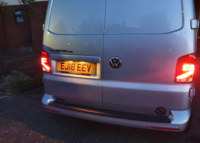
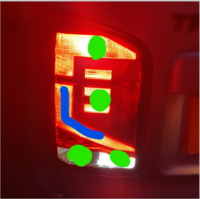
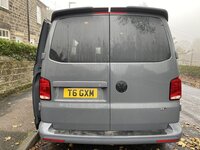
T6.1 REAR LIGHTS UPGRADE -- How I Done It --
T6.1 REAR LIGHT UPGRADE GENUINE VW 03-19 (TWIN REAR DOOR)
This popped up on the Travelin-lite FB feed, the price looked good as did the lights, so i though i would give it a go =]
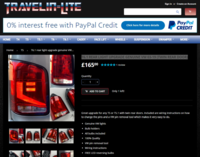
the FB link took me to the website above, this is what they had to say . .
T6.1 REAR LIGHT UPGRADE GENUINE VW 03-19 (TWIN REAR DOOR)
Great upgrade for any T5 or T5.1 with twin rear doors. Included are wiring instructions on how to change the pins and a VW pin removal tool which makes it very easy to do.
why the dont mention the T6 i dont know . . .? (This is for twin/Barn doors)
************************************************************************************
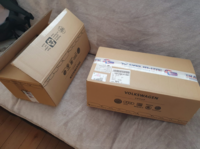
The kit was oerdered and promptly delivered a day or so later.
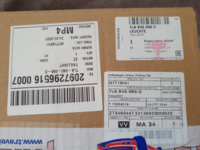
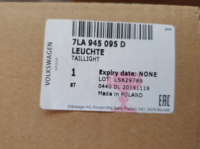
The box contained both new rear light clusers, a set of LED reverse bulbs, a couple of de-Pin tools . . . and a wire sheet.
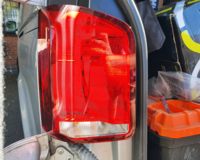
The Lights . .
.
.
...
pin tool and LED bulbs . . .
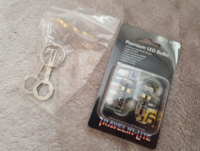
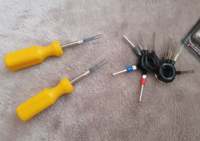
.. i had my own de-pin tools . . . .so I've shown them as a comparison . .
.
you can get some here >
HPiano 26 Piece Wire Terminal Remover Terminal Release Tool Set Car Electrical Terminal Remover Extraction Puller Pin Tool Kit Cable Wiring Crimp Connector Plug Key: Amazon.co.uk: Car & Motorbike
..
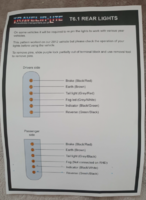
and the wire chart . . . .
.
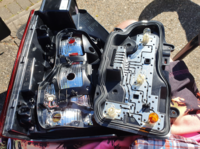
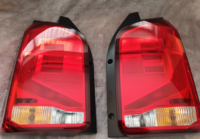
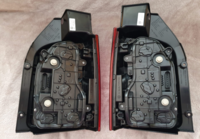
Out the box the clusters look like this . . .
.
.
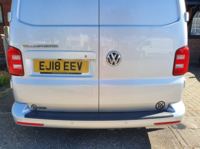
Next it was out to the van . . . . this is the Factory clusters that come from new . .
.
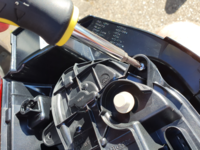
with the rear doors open i removed the 2x retaining screws . .
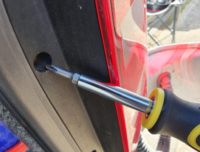
then slid the clusters to the outside of the van off there locating pegs . . .
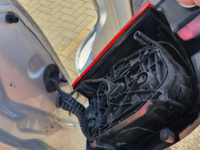
these clips can be a bit tricky at first . . you need to push the outside edge of the tab downwards.
i find it easier to push the whole connector firmly inwards before pressing the tab, that way you are releasing the tension off the tab clip.
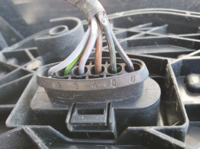
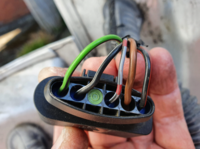
this shows the standard pin layout for the T6 (my18) drivers side, which has ALL 6 pins . . . (because drivers side has FOG light, passenger side has NO FOG light)
Drivers side:
1 - grey/white (fog light)
2 - green/black (reverse)
3 - grey/red (tail light)
4 - brown (earth)
5 - black/green (indicator)
6 - black/red (brake)
************************************************************************************************
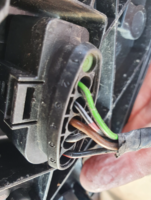
Passenger side:
1 - nc (green bung)
2 - green/black (reverse)
3 - grey/red (tail light)
4 - brown (earth)
5 - black/green (indicator)
6 - black/red (brake)
******************************************************************************
Next was to de-pin the plug.
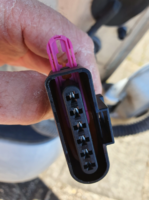
First you need to remove the purple locking tab, i used a small flat head screwdriver to lever the tab up,then out.
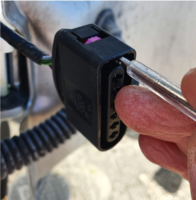
.
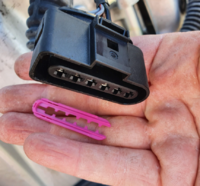
..
next you need to insert the de-pin tool into the front end of the plug to depress the locking tabs inside the connector.
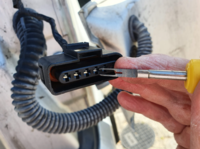
.
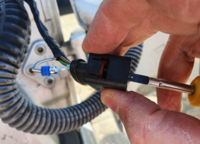
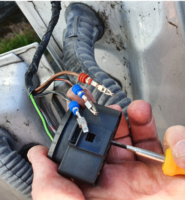
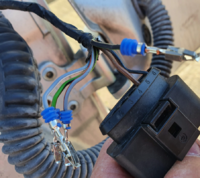
press in the tool, the ease out the wire and connector from the back . . . you can see the crimped on pin and the weather seal.
.
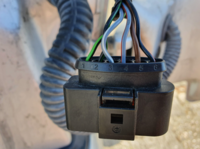
next it was just a case of re-fitting the pins in the correct order as per the supplied sheet.
here you can see the drivers side now re-pinned in the correct order . . .
.
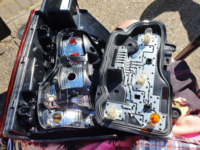
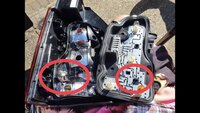
next up was the LED reversing light bulb., the 4x screws needed removing . . .
Pic limit, see part#2 for more . . . . .
T6.1 REAR LIGHT UPGRADE GENUINE VW 03-19 (TWIN REAR DOOR)
This popped up on the Travelin-lite FB feed, the price looked good as did the lights, so i though i would give it a go =]

the FB link took me to the website above, this is what they had to say . .
T6.1 REAR LIGHT UPGRADE GENUINE VW 03-19 (TWIN REAR DOOR)
Great upgrade for any T5 or T5.1 with twin rear doors. Included are wiring instructions on how to change the pins and a VW pin removal tool which makes it very easy to do.
- Genuine VW lights
- Bulb holders
- All bulbs included
- 100% Quality
- VW pin removal tool
- Wiring instructions
- FREE LED reversing bulbs
why the dont mention the T6 i dont know . . .? (This is for twin/Barn doors)
************************************************************************************
The kit was oerdered and promptly delivered a day or so later.
The box contained both new rear light clusers, a set of LED reverse bulbs, a couple of de-Pin tools . . . and a wire sheet.
The Lights . .

.

.

...
pin tool and LED bulbs . . .

.. i had my own de-pin tools . . . .so I've shown them as a comparison . .

.
you can get some here >
HPiano 26 Piece Wire Terminal Remover Terminal Release Tool Set Car Electrical Terminal Remover Extraction Puller Pin Tool Kit Cable Wiring Crimp Connector Plug Key: Amazon.co.uk: Car & Motorbike
Laser 3932 Terminal Tool : Amazon.co.uk: Automotive
Laser 3932 Terminal Tool : Amazon.co.uk: Automotive
amzn.to
..
and the wire chart . . . .

.
Out the box the clusters look like this . . .

.

.
Next it was out to the van . . . . this is the Factory clusters that come from new . .

.
with the rear doors open i removed the 2x retaining screws . .

then slid the clusters to the outside of the van off there locating pegs . . .

these clips can be a bit tricky at first . . you need to push the outside edge of the tab downwards.
i find it easier to push the whole connector firmly inwards before pressing the tab, that way you are releasing the tension off the tab clip.

this shows the standard pin layout for the T6 (my18) drivers side, which has ALL 6 pins . . . (because drivers side has FOG light, passenger side has NO FOG light)
Drivers side:
1 - grey/white (fog light)
2 - green/black (reverse)
3 - grey/red (tail light)
4 - brown (earth)
5 - black/green (indicator)
6 - black/red (brake)
************************************************************************************************

Passenger side:
1 - nc (green bung)
2 - green/black (reverse)
3 - grey/red (tail light)
4 - brown (earth)
5 - black/green (indicator)
6 - black/red (brake)
******************************************************************************
Next was to de-pin the plug.
First you need to remove the purple locking tab, i used a small flat head screwdriver to lever the tab up,then out.

.

..
next you need to insert the de-pin tool into the front end of the plug to depress the locking tabs inside the connector.

.

press in the tool, the ease out the wire and connector from the back . . . you can see the crimped on pin and the weather seal.

.
next it was just a case of re-fitting the pins in the correct order as per the supplied sheet.
here you can see the drivers side now re-pinned in the correct order . . .

.
next up was the LED reversing light bulb., the 4x screws needed removing . . .
Pic limit, see part#2 for more . . . . .

