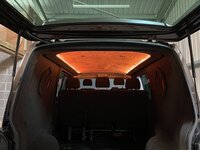
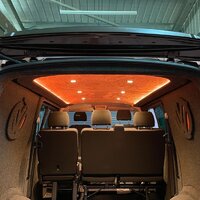
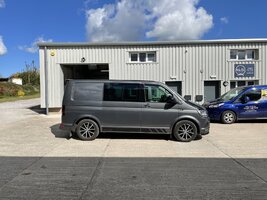
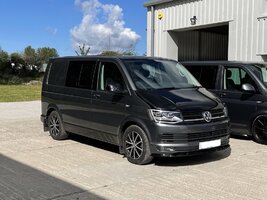
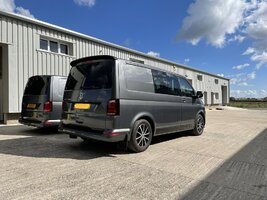
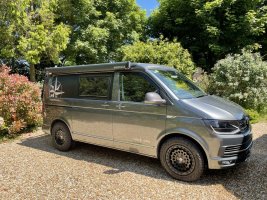
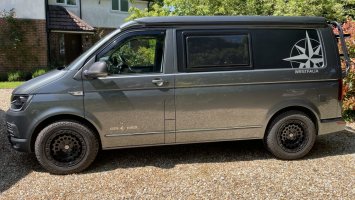
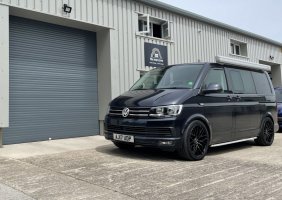
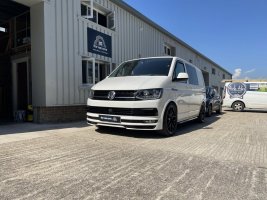
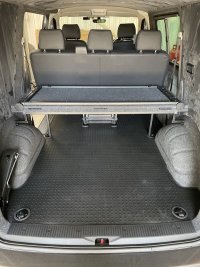
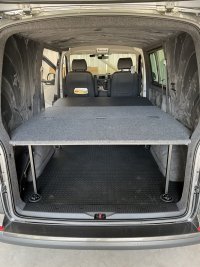
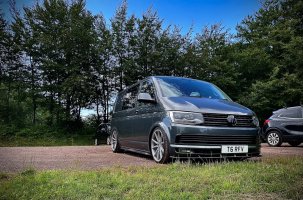
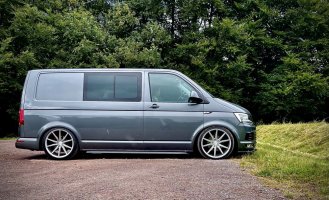
Hi All, check out these new styles coming soon from the Inovit team!


I have sets of all of these on back order with Inovit, so as soon as they arrive they will make their way to the cave. I'll only have limited stocks and I expect them to go quickly, so if you want to secure a set, get in touch and we'll get you on the list to make sure you don't miss out!

Cheers,

Chris.
 
I’ve just had a set of Inovit blitz supplied by @ChrisR at the van cave. I must say I’ve had amazing service from Chris and if anyone’s looking for a set of wheels then I would totally recommend giving Chris a shout. A couple of photos of before and after (sorry I know it’s a t5.1 not a t6!)

View attachment 108227

View attachment 108228
What size wheels did you go for? Are they staggered figment?
 
It’s been a busy couple of weeks since the cave reopened on the 12th and today was no different! We’ve been busy fitting suspension with Hunter alignment, wheels and tyres, leisure electrics, halo roof, styling additions and more. Next week we’ve got more of the same, plus a tidy little audio upgrade!

4AF3368F-BBD6-4EA9-B163-69A88F0D71D6.jpeg
 
Some choice mods that we’ve added to this lovely T30 edition.

Audio: thanks to @Absolut5 for supplying Focal front speakers and tweeter upgrade, Kenwood amp and hertz rear speakers.

Suspension: ST-X coil overs for a 50mm drop and the best quality ride possible. 4 wheel hunter alignment included.

Electrics: 2x twin switched USBs, 2x 12v sockets and doubling up on the OEM lighting.

C81B4742-18C6-472C-887D-F2BB4313F2A3.jpegD2E41A4E-6311-4E67-BED6-E846FA7172E3.jpeg33F68EE3-F5D5-42DE-BC36-49AAA426A399.jpeg
B2D5AA81-9134-4F24-85B8-3A7CDE1D24EA.jpegF9AD63DE-BFB6-46B3-8E85-74CC179CFDA3.jpeg5763D275-C7A9-4F14-B260-87EA57B5736E.jpegAD488B3F-9572-4648-8F8B-8899EAD63DEB.jpegB16C3E95-29B4-4A88-B255-4051DA48BFF7.jpeg
 
@The Van Cave Do the satin black wheels have a shine on them? They look like they do in the pic. I will be putting a gloss black grille and badges on my new van when it turns up and wanted gloss black wheels. I like the look of the 20” Blitz or Torques.
Hi. They have a subtle sheen to them, but they aren’t a gloss finish. They’re half way between a gloss and matt finish.
 
Last edited:
I’ve just had a set of Inovit blitz supplied by @ChrisR at the van cave. I must say I’ve had amazing service from Chris and if anyone’s looking for a set of wheels then I would totally recommend giving Chris a shout. A couple of photos of before and after (sorry I know it’s a t5.1 not a t6!)

View attachment 108227

View attachment 108228

Out of curiosity did you have the van lowered at the same time or do the 20" wheels really fill the arch gap that much better

I have a T32 Highline with 18" sportlines, stock suspension and it sits so high. Looking at my options to fill the gap but I also want better ride quality and handling
 
It's been pretty busy at the cave lately and it's over a month since I posted any updates!

Here's an interesting van we did a couple of weeks back: The customer was previously running 20" alloys and B14 suspension on his T28 camper, but after fitting some Fuel Zephyr wheels, decided that raising the van as high as possible was the way to go. We couldn't use a lift kit though, because the van is regularly kept garaged, so we had to lift the van as high as possible, whilst still keeping the total height under the limit of the garage door height!

We chose to fit some of the outstanding Koni sport Shocks and matched them with some delivery mileage T30 springs. This gave exactly the results the customer was looking for; Increased ride height, excellent ride and handling, but still just low enough to squeeze into the garage. We also fitted some Laser lights to the front grill and wired them to come on with the full beam of the headlights. Thanks to Andy for providing the after photos, one very happy customer.

Image-2.jpegImage-3.jpegImage-1.jpeg
 
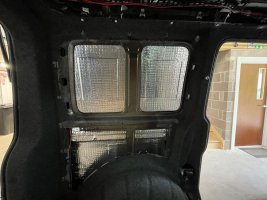
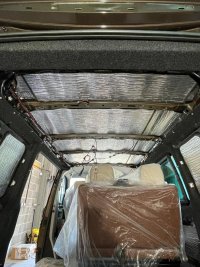
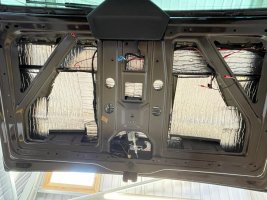
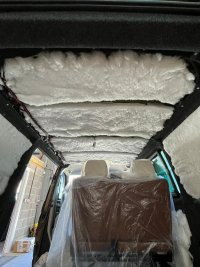
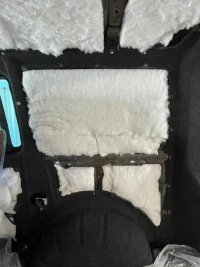
We aren't just about making your van look awesome and drive beautifully at the Cave. Here's an example of our 3 stage sound deadening and insulation process. This van was already carpet lined, which made doing the wheel arches from the inside impossible, but we've made a big difference to the amount of road noise coming into the van and it will now stay much warmer in winter and cooler in the summer.

Stage 1: Sound deadening: Silent Coat sound deadening on every exterior panel that you can possibly reach. We go as far as you can behind any of the internal panels.
NS Quarter Sound.jpegSlider Sound.jpegTailgate Sound.jpeg

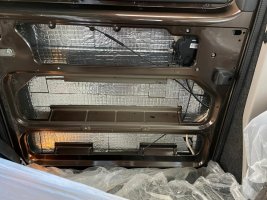
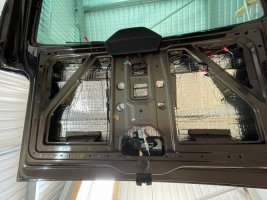
Stage 2. Closed cell foam with reflective Foil. This is an outstanding insulator on it's own and it also provides a really good second sound deadening layer. This goes everywhere that the Silent Coat in Stage 1 goes. For vans that are only used for occasional camping in moderate conditions, this is often good enough, but why settle for what's just good enough?..........
Roof 2.jpegTailgate 2.jpeg

Stage 3: For the ultimate cosy camper/day van we add an additional thermal insulation layer. This is either 50 or 100mm thick recycled plastic insulation depending on the depth of the void to which it's being fitted. We use this in all voids, behind all removable panels and we don't skimp.
Insulation 2.jpegInsulation.jpeg

If you're getting prices for sound deadening/insulation to be fitted, it's worth checking the detail of exactly what you're going to get for your money. I've seen vans with cheap silver foil covered bubble wrap as the only layer used! That doesn't really do anything for either sound deadening or insulation!
 
Last edited:
We aren't just about making your van look awesome and drive beautifully at the Cave. Here's an example of our 3 stage sound deadening and insulation process. This van was already carpet lined, which made doing the wheel arches from the inside impossible, but we've made a big difference to the amount of road noise coming into the van and it will now stay much warmer in winter and cooler in the summer.

Stage 1: Sound deadening: Silent Coat sound deadening on every exterior panel that you can possibly reach. We go as far as you can behind any of the internal panels.
View attachment 119465View attachment 119466View attachment 119467

Stage 2. Closed cell foam with reflective Foil. This is an outstanding insulator on it's own and it also provides a really good second sound deadening layer. This goes everywhere that the Silent Coat in Stage 1 goes. For vans that are only used for occasional camping in moderate conditions, this is often good enough, but why settle for what's just good enough?..........
View attachment 119469View attachment 119470

Stage 3: For the ultimate cosy camper/day van we add an additional thermal insulation layer. This is either 50 or 100mm thick recycled plastic insulation depending on the depth of the void to which it's being fitted. We use this in all voids, behind all removable panels and we don't skimp.
View attachment 119471View attachment 119472

If you're getting prices for sound deadening/insulation to be fitted, it's worth checking the detail of exactly what you're going to get for your money. I've seen vans with cheap silver foil covered bubble wrap as the only layer used! That doesn't really do anything for either sound deadening or insulation!
Top Job young man !!
 
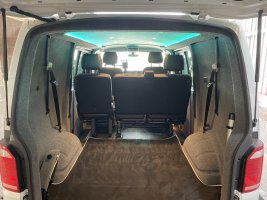
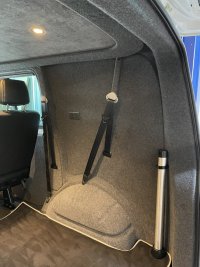
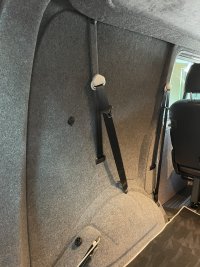
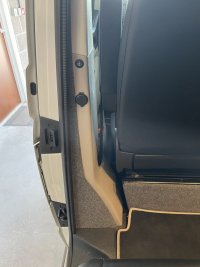
Some more interior work here:

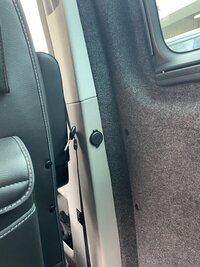
Full carpet lining
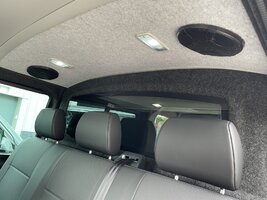
1 piece ply ceiling with suede liner
6 x LED spot lights
Halo roof surround with LED mood lighting
Leisure battery with Victron B2B Bluetooth charger.
240v hookup and Victron Bluetooth leisure battery charger.
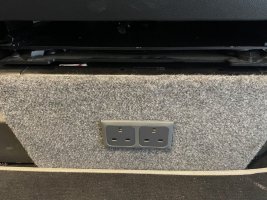
2 x double 240v sockets
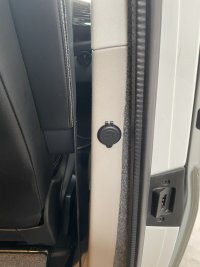
2 x twin switched USB outlets
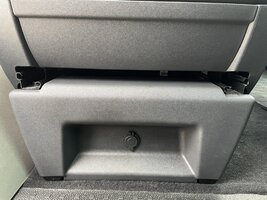
1 x 12v socket

The rear sockets are positioned to ensure they are higher than the Kombi bed once installed, for ease of access when camping.

All 12v electrics and lighting is powered from the leisure battery, with the ceiling mounted spot lights wired to a 3 position switch. 1. On with courtesy lighting. 2. Off. 3. On. This enables courtesy light use as normal, but on demand lighting when camping etc.

The carpeted seat base panels are attached with Velcro, so that they are firmly secure, but removable for ease of access to fuses, consumer unit, charger etc.

As always, hidden clips are used throughout for the cleanest possible finish.

0CF243A6-E2F0-41C5-9472-8C851CB8C9F5.jpeg9BA5492A-DC00-4B34-BEAC-079C663C6FC9.jpegD5BAE21D-9778-477B-9261-E1441E156AA2.jpeg0EAFDCB4-9194-41E5-B5BA-63E4B42782E9.jpegBB351C32-9F7E-44FF-BBC2-5CD0FB4B5EB7.jpeg7717C435-D7C9-41B6-AC6B-433870CBDCC5.jpeg
 
It’s been a while since I’ve updated this thread, but we’ve been busy; here are a few examples of work completed at the cave recently!

ST-X coil over suspension and Inovit Blitz wheels transformed the ride and look of this already lovely camper.

4A08AA7D-80BD-4794-AF2A-F3FFCAF34305.jpeg


We added KW V1 coil over suspension to this immaculate Kombi, we’ve since also supplied some Inovit Frixion 5 wheels and await the customer photos!

BFEBFA38-58D3-46E0-8DAD-A4B3A187CB30.jpeg


Today we added a Kombi bed as the next step in the transformation of this van from Kombi to day van. We had previously seen this van to add a 240v hookup, leisure battery and associated 12v and 240 sockets.

AC2A4FC8-D18E-4F3C-A667-7109DAB991E6.jpeg
99F2F83D-4BDD-43F7-BEEE-7AB18BF2A9D1.jpeg

There really is all sorts that we can do to help you create your perfect van, so why not get in touch and talk to us about your requirements.

Oh, we also popped a set of Frixion 5 on our own van recently…..

F2F36486-16E3-4FE5-BE2C-7F75F1463E65.jpeg
8576A6AF-4BD3-4E31-A2B4-88CFF1EFFAA2.jpeg

Cheers all,

Chris.
 
Last edited:
Back
Top