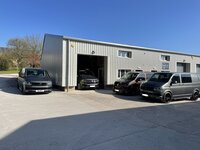
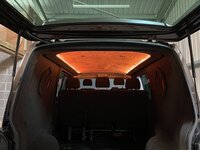
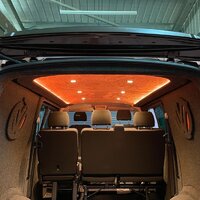
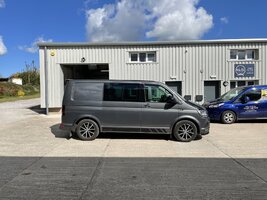
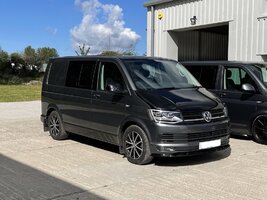
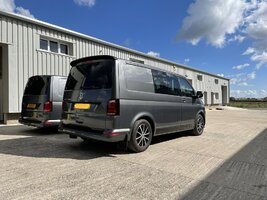
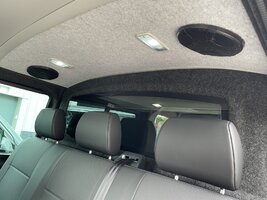
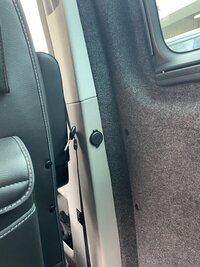
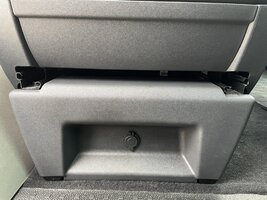
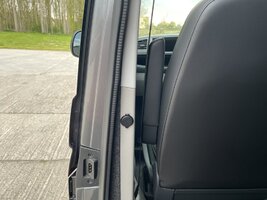
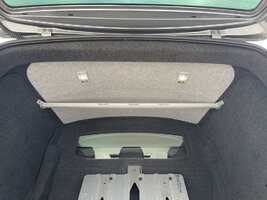
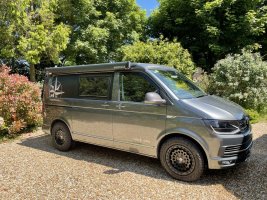
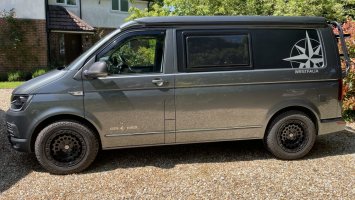
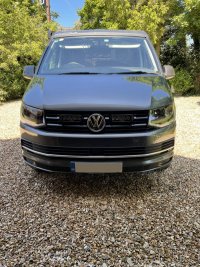
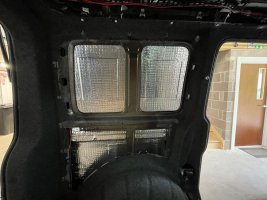
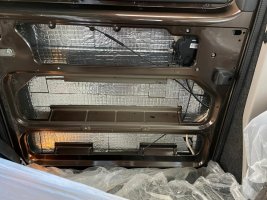
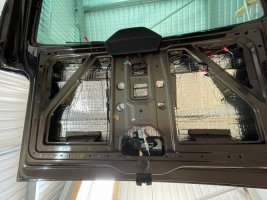
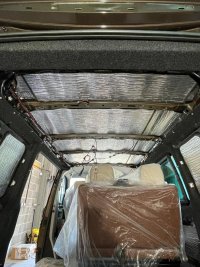
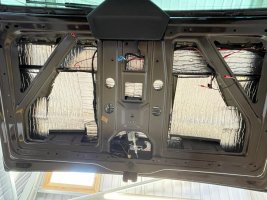
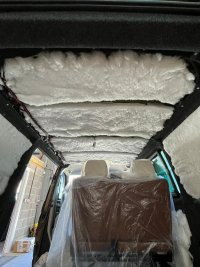
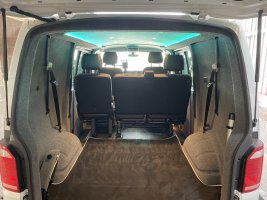
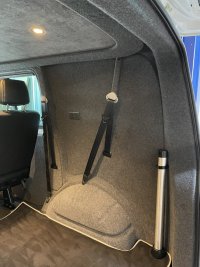
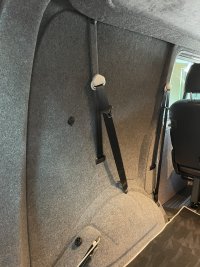
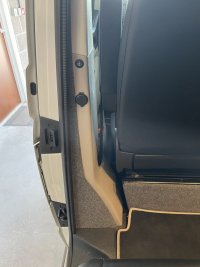
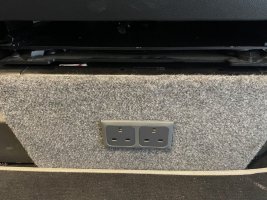
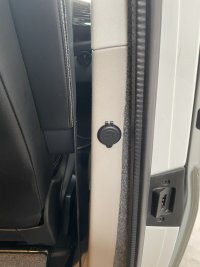
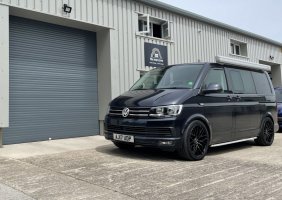
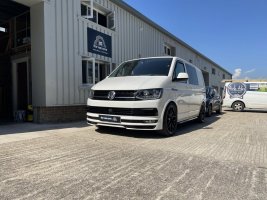
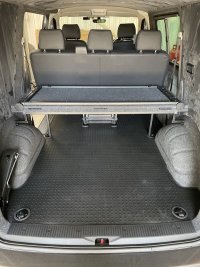
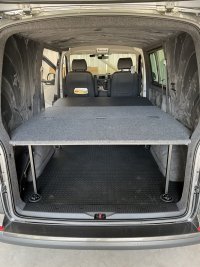
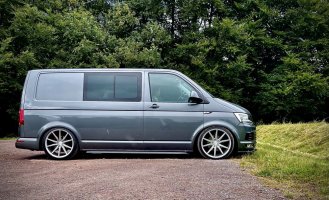
We aren't just about making your van look awesome and drive beautifully at the Cave. Here's an example of our 3 stage sound deadening and insulation process. This van was already carpet lined, which made doing the wheel arches from the inside impossible, but we've made a big difference to the amount of road noise coming into the van and it will now stay much warmer in winter and cooler in the summer.
Stage 1: Sound deadening: Silent Coat sound deadening on every exterior panel that you can possibly reach. We go as far as you can behind any of the internal panels.
View attachment 119465View attachment 119466View attachment 119467
Stage 2. Closed cell foam with reflective Foil. This is an outstanding insulator on it's own and it also provides a really good second sound deadening layer. This goes everywhere that the Silent Coat in Stage 1 goes. For vans that are only used for occasional camping in moderate conditions, this is often good enough, but why settle for what's just good enough?..........
View attachment 119469View attachment 119470
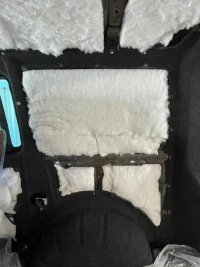
Stage 3: For the ultimate cosy camper/day van we add an additional thermal insulation layer. This is either 50 or 100mm thick recycled plastic insulation depending on the depth of the void to which it's being fitted. We use this in all voids, behind all removable panels and we don't skimp.
View attachment 119471View attachment 119472
If you're getting prices for sound deadening/insulation to be fitted, it's worth checking the detail of exactly what you're going to get for your money. I've seen vans with cheap silver foil covered bubble wrap as the only layer used! That doesn't really do anything for either sound deadening or insulation!

