i was sold at: A British manufacturer that still manufacturers in Britain,
to much TEMU and WISH cack flooding the market these days.
to much TEMU and WISH cack flooding the market these days.
Sorry another question, did you replace the 'shield' (dont know its name) that sits at the back of the brake disc for a bigger version for the bigger disc? Do you have the part numbers of you did? Thanks.The OEM 340mm 2 pot calipers and normal 294mm. I ran out patience looking for 4 pot calipers.
Yeah. I replaced the shields. Sorry,Sorry another question, did you replace the 'shield' (dont know its name) that sits at the back of the brake disc for a bigger version for the bigger disc? Do you have the part numbers of you did? Thanks.
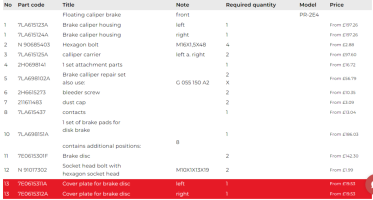
@Skyliner33 - try these part numbers for the "340mm big front brake" PR-2E4 17" chassis:Sorry another question, did you replace the 'shield' (dont know its name) that sits at the back of the brake disc for a bigger version for the bigger disc? Do you have the part numbers of you did? Thanks.
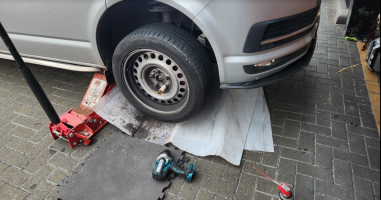


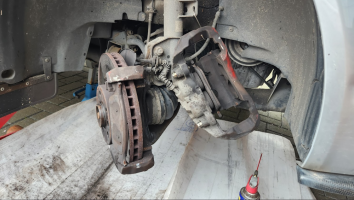
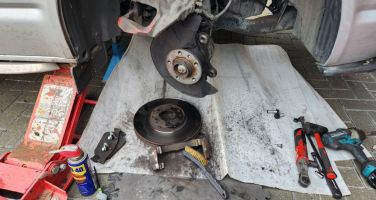


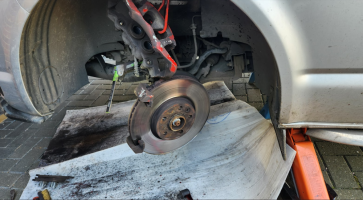
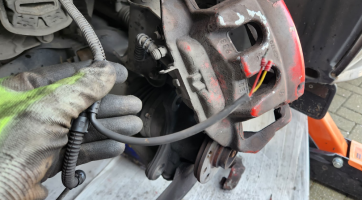
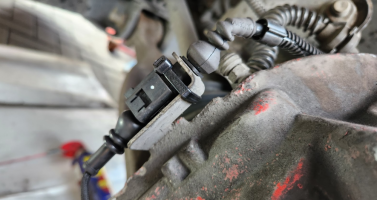
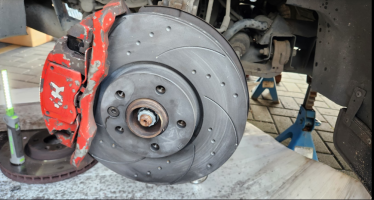


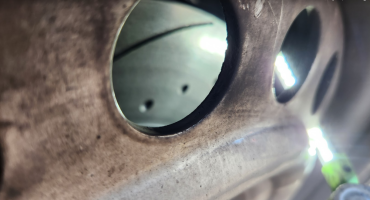


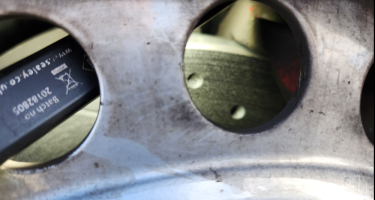
Personally....Are the grooves and dilled holes felt through the brake pedal? I once fitted Brembo to my vivaro and it was awful to be honest. You also heard it under heavy breaking
Or dimpledPersonally....
I can't feel anything through the peddle.
But I can hear the flutter sounds when breaking.....
If your not keen on that..... Just order the standard profile disks.
hi,Are the grooves and dilled holes felt through the brake pedal? I once fitted Brembo to my vivaro and it was awful to be honest. You also heard it under heavy breaking

That are still great.@Dellmassive I'm looking to swap my discs and pads because they're rusting and it splatters. How are the Nutexas a few months in? Do they rust at all or does the coating hold up? Cheers, Kev
Yes slightly with the dust.Late to the party… as usual.!
Have you noticed any reduction in brake dust with this set up? @Dellmassive @Nutexa Frictions
Thanks for the reply buddy. Yes, I’m on the larger discs as well.Yes slightly with the dust.
The drilled and grooved discs make a flutter sound under breaking (when the window is open), so if you think that will bother you, go for the plain disc.
Apart from that they take a while to warm up in the mornings, the first few breaks are fun with a heavy van.... (I'm 340mm fronts.). But after that initial warm up, they are fine
Previously I run, OEM, Pagid, Brembo.
These are a good pads and discs setup,
They are forum trade members, plus a UK
Company, and Russ & Jan are awesome.
.

