Got around to doing mine. . . . . . .
it was way to much hassle to do the while loom swap,
it would have been battery and tray out, ABS loom and plug to open up, Ebox to open up. . . . . . something i just didnt want to deal with.
so i decided it was easiest for me to just replace the last 6inch section of loom.
i done the job as part of a pads & discs swap over here:

 www.t6forum.com
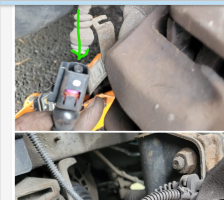
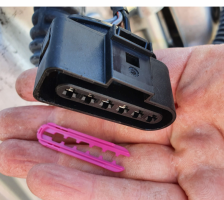
this is what i had left of the front brake pad sensor. . .
the hole socket on the van side was missing, and the cable showed signs of rubbing and wear,
so that section needed to be replaced.
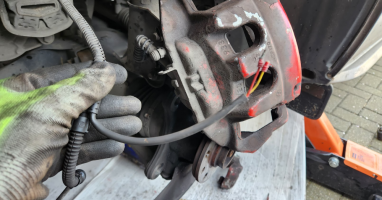
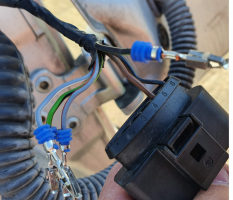
i had the whole new loom to play with as above. . .
i unclipped the flexy cover ends and removed the split cover.
i stripped the cable on the van back to see what i had.. . .
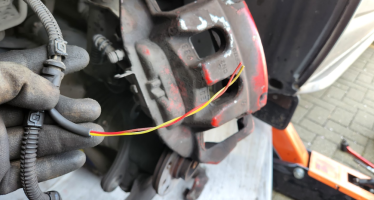
using the flexi pipe as a size measure, i cut the opposite side off the new loom. . .
then cut back the van side wires making sure to stagger them.
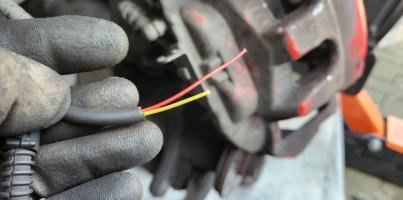
i done the same with the new loom making sure to stagger them in the opposite way. .
then got some small heat shrink for the red and yellow cores,
and some larger heat shrink for the larger wire.
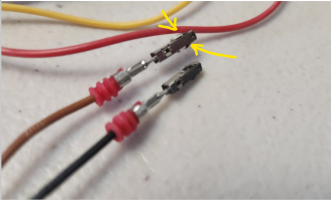
joining them together like this. . .
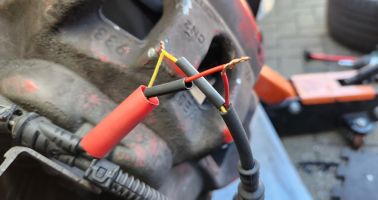
next i soldered the red & yellow wires together.
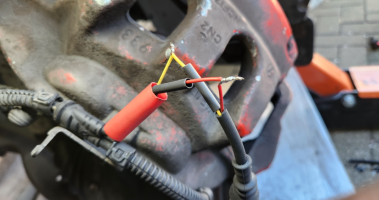
then set the black heatshrink on each core first, then the red over the top. ( this heat shrink is the glued type, so hoping to help prevent water ingress)
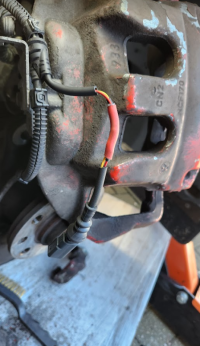
i then added an additional layer of black electrical tape - again to aid the prevention of water getting in.
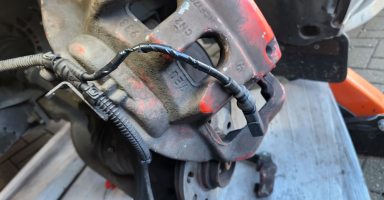
then reassembled the split tubing and end caps. . .
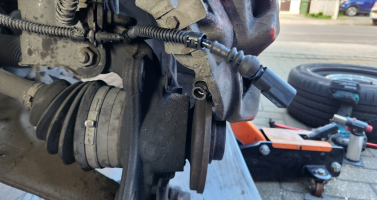
looks OEM now , . . .
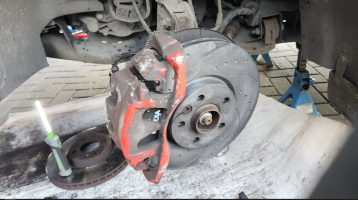
and to make sure the same thing doesnt happed again i cable tied the plug into its bracket - no chance if it coming out now.
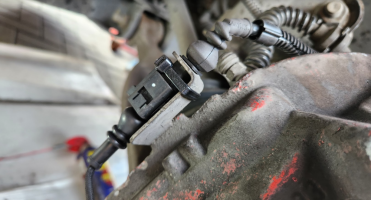
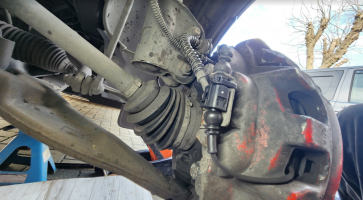
jobs a goodun.
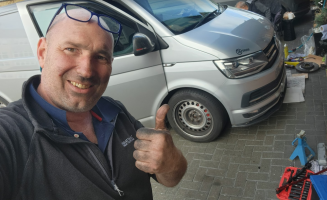
the result was immediate. . .
with the new pads fitted the orange pad warning light went out on the first key-on.
happy days.
time will only tell now how long this repair will last. . . . im hoping for numerous years at least.
+++++++++++++++++++++++++++++++++++++++++++++++
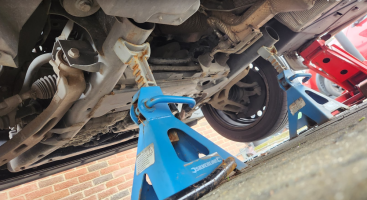
incase anyone wanted to know. . . .
+++++++++++++++++++++++++++++++++++++++++++++++
.
it was way to much hassle to do the while loom swap,
it would have been battery and tray out, ABS loom and plug to open up, Ebox to open up. . . . . . something i just didnt want to deal with.
so i decided it was easiest for me to just replace the last 6inch section of loom.
i done the job as part of a pads & discs swap over here:

Brake Pad & Disc change - How I Done It -
Brake Pad & Disc change - How I Done It - After a recent trip to the Dealer for Service and Cambelt job, ( we had the dealers do it as we are in a 2yrs extended warranty ) : Cambelt + Water Pump Replacement - Official guidance At the time, they advised that the rear pads were 90% worn...
this is what i had left of the front brake pad sensor. . .
the hole socket on the van side was missing, and the cable showed signs of rubbing and wear,
so that section needed to be replaced.

i had the whole new loom to play with as above. . .
i unclipped the flexy cover ends and removed the split cover.
i stripped the cable on the van back to see what i had.. . .

using the flexi pipe as a size measure, i cut the opposite side off the new loom. . .
then cut back the van side wires making sure to stagger them.

i done the same with the new loom making sure to stagger them in the opposite way. .
then got some small heat shrink for the red and yellow cores,
and some larger heat shrink for the larger wire.
joining them together like this. . .

next i soldered the red & yellow wires together.

then set the black heatshrink on each core first, then the red over the top. ( this heat shrink is the glued type, so hoping to help prevent water ingress)

i then added an additional layer of black electrical tape - again to aid the prevention of water getting in.

then reassembled the split tubing and end caps. . .

looks OEM now , . . .

and to make sure the same thing doesnt happed again i cable tied the plug into its bracket - no chance if it coming out now.


jobs a goodun.

the result was immediate. . .
with the new pads fitted the orange pad warning light went out on the first key-on.
happy days.
time will only tell now how long this repair will last. . . . im hoping for numerous years at least.
+++++++++++++++++++++++++++++++++++++++++++++++
incase anyone wanted to know. . . .

+++++++++++++++++++++++++++++++++++++++++++++++
.


