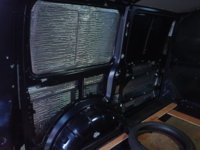
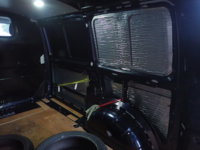
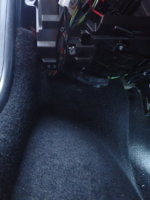
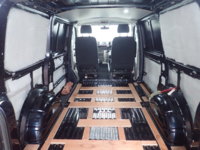
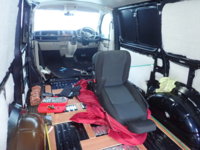
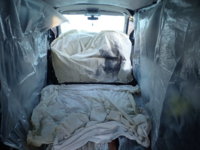
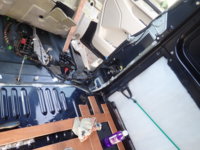
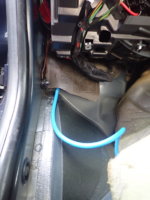
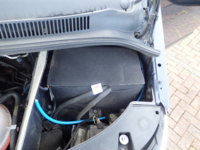
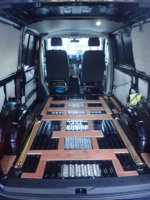
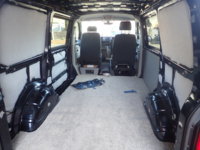
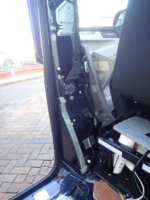
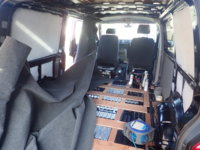
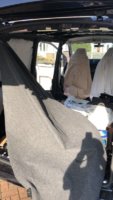
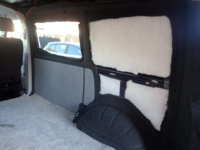
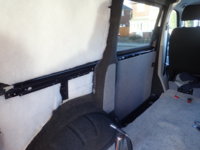
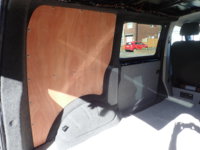
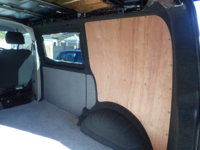
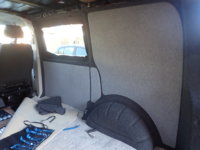
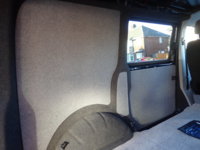
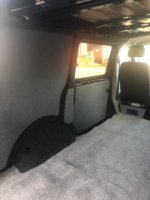
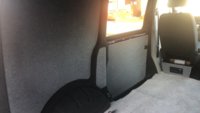
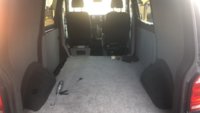
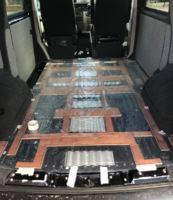
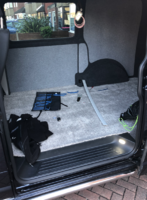
Front 2 roof rail bolts where removed and sealed with Silicone today. Inside the back has been silent coated, and then a layer of self adhesive thermoliner/insulation. Was a bit dark for pics when I finished, but will do in the morning.

But yes, Im getting to the point where I need to remove the bulkhead. Im a bit reluctant as the cab warms up quite quickly, and Im thinking it will take ages with the bulkhead out.
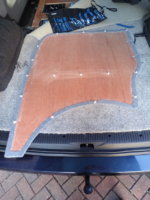
Tomorrows job is to cut the 6mm ply that was in into fitted shapes for the panels and then drilled for the hidden fixings. Not decided if to buy a pre-cut ply floor or get some from B&Q and cut my own.

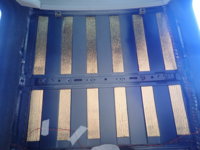
Then I will need to make a paper/cardboard template of the batons before the gold coloured floorliner is glued down.

Then the white Dacron and the mains hookup under the bonnet. Need to work out how to get the end of the dash and glovebox off first.
 
Get some LED's fitted with a leisure battery, they make a huge difference when working on the van in the dark!

I thought the same about the bulkhead but I was surprised it stays quite warm still.. Think my feel get colder now.

6mm ply on the wall, will you be able to use the hidden clips? Think it might be too much for them. I went for 3.6mm ply with hidden clips.

Good plan on the floor, you have a decent template!

I can imagine the LEDs would make a difference.
Its my knees that feel cold strangely.
Thanks for the ply I will make some calls in the morning and ask.

I had a brilliant template until I cut up most of it to make the batons before I thought of using it as a template for the new floor o_O
 
H0w about use the hidden clips but slit the carpet in a couple of places and put some screws in, then close up the slits in the carpet. Should hold the bulk of the panel weight.
 
H0w about use the hidden clips but slit the carpet in a couple of places and put some screws in, then close up the slits in the carpet. Should hold the bulk of the panel weight.
I was in custom shop designs this week, where I will get the ply if I go pre lined. The said I can use either MVM or Harrisons hidden fixings with their ply liners but would need toknow which I use before ordering as they need different sized holes.
 
Finished the Silent Coat on the sides and then added a layer of closed cell foam.

43_thermal barrier.JPG 44_thermal_barrier.JPG

This morning I started to install the mains hookup I got from @travelvolts

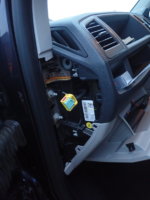
Removed the side panel which just clips out and unplugged the Airbag switch.
41_dash side panel removed.JPG

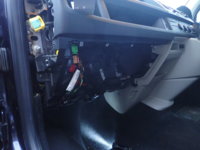
Then its 7 screws to remove the glovebox.
42_glove_box_removed.JPG

Then pull off the fuse box cover
42_fusebox_cover_removed.JPG

Now Im stuck, as I cant pull the carpet down to find the grommet for the wire. Any tips or is it just a matter of pulling harder? I don't want to break anything.
 
The grommet is very difficult to get to and higher up than you think. You may have to pull harder (but don't blame me if you break something).

Pete
 
Hi Agree with @Pete C its further up than you think, almost behind the dash, but it should poke the cable out under you factory vehicle battery.
 
Decided to give up on the electrics until I have time to take the passenger seat and carpet out.

Today firstly I swapped the plastic tailgate step trim for one from a Kombi, thanks @sofakingwrong , its great, makes a big difference. Need to get 2 more of the screws and some caps for the holes. I've seen them for sale but forgotten where.

Also more Dacron and removed the bulkhead. Feels bigger again. Chickened out of anything permanent so I can put it back if I want whilst its winter and cold.

Then I started to make a storage box out of ply until I got rained off.

When I removed the bulkhead I found a small hole in the back of the drivers seat where it had been rubbing on the bulkhead. Now I will have to get the seats recovered :(
47_bulkhead_out.JPG

Edit: Just been out in it for the first time sans bulkhead. OMG Its noisy :eek:
 
Last edited:
Well, been a long day, and probable the most stressful so far.

In preparation to cut out the bulkhead brackets took most of the trim out first thing this morning.

49_removing_trim.JPG

Then sheeted up as much as I could.

51_sheeted_up.JPG

Then cut out as much as I could with an angle grinder. Had to walk to get some more discs as I stood on my last cutting disc and broke it.
The the most stressful bit was over and I cut/ground out the brackets. Cleaned the area with meths and then applied some Hammerite.

53_hammerited_bulkhead.JPG

Next, whilst both seats were out and some of the carpet up I decided to have another go at the Arctic cable for the mains hookup.
Wow it was hard getting at that grommet, then even harder getting the thing back in the hole.

54_mains_hooup_lead.JPG

And emerging under the bonnet.

55_mains_hookup.JPG

Then started to put the van back together, and tidy up all the stuff scattered over the driveway. Temperature was really starting to fall and I was getting cold as I finally got to this point.
All that hard work, effort and stress and the van doesn't really look any different.

56_back_together.JPG

Ah well, at least the bit I have been procrastinating about is over. Decisions to make over the ply lining/floor insulation and windows to make now.
 
Like you say, good to get a big job that's ben hanging over you out of the way, now you can get on with fun stuff :thumbsup:
I always find it easier to whip the battery out and feed the cable from the underbonnet side into the cab rather than the other way round.
 
Not done much recently.
Finished the under bonnet work for the electric hookup.

Then basically its been planning and shopping.
Bought a 1 piece 12mm ply floor.
Bought carpets and glue.
Bought 3.6mm ply panels for sides and tailgate with hidden clips.

Van seems to have developed a squeak somewhere in the back and its driving me nuts.

Its also going back to the dealers I purchased it from for the (non) heated rear mirrors a few other jobs that need doing.

Hope to be able to have a go at carpeting some of the panels this weekend.
 
Quick update, slow progress due to weather and being pretty busy on other things.

Took the standard side step out and cleaned under it to fit the Kombi one I got from @Pauly.

57_side_set_out.JPG

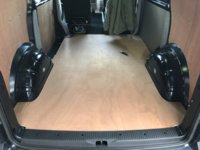
Put the 12mm ply floor in place but not fastened down yet. Cant decide if to screw or glue. Spoke to a couple of converters and they both said glue :/

58_Ply floor in place but not fastened down.JPG

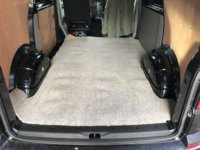
Temporarily chucked a bit of carpet down to make it look a little bit nicer, plus I wont dirty the ply floor.

59_carpet.JPG
 
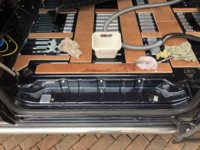
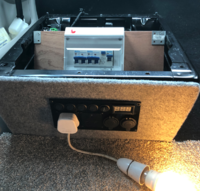
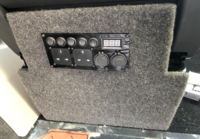
Got round to making a bit more progress with the electrics. Had a go at making a panel for the back of the passenger seat base to hold this panel:

Screen Shot 2019-02-18 at 07.44.28.png

At the moment it is just the 240V sockets that are working (when the van is hooked up to the mains.) Thanks to @travelvolts for that great quality kit and instructions.

Screen Shot 2019-02-19 at 07.01.41.png

Excuse the temporary board for the consumer unit and temporary van lighting.
Hopefully more updates to come later today.
 
Tues morning:

Screen Shot 2019-02-21 at 08.10.23.png

Later on the same day:

Screen Shot 2019-02-20 at 07.12.43.png

Taking the van (or is it a bus now) to have that little spot of paintwork done on the ill at the bottom front of the slider door, where it has damaged the paintwork.
 
First attempt at carpet lining. Have watched a few videos on youtube.

69_carpet_lining1.JPG
Getting the van (or is it a bus now it has windows) ready.

70_carpet_lining2.JPG
Near side B pillar trim off.

Starting here:

71_carpet_lining3.JPG

Working backwards

72_carpet_lining4.JPG

73_carpet_lining5.JPG

Off side: (got a bit stressed and forgot about photos)

74_carpet_lining6.JPG


75_carpet_lining7.JPG

Test fitting the rear panels:

76_carpet_lining8.JPG

77_carpet_lining9.JPG

Carpeting the rear panel:

78_rear_panel_lining.JPG

79_rear_panel_lining2.JPG

80_rear_panel_lining3.JPG

81_carpet_lining10.jpg

82_carpet_lining11.jpg

Looking more finished

83_carpet_lining12.jpg

Finished the off side window surround.

85_sidewindow_lining2.JPG

Some insulation / sound deadening on the roof.
86_roof_insulation.JPG

Well, I'm pleased with how it turned out. Didnt manage it in 1 piece, had to do the bit above the tailgate as a piece. Can hardly see the joints though so its not a disaster.
Was harder than it looked but I think I've learned a lots and doing it again would be a lot easier.

84_sidewindow_lining.JPG

I cant seem to delete this last extra pic.
 
Last edited:
Progress has been a bit slow due to other stuff going on.

However a few buts have been done.

Made a template of the batons in case I decide to screw down the ply floor rather than glue.

Screen Shot 2019-03-29 at 16.46.56.png

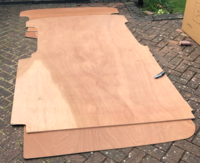
On piece (almost) ply floor ready to go in:

Screen Shot 2019-03-29 at 16.46.29.png

Made a higher backplate for the seat base to hide the gap my seat has.

Screen Shot 2019-03-29 at 16.46.41.png

Made a similar but lower one for the drivers seat.

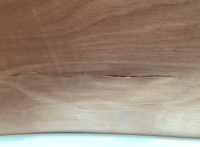
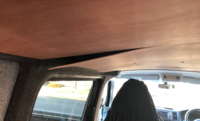
Will have to take the ply roof back next week:

Screen Shot 2019-03-29 at 16.45.45.png Screen Shot 2019-03-29 at 16.45.59.png
Thankfully I hadn't already covered it.

Just been installing the Kombi step and loom I got from @Pauly . Very happy with his stuff.
I now have a functioning step courtesy light :)

Screen Shot 2019-03-29 at 16.45.18.png

Also have been playing with the vcds lead I bought. I now have folding mirrors, and the start-stop no longer irritates me.
Next week the plan is leisure battery and relevant bits and pieces.

More to come soon.
 
Back
Top