You are using an out of date browser. It may not display this or other websites correctly.
You should upgrade or use an alternative browser.
You should upgrade or use an alternative browser.
CandyVan conversion journey
- Thread starter drinfinity
- Start date
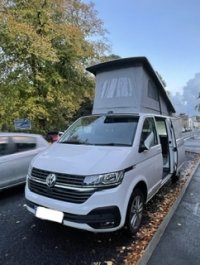
Ordered Nov 21 from JCB Ashford, via AutoEbidExciting project. Did you buy it from a main dealer? What was your lead time like on the van?
I’m looking to do the same… just can’t seem to work out where and what wiring I need to put in now for first fix… I’m hoping to do the whole works, poptop, kitchen, lights, diesel heater, leisure battery, charging points, shower.
I just can’t find anything to help me route the wires
I just can’t find anything to help me route the wires
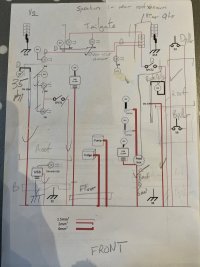
I made a list of all the items I needed, and the current to feed each one. I sketched a wiring diagram approximately the shape of the van, so I could group what was going up which pillars. To reduce the total cable length, I return via the nearest earth point rather than all the way back to the battery.I’m looking to do the same… just can’t seem to work out where and what wiring I need to put in now for first fix… I’m hoping to do the whole works, poptop, kitchen, lights, diesel heater, leisure battery, charging points, shower.
I just can’t find anything to help me route the wires
That let me estimate the cable lengths, and then choose the sizes.
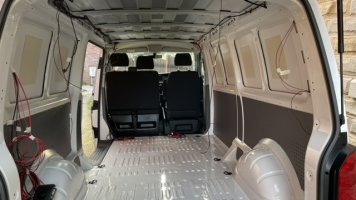
Putting the wires in was the easier part - I just ran them along the existing loom. Along the roof beams, and down the B and D pillars. The kitchen area will be fed from the floor behind the driver, so those aren’t in yet.
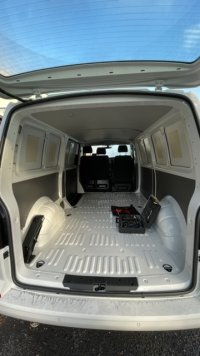
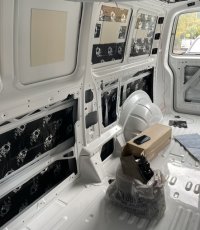
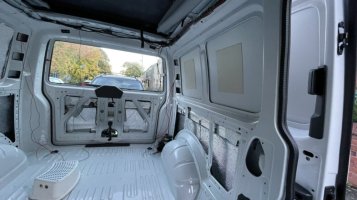
I regret covering mine completely, especially the floor. Once you have 3 or 4 sheets on a flat panel its the law of diminishing returns!
We’re looking to ply the floor so might have to strip some/all of the sound deadening off - I’ve done worse tedious jobs but not particularly looking forward to it!
We’re looking to ply the floor so might have to strip some/all of the sound deadening off - I’ve done worse tedious jobs but not particularly looking forward to it!
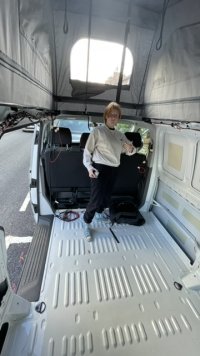
This week I have been mainly wearing wires.
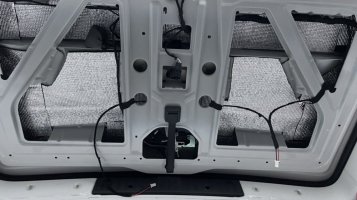
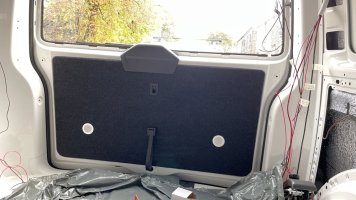
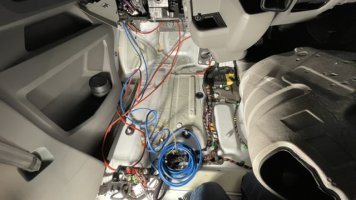
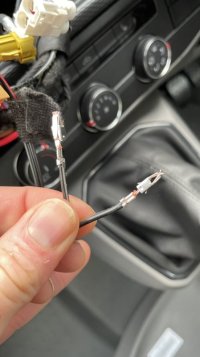
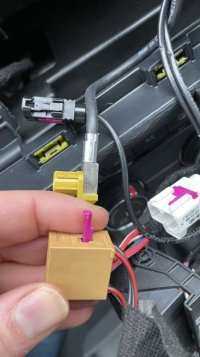
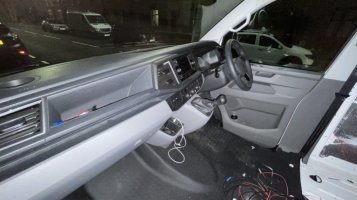
I had a very nice van, and ripped it to bits. Wires through to the battery for hookup and DC-DC, down the B pillars for all the accommodation electricals and solar, ignition live for the charger, and rear speakers hooked into the radio. And one little yellow wire for a future project Thanks to this forum for the guidance on every step!
Dash all back together now and it looks like a van again, and the radio still works!


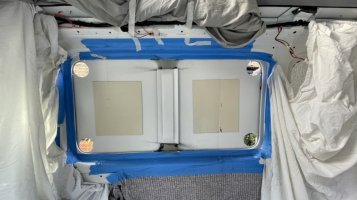
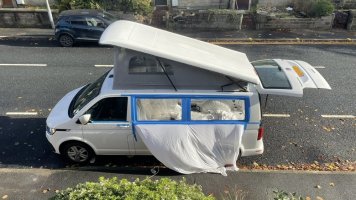
Windows in, one fixed over the kitchen, two fixed on near side. The ‘carpet over the edge’ method looks good, but adds a pile of stress to the job.
I highly recommend a powered cartridge gun for applying the bonding. It was really easy to get a consistent bead in the right place. Mine was from AliExpress.

I highly recommend a powered cartridge gun for applying the bonding. It was really easy to get a consistent bead in the right place. Mine was from AliExpress.


Under seat wiring done. Battery and fuses not installed yet till the lights and other consumers installed in the back. The DCDC charger is under the drivers seat.
I’ve used a little electronic latching relay for the LED lighting tape supply. This is controlled by momentary push to make switches, which means I can put however many switches for the light where I need them, with only two wires carrying the signal, not the load current.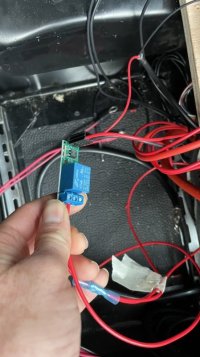
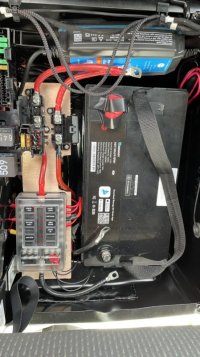
I’ve used a little electronic latching relay for the LED lighting tape supply. This is controlled by momentary push to make switches, which means I can put however many switches for the light where I need them, with only two wires carrying the signal, not the load current.


Yeah I wanted to carpet first but bottled it in the end. Ended up spending an hour tucking it in to the seal but looks good so happy enough.Windows in, one fixed over the kitchen, two fixed on near side. The ‘carpet over the edge’ method looks good, but adds a pile of stress to the job.
I highly recommend a powered cartridge gun for applying the bonding. It was really easy to get a consistent bead in the right place. Mine was from AliExpress.
View attachment 177655View attachment 177657View attachment 177658
Slightly wishing I had done the same. I managed to catch the carpet in the sealant and cause a leak, so had to get the window out and back again.Yeah I wanted to carpet first but bottled it in the end. Ended up spending an hour tucking it in to the seal but looks good so happy enough.
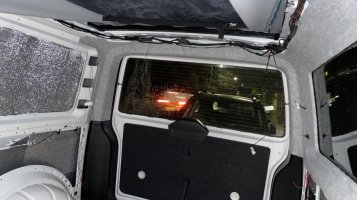
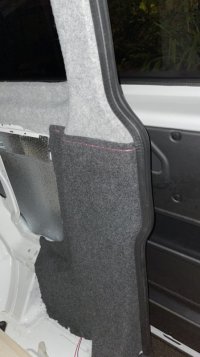
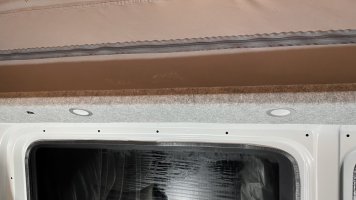
Carpet around the back quarters, and lower D pillar covers in. The carpet is silver on the top, anthracite below. The join has a hand stitched hem. The right hand roof beam is back in, covered, and two lights installed. Lots of fiddly details which should hopefully be barely noticed once it’s all together.


Similar threads
- Replies
- 9
- Views
- 877
- Replies
- 26
- Views
- 2K


