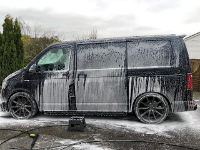
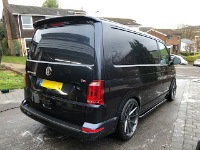
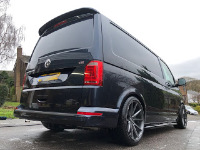
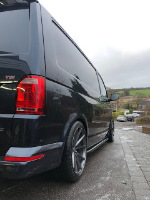
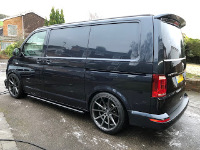
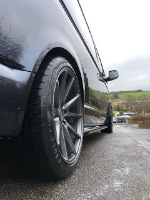
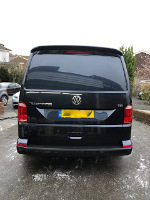
As much as I love my van I’d love an RS6 more!

I loved it..I'll have another! But shifted it before the new ones comes out next year.. Didn't want to lose a ton of money on it.

Might get an RS3 in the meantime..
 
Gone in for a Pop Top - Stealth Roof - Berkshire Campers


About a month ago I popped in to see Richard at Berkshire Campers to inquire about a pop top roof. At the time I had my mind set on a Skyline roof, Richard was a dealer for them. Got a really good feel from Richard, he was very particular about the way he did things and would only use electrical products he had tried and tested before that had not failed.

The next weekend I popped to see Campingwagons, again Neil and the chaps there were really good and their work looks excellent. By this time I had stumbled across Stealth roofs and their lovely carbon 25mm roof! Neil had one there but it was a horrible day and not the best day to pop it.

I decided to go with Richard as it was closer to my work and had a slot before Christmas to get me booked in.

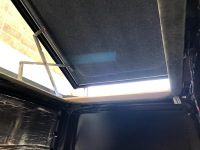
The next decision was what roof to go with, as mentioned I thought I decided on the Skyline but after seeing the Stealth this was a real option. Reading up on it there are pros and cons on all the roofs, The skyline seems like it has the best canvas, doesn't affect the headroom in the van, but you get the dustbin lid look on top. Hilo is really low profile externally but the headroom internally is sacrificed. Stealth is carbon, really low but the canvas isn't as thick as the rest and a lot don't like the internal hinges.

Settled on the Stealth, was nervous as there is a bit of bad press out there but felt better after hearing someone who ran a fleet of campers all with Stealth roofs! I wanted to keep the van looking as OEM as possible, liked the thought of a carbon roof, and 99% of the time I will be using the van on a daily bases with the roof down.

Berkshire Campers were not a fitter of Stealth but were willing to go through the training process.

Ian from Stealth popped down to train Richard and his team..

Ian managed to take a picture, I hear it was a long day!
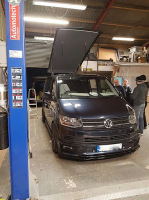
IMG_9944.jpg

I popped in the next day to discuss some options with Richard. Was really impressed with the work so far.

Being a few days before Christmas they are trying to get it back to me before the holidays.
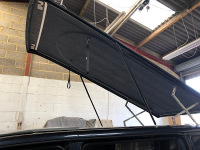
IMG_9945.jpg

IMG_9946.jpg

IMG_9948.jpg

IMG_9949.jpg

IMG_9950.jpg


Berkshire Campers

Stealth Elevating Roof
 
Vans looking great at @kn0bby. Great build thread. Some tips I've found with day to day use of the roof would be....
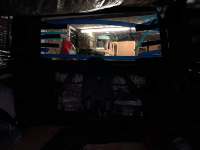
1. If your having young kids up there, worth considering filing around the edges of the hinge mechanism. Help protect little fingers from the sharp edges.
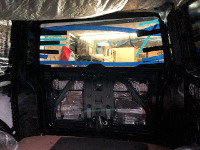
2. While the files out, bevelling the leading edge of the thread on the rear securing bolts, greatly assists with locating them in place. Especially if your putting a floor to ceiling furniture locker under the right one, as access maybe tight.

3. Keep a check on the nuts on top of the front latches. They can work loose. Some liquid thread lock is your friend here.

4. When your lowering the roof, you can drop it to the balance point and pull the tent material inwards. However, the material and zip under the hinge flaps can't be reached from the oval access hatch. It's not much material, but I found it wanted to naturally collapse outwards, compromising the seal and risking wear on the materiel itself. A couple of short strips of insulating tape, each side, can be used to fix the material inboard of the seal and help train it to fall inwards.

5. Carrying a 5 quid folding step to help you give the roof a final check is worth while, before you tighten everything down.

6. I see your cassette is white. Mines was black. When your standing up in the van, you notice it. I carpeted mine with four way stretch to match the bed board. Doesn't take long, easy to do and aesthetically much warmer to look at. Thats obviously personal preference though.

Enjoy your new build. Keep the updates coming. :thumbsup:
 
Thanks for the advice.. I know you have some experience..

Already started to consider what I could wrap the hinges in, I've got something in mind but I need to have a play.

Having built a kit car previous to this, I have a ton of plastic caps for nuts and threads. :)

I saw those locking bolts thinking they need a nylock on them..

Got any pictures of what you mean with the insulation tape?

Folding steps are already on the xmas list! Wanna keep that carbon roof clean and well polished!

What sort of time to pop up and down?

The cassette (assume you mean the under carbon tub fixed to the roof), is a nardo grey colour. Looks good. I did mention to the fitter about carpeting and he said it wasn't required. How far did you come over the other side considering this is a potential damp area?
 
Ah. Keen to see your idea with the hinges:thumbsup:

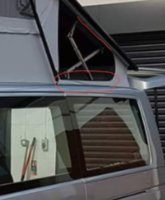
The area of tent I've circled in red. This is the part you want to try and train to fold inwards. If it flops outward, it can get trapped under the seal (red line).

I carpeted all the visible area. Sometimes it's unavoidable to put the roof down wet, but I always make sure it goes back up as soon as possible to make sure it dries out. So far I've never had an issue with damp. However the carpets only in place with contact adhesive. So easy to lift it if there was an issue.

As for time to put up. Undo the two bolts at the back, turn the front locks 90 degrees. Push the roof up at the hatch. Zip the hinge flaps, if you want them closed. 2 minutes.

(If you fit a tailgate spoiler, make sure the tailgate is closed when raising or lowering the roof).

Probably double that time to put down, just to make sure everything is tucked in place.

If your interested, I've engineered an awning rail, well I say engineered.....maybe fashioned an awning rail would be a better phrase. But it works without interfering with the bolts that fix the pop top to the van. Plus it only cost £35 to knock up.

20181223_111107.jpg
 
Arrrrr I get ya.. I will have to have a play and see how it works.

I know what you mean about carpeting but I will leave it until I have lived with it for a little bit.

Not decided on a pull out awning or blow up awning yet.. Like above going to live with it a little first. Plus the budget needs to go on the funiture and bed..
 
IMG_0546.jpg

IMG_0547.jpg

IMG_0548.jpg

IMG_0549.jpg

IMG_0550.jpg

IMG_0551.jpg

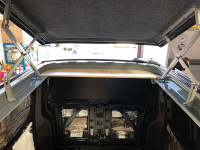
The roof lining inside the van.. Suede on the bed board and carpet on the side trims. Richard fitted some LED's down one side.

IMG_0552.jpg

IMG_0553.jpg

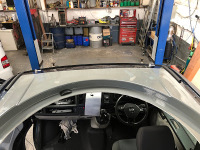
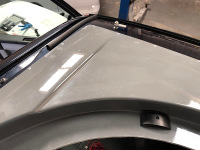
The carbon roof from above.
IMG_0554.jpg

IMG_0555.jpg
 
That’s looks great. You certainly don’t hang around

I’ve hardly seen it since you dropped it off. That Friday it had its heater fitted then since the Monday it disappeared for nearly two weeks. Time of year hasn’t helped.

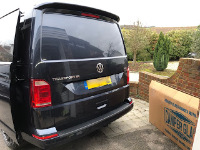
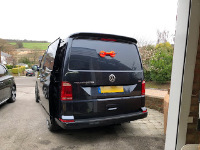
Really impressed with the Stealth roof. Not really noticed a change which is what I wanted.

Windows next!
 
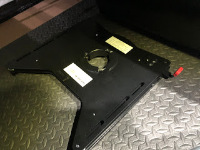
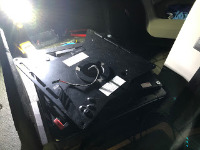
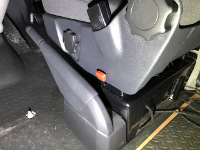
Just fitting a swivel seat. Thinking I’m making a mistake this early on in my build. It’s really fiddly.

BA5F0359-0953-458C-8C49-B71A96DF2572.jpeg
 
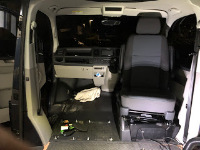
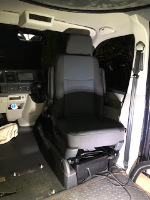
Driver swivel seat..

Got this for Christmas.. Had to fit it although I think I might be a little early in my build.

No instructions but pretty easy to figure out.

IMG_0623.jpg

IMG_0624.jpg

The front nuts are good fun to get in place.

IMG_0626.jpg

Really fiddly, but got there..

Very odd seeing the seat the wrong way round.. Ooh and its a pain getting it turned around. Hits the steering wheels, hand brake etc..

IMG_0627.jpg

IMG_0628.jpg

Needs some work, the lever stops the seat lowering to its max position. I'll modify the plastic cover tomorrow.

IMG_0629.jpg
 
First window done.. maybe the last?

I didn't plan on doing this today but it was dry and I had some free time..

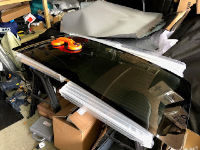
I've had the glass from Camperglass for some time.

IMG_0630.jpg

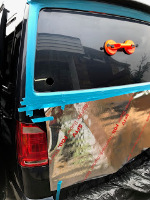
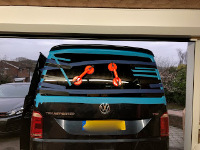
Ordered some suction cups some time ago as well, they work well.
IMG_0631.jpg

IMG_0632.jpg

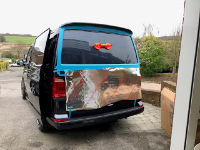
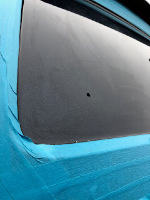
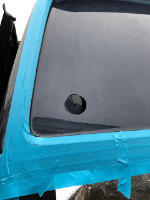
Body work all covered up.

IMG_0633.jpg

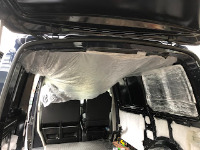
Also protected the newly lined roof.

IMG_0634.jpg

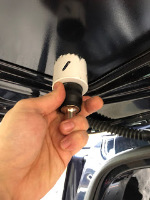
Oh god this is happening, I'm about to cut a huge hole in my bodywork.

IMG_0635.jpg

IMG_0636.jpg

IMG_0637.jpg

IMG_0638.jpg

IMG_0639.jpg
 
IMG_0649.jpg

IMG_0650.jpg

IMG_0651.jpg

IMG_0652.jpg

oooh man the blade jumped and bounced off my body work, lets hope its ok under there.

IMG_0653.jpg

IMG_0654.jpg

Damn blade jumped again.. I think I am using blades that are not long enough.

IMG_0655.jpg

IMG_0656.jpg

IMG_0657.jpg

IMG_0658.jpg
 
IMG_0659.jpg

IMG_0660.jpg

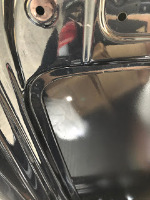
All filed and ready to be primed.
IMG_0661.jpg

IMG_0662.jpg

IMG_0663.jpg

Prime the glass as well.

IMG_0664.jpg

IMG_0665.jpg

IMG_0666.jpg

Need to prime right up to the edge, not alot of room when the trim is on there.

IMG_0667.jpg

IMG_0668.jpg
 
IMG_0669.jpg

IMG_0670.jpg

IMG_0671.jpg

sealant applied.. Its true what they say, it really hurts your hands to pump out the sealant gun.

IMG_0673.jpg

IMG_0674.jpg

IMG_0675.jpg

IMG_0676.jpg

Tape applied ready to hold down the window.

IMG_0677.jpg

IMG_0678.jpg
 
Really didn't enjoy that.. Did it on my own and could have done with someone to help me as it was difficult to see the edges standing in the middle of the glass.

Not sure I famcy doing the other three...

If I do tackle them, a few points:
Need some better, longer jigsaw blades.
Might not use jigsaw, might get some electric shears.
must use better masking tape.
Need a second pair of hands.


IMG_0679.jpg

IMG_0680.jpg

IMG_0681.jpg
 
Back
Top