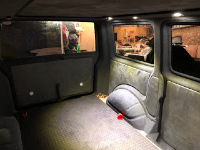
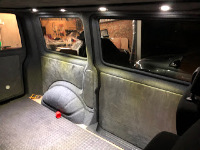
Good job. One of my concerns is its a two man job. With the expense of buying tools I doubt I would ever use again I might bottle out of this and pay an expert.
You are using an out of date browser. It may not display this or other websites correctly.
You should upgrade or use an alternative browser.
You should upgrade or use an alternative browser.
Man Vs Van..
- Thread starter kn0bby
- Start date
I could fit the rest fine but wonder if they would be up to a standard I was happy with. ie. perfect lines, no visible sealant.
I went with the same thought as you, try and door first that way it could easily be replaced.
I think I rushed the final part, should have waited for help.
So window you did, still in or had the pros redo it?
I went with the same thought as you, try and door first that way it could easily be replaced.
I think I rushed the final part, should have waited for help.
So window you did, still in or had the pros redo it?
I left the window in and sent the van away to get the others put in. I bought some fibreglass window trims from eBay to try and tidy the inside up but they were to flimsy so I had some machined in moisture resistant MDF and carpeted them. They done the job and looked pretty good.
The next day.. Windows still there..
Well the morning after the windows not on the floor smashed.
From a distance, it looks really good.
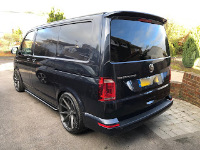
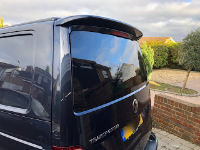
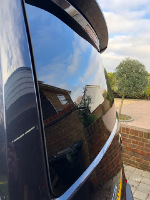
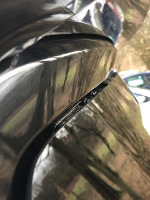
It's not until you get closer you see the bad points. The window is not high enough, its showing the sealant at the top.
Think it's coming out and I'll try again.
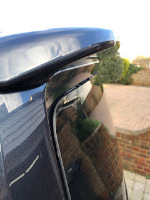
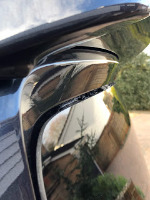
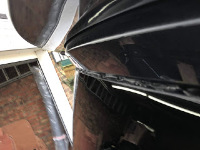
Really pleased with the windows from CamperGlass, perfect tint from the outside but super bright on the inside.
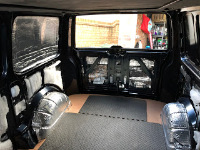
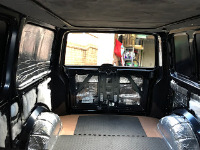
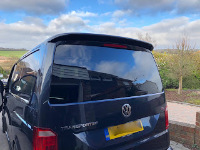
You can see through if you cup your hands and look through..
Well the morning after the windows not on the floor smashed.
From a distance, it looks really good.


It's not until you get closer you see the bad points. The window is not high enough, its showing the sealant at the top.
Think it's coming out and I'll try again.


Really pleased with the windows from CamperGlass, perfect tint from the outside but super bright on the inside.


You can see through if you cup your hands and look through..

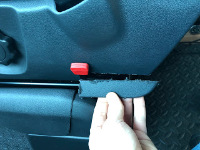
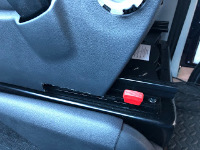
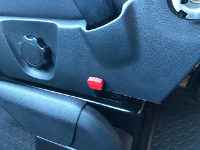
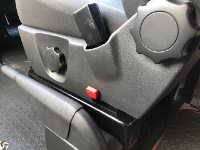
Modifying the seat trim..
To get the seat into the lowest position the seat trim has to be modified to not hit the lever.
Annoying part, it won't turn with the double seat next to it..
Time to sort a captain seat and get bed and cabinets ordered.
To get the seat into the lowest position the seat trim has to be modified to not hit the lever.


Annoying part, it won't turn with the double seat next to it..
Time to sort a captain seat and get bed and cabinets ordered.
Would be interested to know how people get rid of excess window sealant.
Made the same mistake as you when I fitted my tailgate window. First fit - didnt push hard enough and it leaked. Took it out (easier said than done) and tried again. This time pushed too hard and the sealant oozed out the side in places. It doesnt help that the van is white... Cleaned it up best I could but its not perfect but havent got the heart to take it out again...
Made the same mistake as you when I fitted my tailgate window. First fit - didnt push hard enough and it leaked. Took it out (easier said than done) and tried again. This time pushed too hard and the sealant oozed out the side in places. It doesnt help that the van is white... Cleaned it up best I could but its not perfect but havent got the heart to take it out again...
Would be interested to know how people get rid of excess window sealant.
Made the same mistake as you when I fitted my tailgate window. First fit - didnt push hard enough and it leaked. Took it out (easier said than done) and tried again. This time pushed too hard and the sealant oozed out the side in places. It doesnt help that the van is white... Cleaned it up best I could but its not perfect but havent got the heart to take it out again...
I'm sure there are tricks of the trade to clean it up.. I also expect they don't put so much on.
How did you pull it out? was it easy? I assume you mean after it was cured completely..
I chickened out...
Its back at Berkshire Campers.. I chickened out with doing the rest and to best honest didn't have the time to get it to the standard I wanted.
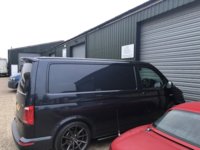
Its missing a few panels now!
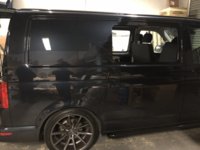
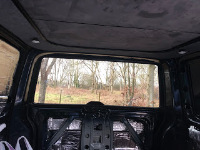
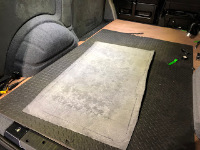
Carpet is looking spot on..
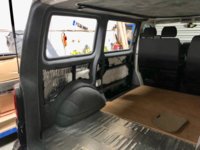
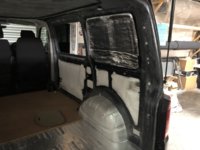
More pictures to follow once done.
Its back at Berkshire Campers.. I chickened out with doing the rest and to best honest didn't have the time to get it to the standard I wanted.

Its missing a few panels now!

Carpet is looking spot on..


More pictures to follow once done.
Its looking great.
I don't blame you to be honest. Was the carpeting done before or after the holes were cut?
I can't decide if to go one colour like you or charcoal/smoke 2 tone.
Does your floor go under the sliding door plastic step trim?
I don't blame you to be honest. Was the carpeting done before or after the holes were cut?
I can't decide if to go one colour like you or charcoal/smoke 2 tone.
Does your floor go under the sliding door plastic step trim?
Cheers Pal..
They cut holes, carpet and then fit windows so they can wrap the carpet around the metal edge to give a pro look.
I wanted darker interior but seen some that look proper dark. If I'm away in it I think I will be thankful for the lighter shade.
The current step is the standard one.. it doesn't. I have the VAN X version in the garage that I will fit once the vinyl is down. I'm fitting the deeper kombi step which should be fine, I hope!
I own Bus...
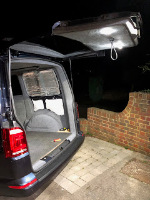
Picked up the van from Berkshire Campers today. Richards done a fantastic job!


The carpeting looks outstanding..
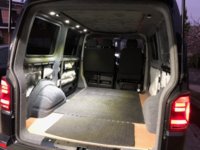
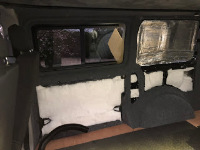
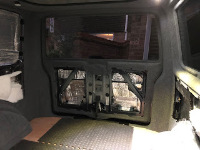
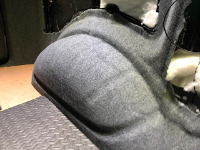
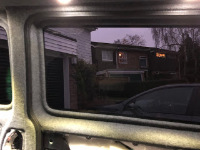
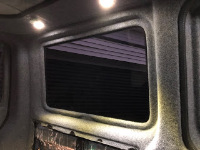
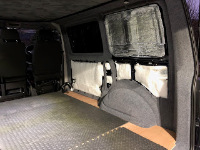
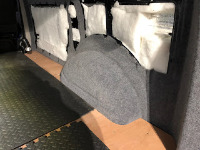
Trial fitted the suede.. oooh they look good!
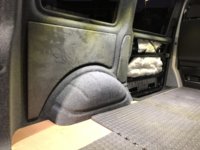
Picked up the van from Berkshire Campers today. Richards done a fantastic job!


The carpeting looks outstanding..


Trial fitted the suede.. oooh they look good!

Pimp My Ride...
Its back....
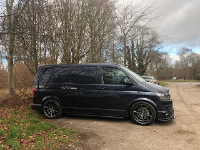
Oli from Bognor Motor Company dropped my transformed T6 back today..
Chuffed is an understatement!
Next up...
Carbon wing mirrors.
Gloss front grills.
Not sure if the badges should stay silver, breaks it up a bit.
love the van, great colour and styling
love the van, great colour and styling
Cheers man!
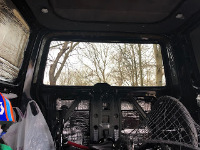
Finishing Lining and insulation.
Back to work on the bus..

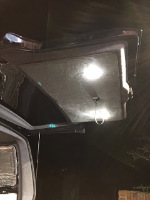
Finishing off the sound proofing and insulation.
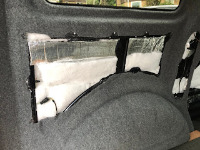
Couldn't decide how to do the vapour layer. Originally I was going to tape it to the body but decided to fix it to the ply panels instead.
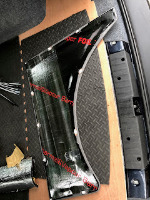
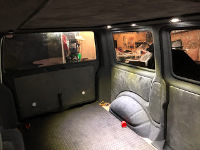
More ply lining..
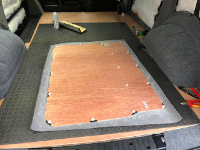
One side done, not sure I like the hidden clips.. Will see how they go, but might end up using some normal clips to fix them hard in place.
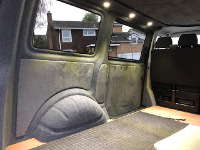
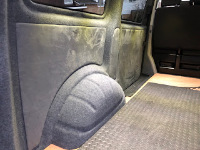
Oops those rear rims are wide the panels actually touch the tyres.
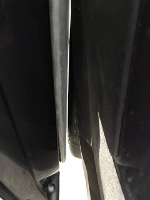
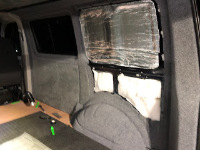
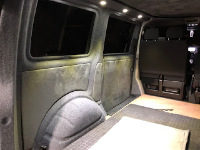
Back to work on the bus..

Finishing off the sound proofing and insulation.

Couldn't decide how to do the vapour layer. Originally I was going to tape it to the body but decided to fix it to the ply panels instead.

More ply lining..

One side done, not sure I like the hidden clips.. Will see how they go, but might end up using some normal clips to fix them hard in place.


Oops those rear rims are wide the panels actually touch the tyres.


I've got serious van envy now. Top job.
I loved it..I'll have another! But shifted it before the new ones comes out next year.. Didn't want to lose a ton of money on it.
Might get an RS3 in the meantime..
Do it
Similar threads
- Replies
- 36
- Views
- 11K

