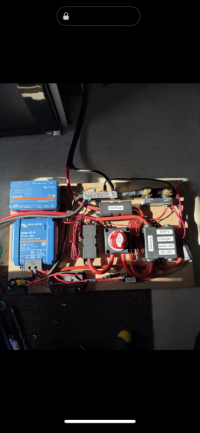
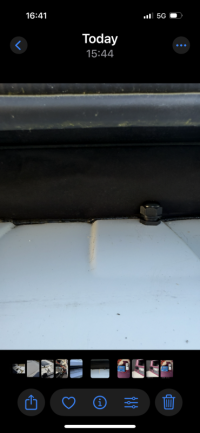
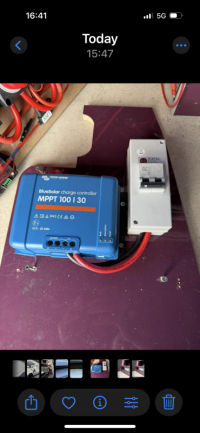
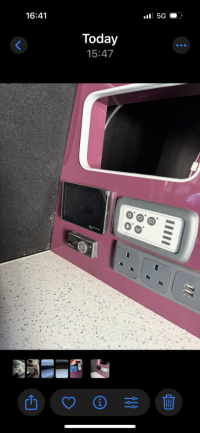
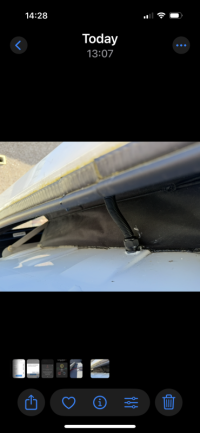
I’ve started to install my power upgrade and thought I would post a thread on it which might be useful for others thinking of upgrading to lithium.
I would like to point out that I am far from an expert on this and as much as I am capable of doing the installation I am totally reliant on the expertise of the very knowledgeable and helpful members on here.
Thanks guys
They have advised me on what I needed to buy and how it all goes together.
I spend a lot of time in my camper off grid so this upgrade is to allow me to stay off grid for as long as possible. I plan to keep my T6 for a long time so this investment is worth it to me. But not cheap.
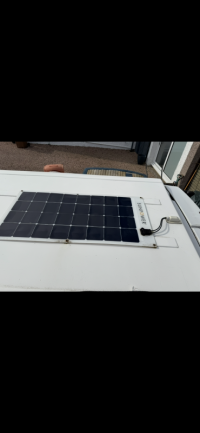
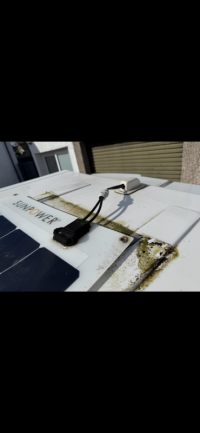
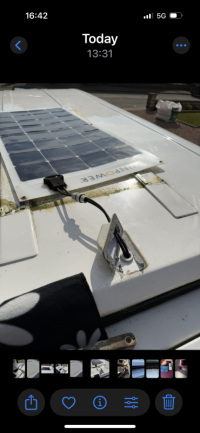
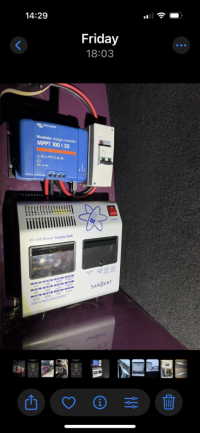
My system at the moment is a standard camper set up of a lead acid leisure battery on a split charge relay with a small flexi solar panel and a Sargent EC155 to control the 12v system.
To change to lithium is not as easy as just swapping the batteries.
I’ve had to upgrade a lot of other components as they are not lithium compatible.
The split charge system needs replaced with a DC-DC charger
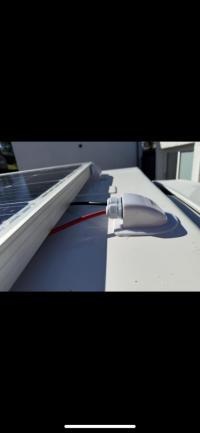
The solar controller needs replaced with an MPPT
I need to pull the fuse in the Sargent for the charger to disable it. And I’ve opted to fit a lithium charger to charge the leisure battery on EHU but realistically with this system I shouldn’t need EHU. I’m going to keep the Sargent for the fuses for my whole 12v system lights/pump etc.
In stead of fitting an inverter for off grid 240 power for normal plugs I’ve decided to keep the power in the LB that it would use and bought a separate EcoFlow Delta 2 portable power pack and am installing the EcoFlow 800w alternator charger to fast charge this on the move.
I’ve been advised to fit an Ablemail AMT. it’s a small box that will trickle charge my starter battery from the lithium battery so my van will always start.
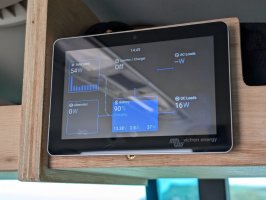
I’m fitting both a shunt and the Cerbo GX with screen to monitor the whole system but the Cerbo is not required for this upgrade I’m just a sucker for shiny things and panels that light up.
I’m about to install a
Roamer SMART4 230a lithium battery
Victron Orion XS 50a DC-DC charger
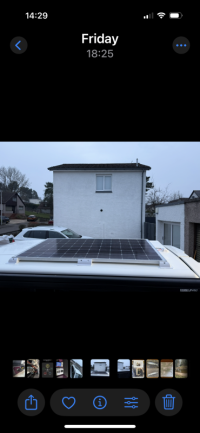
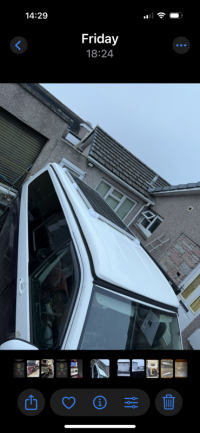
Victron 360w rigid solar panel.
Victron MPPT 100/30 solar controller
Victron IP65 mains charger
Victron Cerbo GX and screen
Victron shunt
EcoFlow 800w charger
New wiring, fuses, bus bars, isolation switches.
I will update this thread as I progress and add pics.
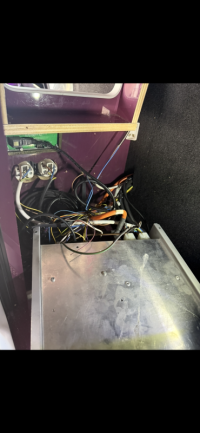
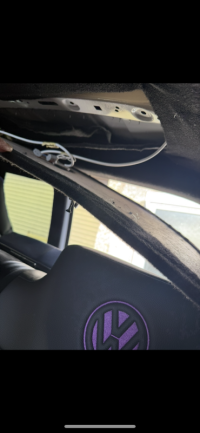
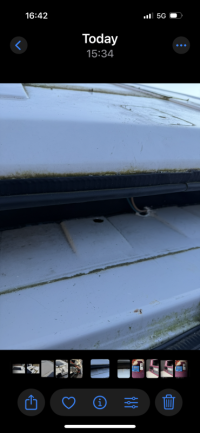
Today I’m running the new power wire from the SB to the LB as well as running the wires from the EcoFlow charger to the LB
Last edited:


