Hudson's Autohaus T6.1 Build

Now then all, had a gander through @DubHaus build thread and it inspired me to make my own so here we go.

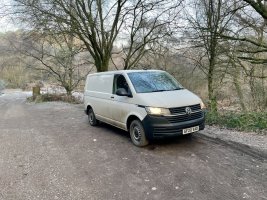
Starting off with the van, it's a 2020 T6.1 Startline with the mighty 110ps engine. When I bought it, nothing had been done, it was a completely bog standard van. Perfect blank canvas, and with only 26k miles felt basically brand new.
IMG_4463.jpeg

Now the build has been going on for some time (around 16 months), so below I will do a little post about each part of the build which I have done. I still have lots of plans for the van though so I will keep updating this thread as I go along, hopefully it may help a few of you who are just starting out on your conversion / build.

I have also documented all of the build so far on YouTube so will put a link to each video incase any of you fancy checking it out.
 
Stage 1 - The Strip Out

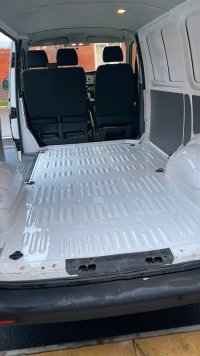
First I stripped all the van out getting rid of all the old ply lining and bulk head and then gave it a proper deep clean inside, feel this is the first step everyone makes when it comes to a van conversion.

95F9F093-8CC0-4941-A9E8-63502138BFE9.jpeg60B3DE01-E533-4ECD-9569-6A47B261206F.jpeg

Now I realised I never actually stated what the end goal of this van was/is. I am wanting to build a mountain bike camper van, something which can sleep two people (although snug) and hold 2 bikes so it can be used on long weekends away, bike race weekends and trips to the alps.

The video for the strip out can be found here -
 
  • Like
Reactions: CAB
Stage 2 - Insulation

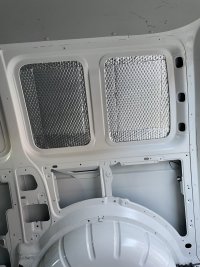
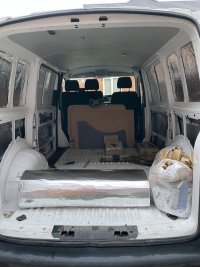
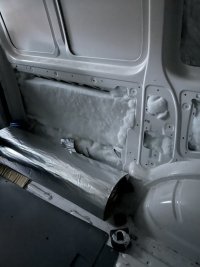
Next up was the insulation for the van. I layered this one going sound deadening, thermo liner and then plastic bottle insulation. All the parts I used are listed below.
Sound Deadening - Dodo Matt Deadn
Thermo Liner - Dodo Matt Thermo Liner
Insulation - Diall Plastic Bottle Insulation

IMG_4642.jpegIMG_4699.jpegIMG_4718.jpeg
Once again link for the video if anyone fancies watching it is here -
 
Stage 3 - The garage

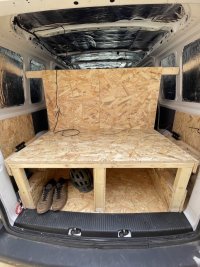
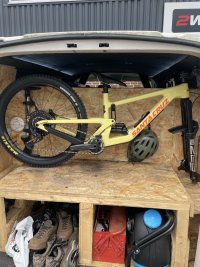
Next up I built a garage at the back of the van for the bikes, obviously the most important part of the build :D

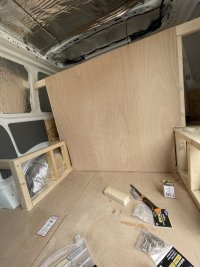
For this is used OSB in the theory it will be hard wearing with muddy bikes and built a partial bulkhead part way down the van to separate the living and garage section. I then built a base for the bikes above the wheel arches so they were bridged across ways with the front wheel off. This gave me storage then underneath to store all my shows, helmets, tools and jet wash. It definelty looks on the DIY side but works a treat and doesn't bother me throwing filthy bikes into it.

IMG_6121.jpegIMG_6128.jpegIMG_9721.jpeg
Was sceptical as to whether this concept was going to work at first but seemed to come out alright. Here is the video link -
 
Stage 4 - Windows and Carpet

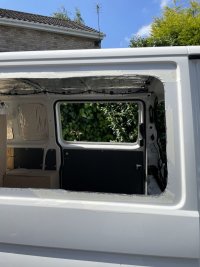
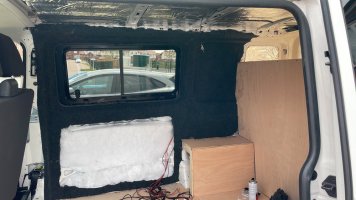
Now for the scary part, cutting holes in the side of the van to fit some windows. Terrifying but surprisingly easy to do. I have gone for two slider windows, one in each side so it all looks symmetrical on the outside and lets in as much light as possible.
IMG_6150.jpegIMG_6153.jpeg

After the windows were all put up, all the walls in the living section were carpeted, possibly the worst job I have done on the van so far, but I think it came out ok for a carpeting virgin, just don't look too closely haha.

All the carpet was from Harrisons Trim Supplies in Anthracite colour.
IMG_6736.jpeg7B4247ED-9144-4A82-B000-1757A12B202F.jpeg

Another video for anyone who fancies it -
 
Stage 5 - The bed

So the plan for this was to build a pull out double bed, which would be a sofa in the daytime and double bed when needed just to maximise space in the van. I also wanted to try and create as much storage as possible under the bed as well as an electrical cabinet to store all the battery and everything as it couldn't go under my seat as I plan for swivel seats. Turned out as expected really.
IMG_6877.jpegIMG_6954.jpeg

Video for this part of the build can be found here -
 
  • Like
Reactions: CAB
Stage 6 - Finishing Touches

Now at this point I had done lots of work on the van but there were lots of unfinished bits, such as no flooring, so that was the task now.

Other tasks were just tidying up areas in the garage section, and fitting new door seals and wind deflectors.
IMG_7348.jpeg
Here is the video for you all -
 
  • Like
Reactions: CAB
Stage 7 - Electrics

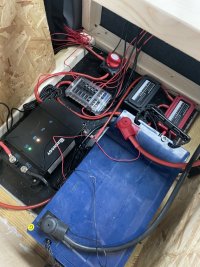
This bit I was super excited for as having spent a few weekends in the van by now it was really needing some power. Here is what was fitted
110ah Battery
Renogy 50A DC - DC Charger with MPPT
12 Way Fues Box
Positive and Negative Bus Bar
USB and USB C charger ports
LED Spot Lights
and loads of cable, probably missed stuff off but that is roughly it.
IMG_7636.jpeg

Video link for this is here -
 
Stage 8 - The Roof

After a little break, going to keep this going ... Next I got the inside of this van looking more finished and built a custom halo roof with welcome lights and 6 spot lights controlled from 2 lighting circuits, this is still possibly the favourite thing I have done to the van so far.

IMG_8712.jpeg

Once again another video for you -
 
  • Like
Reactions: CAB
Stage 9 - The start of the kitchen

I had a big plan for the kitchen and wanted to build a full unit with fridge and pull out hob. So I started off by building a base unit over the wheel arch which was gonna be used for storage and the house the hob draw.
1BD33051-1D6B-4741-9DCA-9702ABA629AA.jpeg
I even made another video surprise surprise -
 
  • Like
Reactions: CAB
Back
Top