No worriesNo sorry dude. Ill be using that on the shed/garage with the spare panels and few leisure battery's I have.. (basically putting the mobile camping kit to good use)

No worriesNo sorry dude. Ill be using that on the shed/garage with the spare panels and few leisure battery's I have.. (basically putting the mobile camping kit to good use)
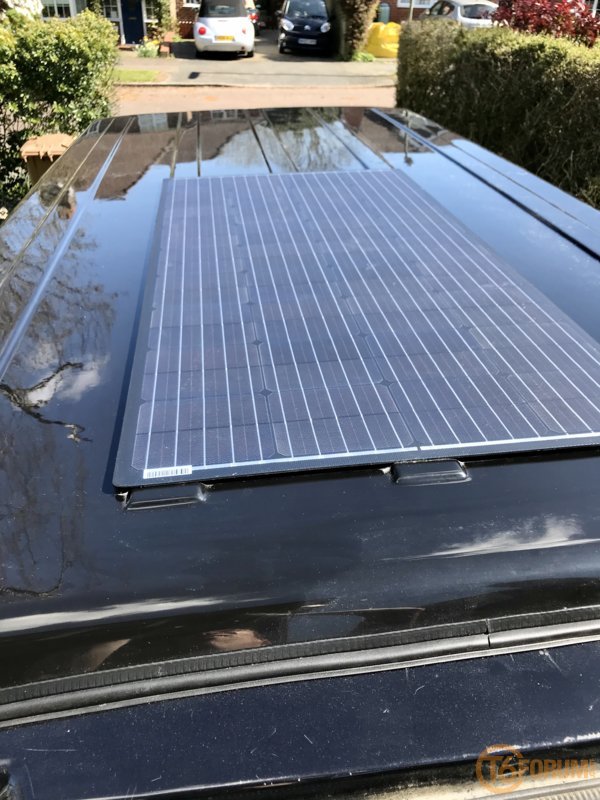
@Dellmassive how is your solar install coming along?2nd 150w photonics solar panel is in, plus new Victron smartsolar 100/30 on its way.
thats a 3 seater BTW
these panels are rated:
VOC 30.1v
ISC 6.35amps
with the victron 100/30 or 75/15 they can be connected series or parallel (but need blocking diodes as they dont come with any, so couple on there way too)
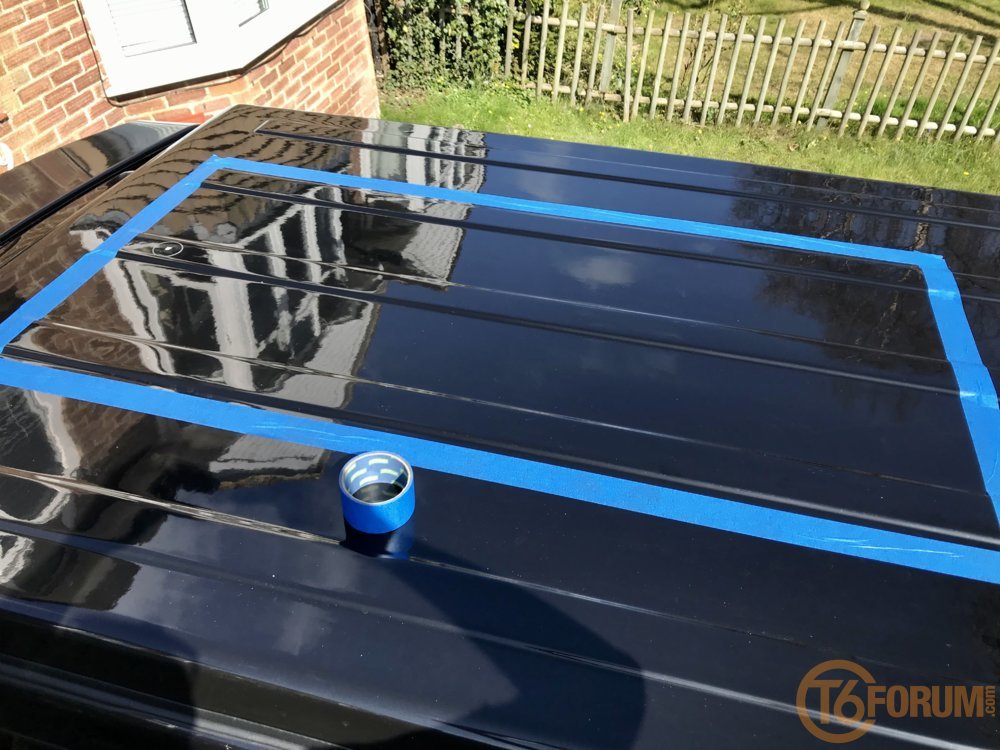
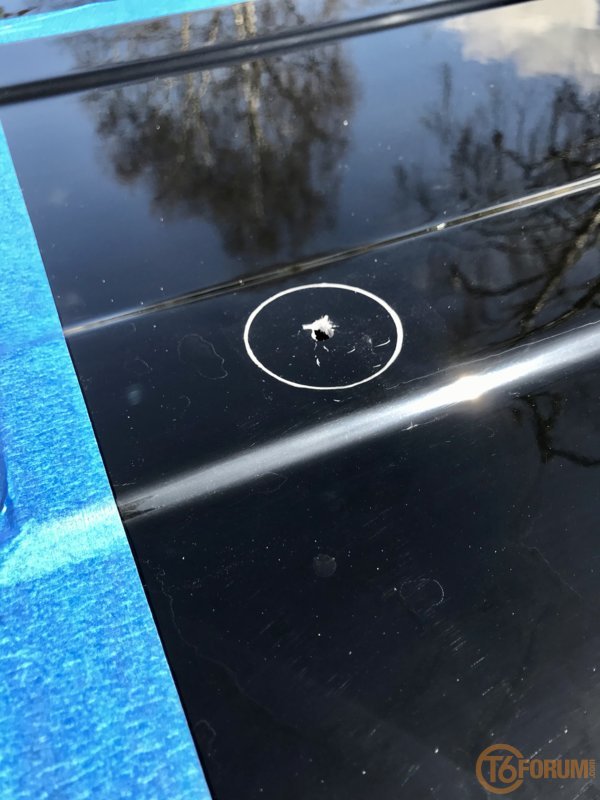
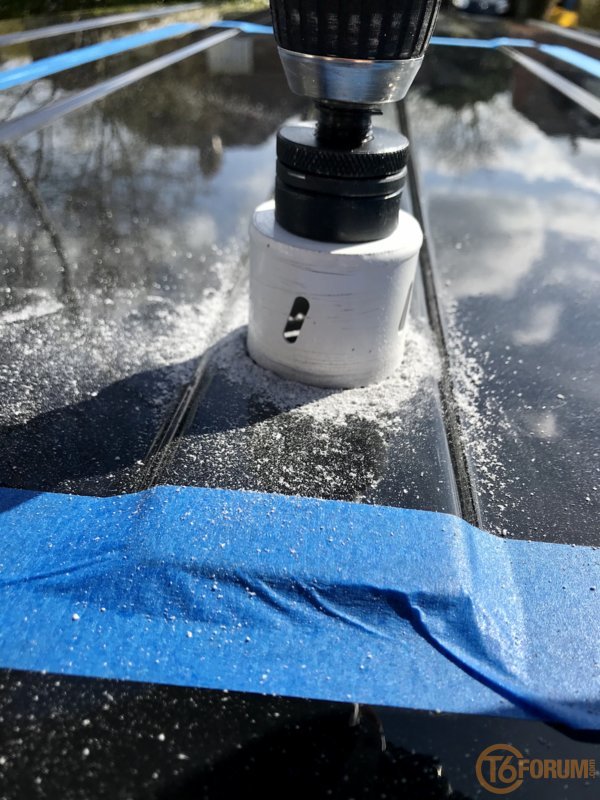
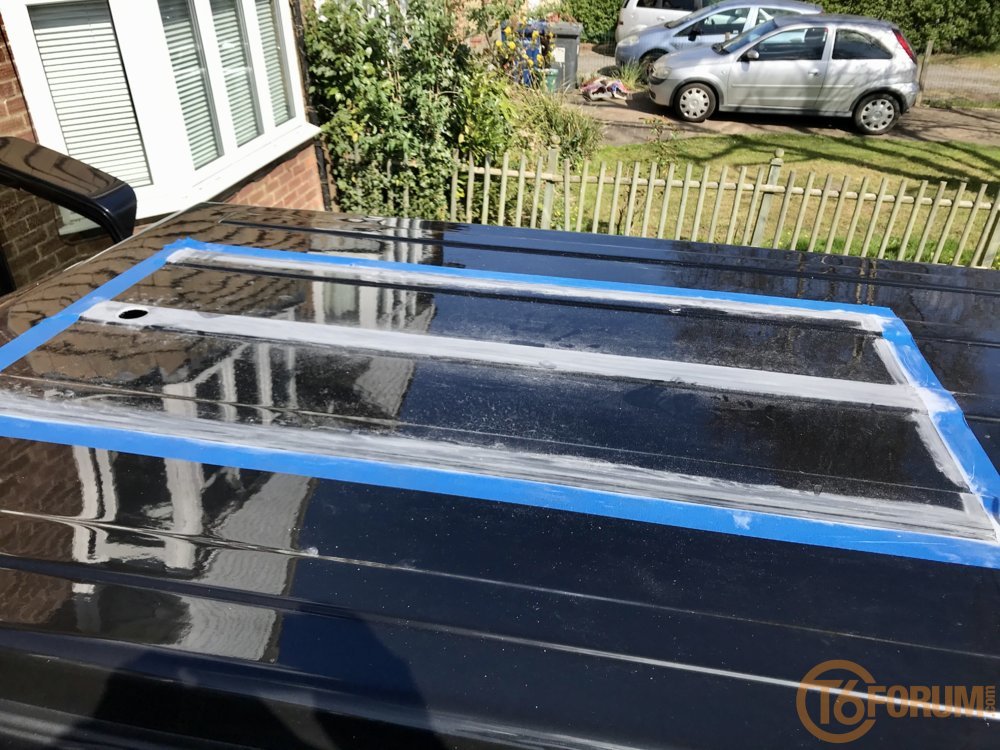
View attachment 36229 View attachment 36230 View attachment 36231
Its kinda stalled ATM @Ads_Essex,
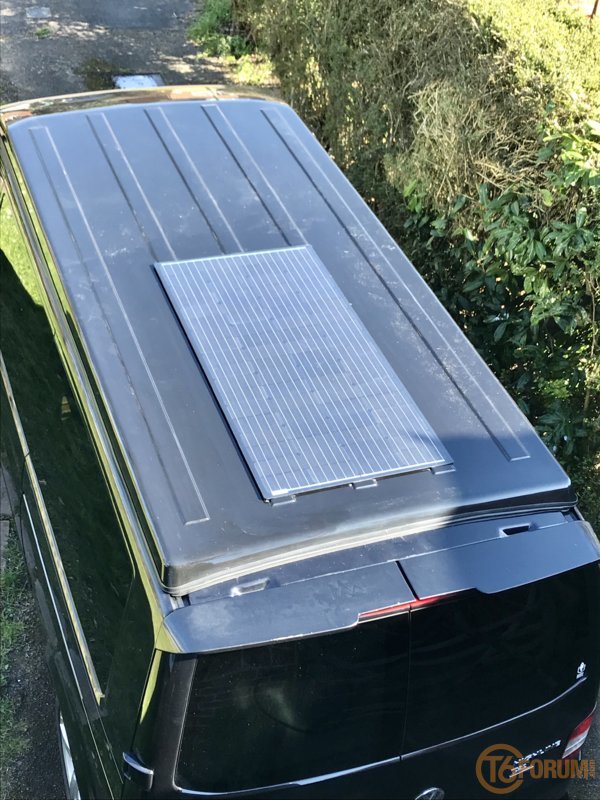
im planning on having the rear-half of the van roof vinyl-wrapped/covered in clear so that the sikaflex stuff could possibly be removed if the panels failed or needed replacing or upgrading.
it looks like it may be easier to peel off the vinyl than to attempt to remove the sikaflex from bare paintwork.!

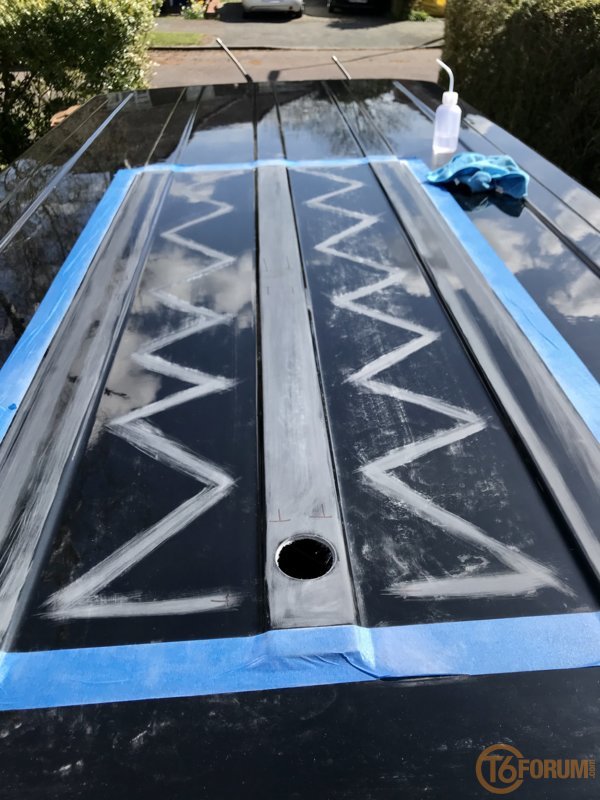
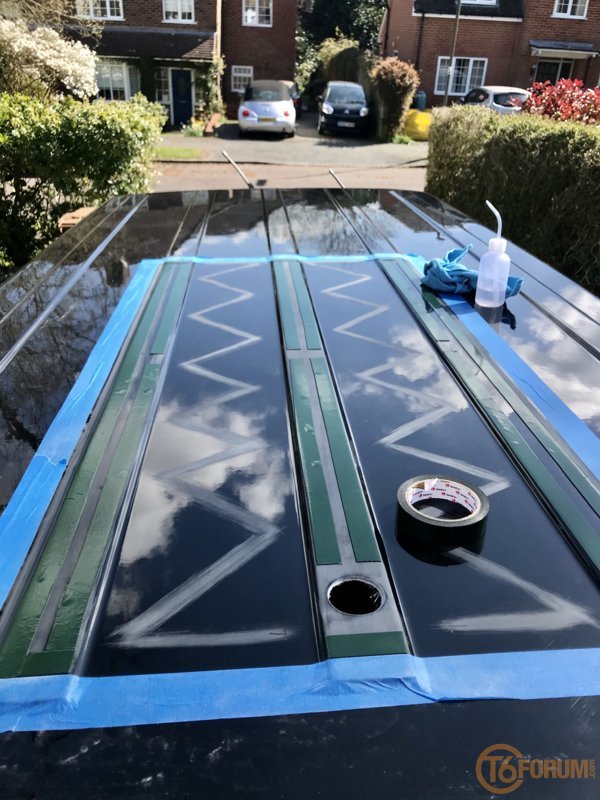
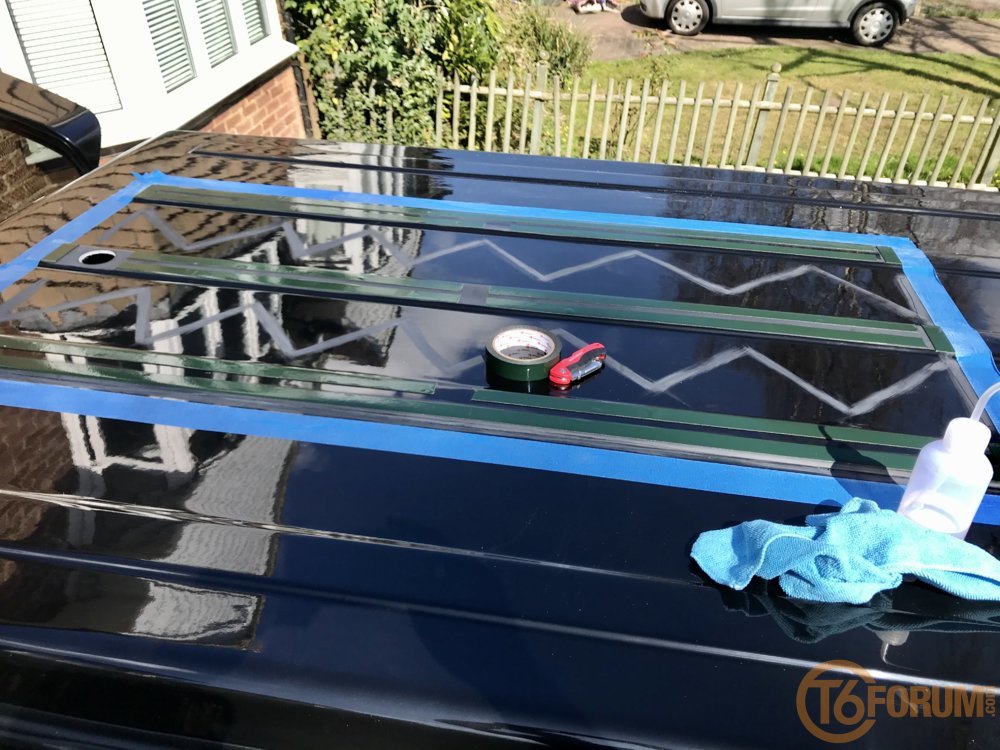
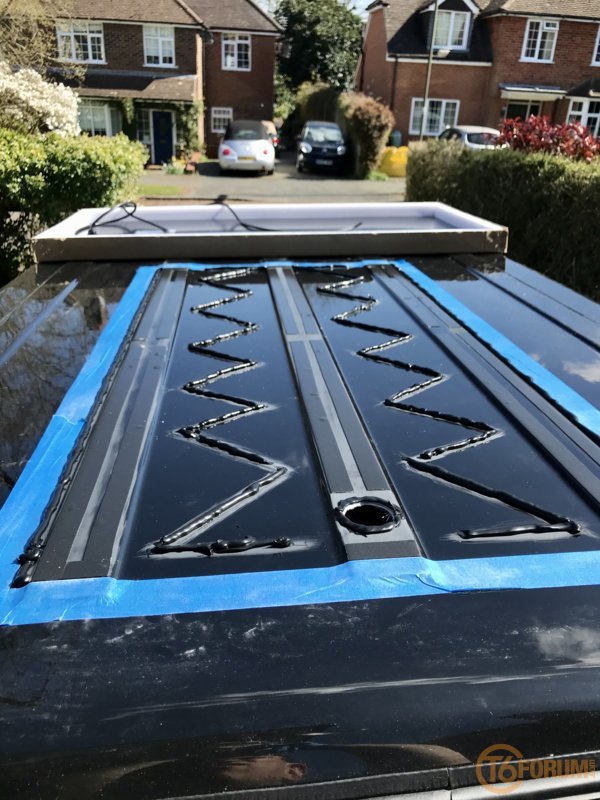
That sounds great, any chance of some close up pics for us all to see? And a few overall shots.?I just ran zig zag lines of sikaflex 521 in the ridge gaps. Didn't take it right to the sides in order to ensure no air was trapped anywhere. More than enough to support the panel. Along the leading edge, in the gap spaces, I used some Forch PU adhesive that was left over from my rear spoiler kit. Also used 7 metres of Sanojtape, which encompassed all edges, leaving small gaps on the rear edge to let air out.


Good stuff @ekynoxe . Glad you found the thread useful. Very similar to what I did. Continental summer heat and a wee blast on the autobahn last year and the panel was still in situ when we got back to Scotland. So quite confident it's fixed for good.