Reflex Silver T28.....First van build

A few things have happened since this was last updated.......Got my Climair wind deflectors fitted
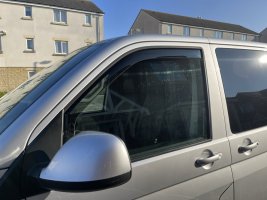
IMG_5255.JPEG

Almost fixed the fuel flap.....deffo needs a new spring but a good clean and lube has made a massive difference!
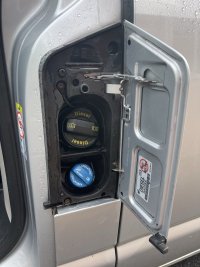
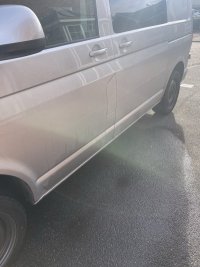
IMG_4028.JPEG

IMG_4029.JPEG

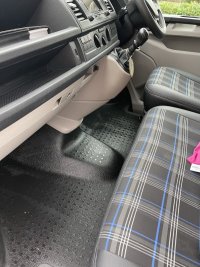
Gave it a good clean and Interior scrubbed as it was getting far beyond my OCD clean levels!

IMG_3801.JPEGIMG_3802.JPEGIMG_3814.JPEG

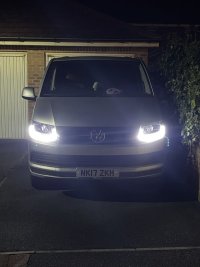
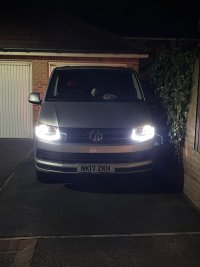
Over the weekend it was time for THQ headlights as sick of driving via candle light......

IMG_5202.JPEGIMG_5203.JPEGIMG_5204.JPEG

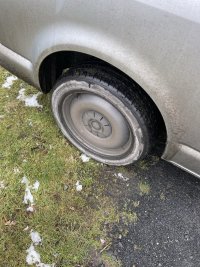
Then off for missions hunting waves all over Northumberland to get a good coat of filth back on it.

IMG_4809.JPEGIMG_4763.JPEGIMG_4877.JPEG
 
A few things have happened since this was last updated.......Got my Climair wind deflectors fitted

View attachment 188158

Almost fixed the fuel flap.....deffo needs a new spring but a good clean and lube has made a massive difference!

View attachment 188164

View attachment 188160

Gave it a good clean and Interior scrubbed as it was getting far beyond my OCD clean levels!

View attachment 188161View attachment 188162View attachment 188163

Over the weekend it was time for THQ headlights as sick of driving via candle light......
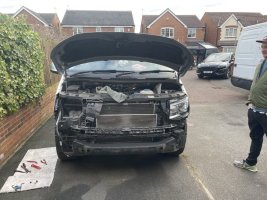
View attachment 188165View attachment 188166View attachment 188167

Then off for missions hunting waves all over Northumberland to get a good coat of filth back on it.
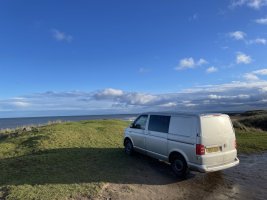
View attachment 188169View attachment 188168View attachment 188170
What did you clean the cab floor with!? I find it difficult to get it to come up that clean
 
What did you clean the cab floor with!? I find it difficult to get it to come up that clean
Randomly tried the Mrs kitchen cleaning spray and it worked a treat after using all sorts of car products that either left it sticky or slippery.....
Dont fear the smell its not very strong.
 
Randomly tried the Mrs kitchen cleaning spray and it worked a treat after using all sorts of car products that either left it sticky or slippery.....
Dont fear the smell its not very strong.
Thanks, will give it a go
 
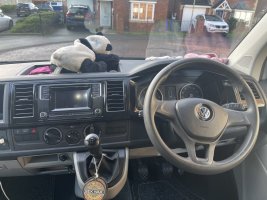
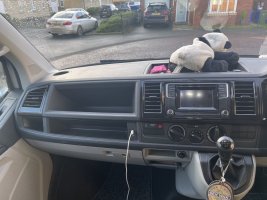
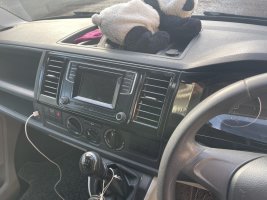
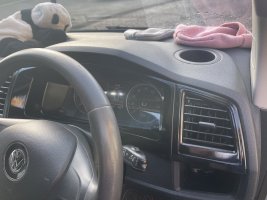
So I decided to try give the dash a slightly better look with some gloss black on the clock surrounds…hast turned out anywhere near as good as wanted so it will be getting done again but it’s certainly better than it was.

The gloss black has kept things looking factory and it’s super subtle.

Just the gear surround to swap out later today.

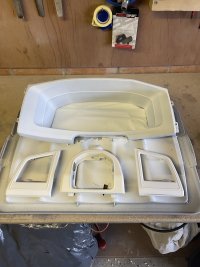
Back of clock surround masked off to protect the leather skirt and primed with the two side vent surrounds & gear surround.

6BD18610-2CB4-43CD-B923-C14B1BFA219D.jpeg

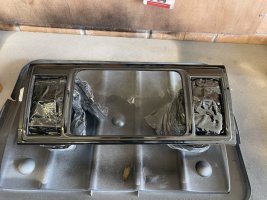
Center dash vents posed a problem as the vent slat units would not come away from the front plate so some intense masking was needed!! Once that was done they were primed!

F3C722FC-8CE2-488B-8E9A-5EB43AA18315.jpeg

Two coats of gloss black and then two coats of clear to finish.

0D2844FB-4E76-4E78-B849-66CF64B7A023.jpeg
F4D321DD-621F-4DFF-A370-FF23A8401AC8.jpeg

Finished items in the house over night to harder.

6BDA7E4D-6CB0-4003-B6BD-52B864808E3F.jpeg

Fired to van today, they still need to be polished up but want the clear to have another day or two to harden up first and it’s easier to polish when they are fixed so some pressure can be applied…..almost hard to tell there is any difference with them fitted so a nice subtle change.

6225B3D5-33A1-41B0-89F2-0A76F98F21A7.jpeg76021B60-AF66-4D18-87DA-EF9E50760807.jpeg16ECC928-F0E6-4365-9325-17230B83F93F.jpeg236B0A21-B5B9-4090-BFC9-41BE138EDA71.jpeg
 
Been a wee while since this post was updated…..we dropped down to one vehicle whilst we looked for a replacement for the 330 so the van was neglected for a while.

Anyhow finally got round to giving it a good wash, polish and wax, get the tyres and black plastic treated ready for winter…..


IMG_7633.jpeg

The eagle eyed amoung you will see that my rattle can wheels are getting ratty, going to carry on through winter now as they are past saving and get them coated or replace come spring

IMG_7635.jpeg

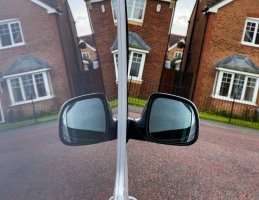
Everyone loves a reflection shot dont they?

IMG_7637.jpeg

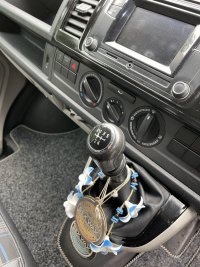
Oh and the gear knob is sorted too!

IMG_7640.jpeg

Was also suffering from head aches and a strong smell of exhaust in the cab, a trip to VW parts and 15 mins at lunch time and there we have it mission complete!

Out woth the old

van4.JPG

In with the new

van5.JPG
 
Last edited:
With an obsessive 10 year old surfer who wants to compete all over the place I have had to cave and do a light conversion. Bed is ideal as all the board slide under so plenty space.
FB marketplace bed sorted (mega bargain) and ikea futon mattress that measures up perfect to collect this week.
Now to compile a shopping list for leisure battery install to get some power

IMG_8322.jpeg
 
Consider a portable power station with folding solar panel if you're in for a light conversion ...
 
Stealth camper conversion done and ready for the junior surf season

Full 12v install with DC-DC charger, two lighting circuits, switch/power source sockets all installed in a day then a trip to ikea after surfing for a mattress to finish the job.

Need to get a few storage nets and find a way to keep Skateboards from sliding about but it’s coming together!

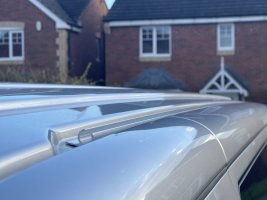
Next on the list is an awning rail and some form of simple awning for changing under and also on of those wee barn door awnings.

IMG_8665.jpeg

IMG_8663.jpeg

IMG_8662.jpeg

IMG_8661.jpeg

IMG_8659.jpeg
 
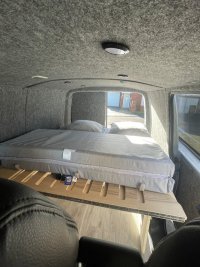
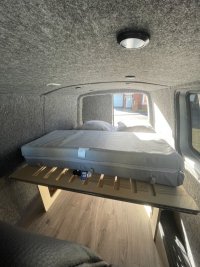
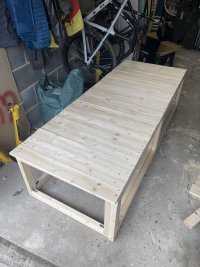
So a complete change of plan for the van now….sold the Kombi bed and now currently building a sliding one. 190x760 when stored so small single.

Need to cut ply cladding now, cut the doors into it for storage and then paint. Fairly happy with it so far.

IMG_9805.jpeg
IMG_9806.jpeg
 
  • Like
Reactions: CAB
Test fitted the bed to make 100% sure the widest boards fit with it extended and all the awnings, chairs and other camping bits fit under and throuhg the hatches inc skateboards.
The inside still needs finishing and the screw heads touching in etc so its rough and ready but will do the job for sure.

Image.jpg

Image (1).jpg

Image (2).jpg

Image (3).jpg
 
Back
Top