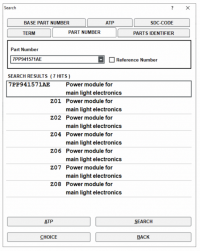
I bought my lights from TPS with motors (they don’t come with the LED driver modules 2 req for each headlight as you know if you have read through the thread with 14x fixing screws), for around that price.
Avoid buying the driver modules from eBay UNLESS you can easily send them back as they have had issues with them (even new units failing) so you want some sort of protection to allow exchanging them if they fail.
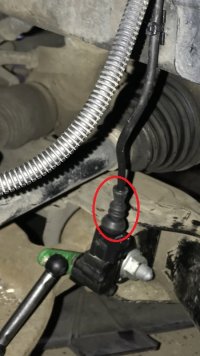
Replace the front suspension nut and bolt which needs to be removed to fit the sensor bracket as it is torque to yield. Think it was 1st stage 110Nm, second stage 120 degree torque angle but I would need to check ELSA (workshop manual).
I made my own looms on the van, but Pauly’s one will save lots of time.
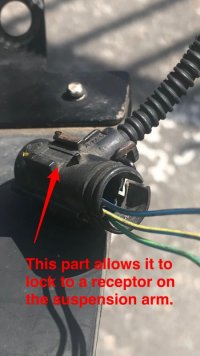
I did the sensors first and ran the two 3 core 0,5mm looms to the drivers footwell.
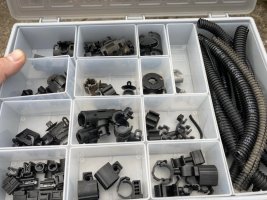
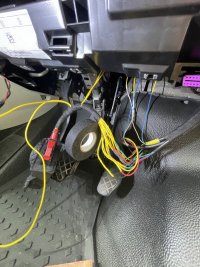
The 0.5mm 6 core loom from MX1 left headlight was run down the side of the battery using the existing body clips and into the cabin from a small grommet accessed by easing the carpet and sound deadening out the way. Make a SMALL round hole in the removed grommet (rather than slicing with a blade) and pass the core through, this keeps the grommet tight to the core without splitting.
Use a rod from the cabin to the engine bay (I have a super rod kit, but an open coat hanger would do) tape the 6 core to the rod and ease into the cabin then pass the core to the drivers side footwell keeping it above the pedal box housing (follow large loom right at the top and down behind J519 bracket so it does not get caught in the pedal mechanisms.
MX2 right headlight loom and the front sensor loom follows the original loom around the air filter housing and in through the large rubber gland which needs to be pulled forward to allow cutting two nipples to run the 6 core through one and 3 core sensor loom through the other. Make the cut at 90 degrees to avoid splitting and allowing smells and noise into the cabin. Take time to refit the block correctly into the bulkhead, be patient it will go in. Once you have done a few it is much easier, the first time will be a PITA and you will get frustrated. Use brake cleaner to make it slippy (but dries tight) to ease the process. Same when running cores through grommets.
If you use Pauly’s loom I’m not sure what route he suggests, but I made up mine to look original for the rear and ran the 3 core into the right rear quarter and used an inspection camera to find it as the van I did last weekend was fitted with a conversion with insulation so difficult to get to it in comparison to a panel van. Then ran it up to the factory loom in the roof and along to the drivers A pillar and down to meet the other cores.
You should also remove the range rheostat and fit just the dash one to keep it original.
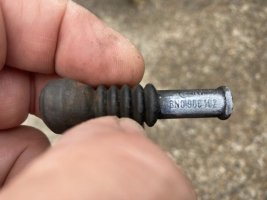
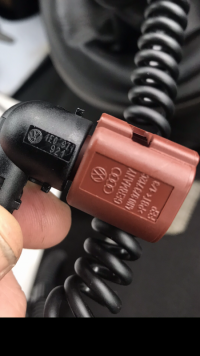
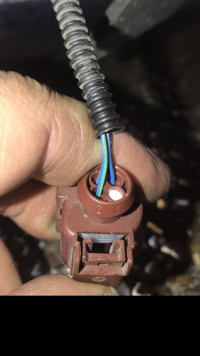
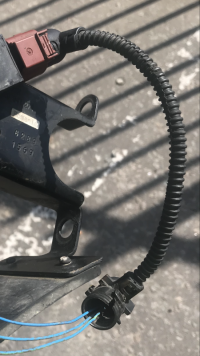
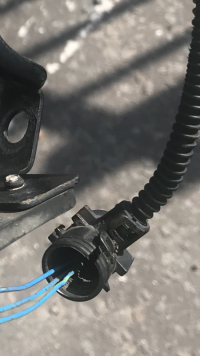
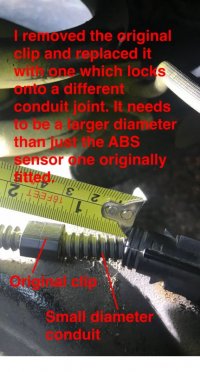
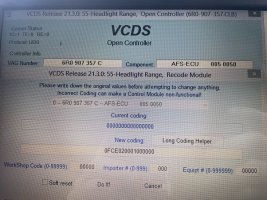
Look at the images to help picture some of the above.
View attachment 120316
View attachment 120317
View attachment 120318
View attachment 120319
View attachment 120320
View attachment 120321
View attachment 120322
View attachment 120323
View attachment 120324
View attachment 120325
View attachment 120327
View attachment 120328
View attachment 120329
View attachment 120330
View attachment 120331
Cracking addition there @Flyingspanner !

Out of interest, where do you buy your boots/bend restrictors for the level senors. I could use a few of those!
