You are using an out of date browser. It may not display this or other websites correctly.
You should upgrade or use an alternative browser.
You should upgrade or use an alternative browser.
ToddiesT6 - Build Log
- Thread starter ToddiesT6
- Start date
-
- Tags
- build thread.
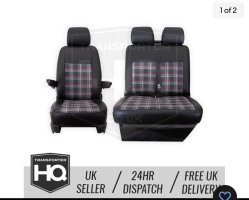
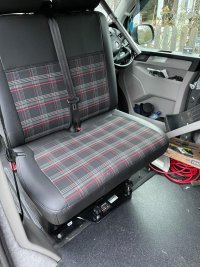
Very happy with the seat covers - super fit & worth the cost IMHO - so Top job #transporterHQ & just a few points to helps others:
1) No paper instructions provided, so search YouTube for a video as it shows you what to do.
2) you need cable ties to secure the covers & they are not supplied but “simples” to resolve
3) Removing the drivers seat ‘cushion base bolts’ does help fit the cover, but they are a pig to get back in place. ( I locked one with a screw driver & pivoted to base to secure the other before torquing up) I wouldn’t remove the base next time
4) Don’t forget to remove the 2x front plastic front rivets before the seat base or to route the fabric loops. Likewise the seatbelt sensor - disconnect first if your taking the base off.
5) Captain armrest covers come as 2x options - A) the OEM look required arm removal, yet the T25 bolt really doesn’t want to move & so I gave up for fear of shearing it off - B) the full covers are what I ended up fitting.
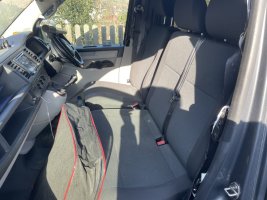
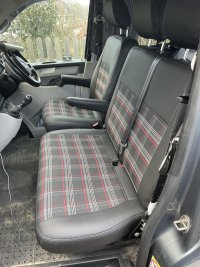
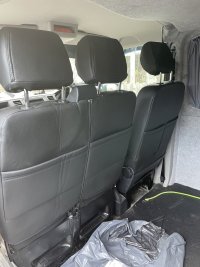


45 minutes, a few “for ducks sake” but easy enough when you watch the YouTube videoGood to know they're not too hard to fit. We pick up our van at the weekend and will be looking to do something similar soon too.
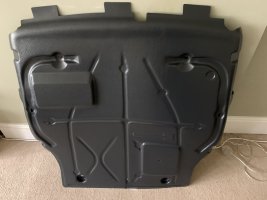
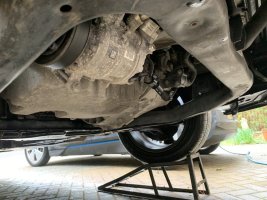
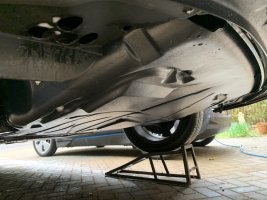
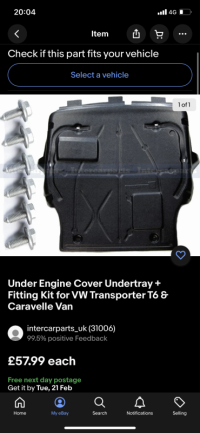
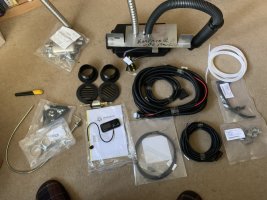
Which undertray is this? Seen some on eBay but this looks more substantial.Some new additions for the van & that’s Sunday morning planned out already then! But why why why didn’t vw supply the belly pan as standard for the T6?
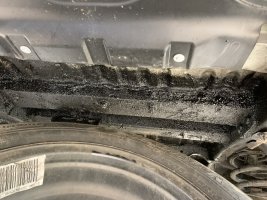
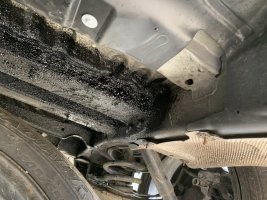
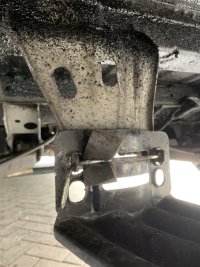
The AUX belt is seriously exposed to road grime & FOD
View attachment 188273
View attachment 188274
View attachment 188275
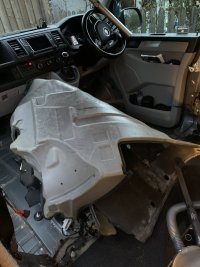
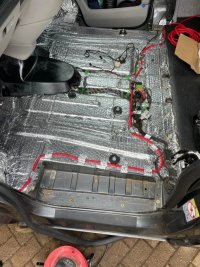
Another push to get their front cab deadened, insulated & dual swivel installed. Step one - carpets out, crud removed & dodo dead mat installed (almost!)
Tips:
1) chock the wheels, drop the handbrake & press the hidden release clip before sliding forward.
2) pry the lower handbrake housing from drivers seat up (not left to right) before pulling off.
3) Wires (green clips) ply off easy enough to fit mat underneath.
4)
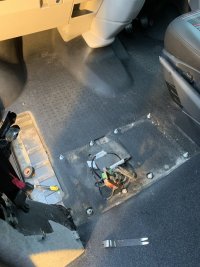
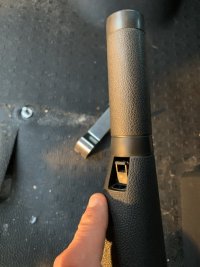
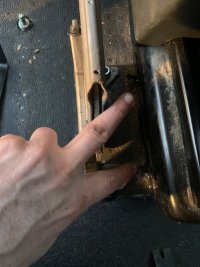
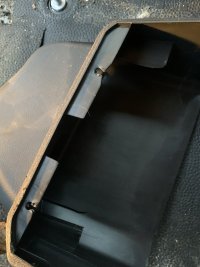
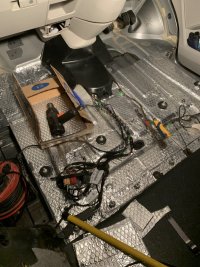
Tips:
1) chock the wheels, drop the handbrake & press the hidden release clip before sliding forward.
2) pry the lower handbrake housing from drivers seat up (not left to right) before pulling off.
3) Wires (green clips) ply off easy enough to fit mat underneath.
4)


Last edited:
Thanks Herdy - I’m glad it’s of interest & or help!Great thread, really enjoyed reading through this! Keep up the top work
And it’s aways good to learn from others mistakes….and I’ve made a few
The key is to have a go, ask questions & maybe try yourself - anyone can just pay someone else to do it, but the quality of these so called “professionals” is hugely varied IMHO.
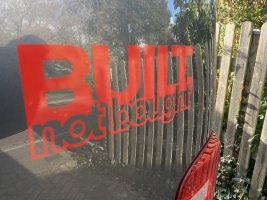
I can’t wait to add the “built NOT brought” sticker this this van
Last edited:
And that’s a wrap for the deadening!
B2B cable run from battery to behind drivers seat & the kiravans swivel is installed to boot.
Some great videos on YouTube - Lee from #CombeVallyCampers has helped so much indirectly
A few tips:
Deadening.
1) clean the area well.
2) heat dodo mat before application.
3) use nylon handles brush as a ‘dobber’ to work into corners if you don’t have hard roller.
Cable running.
4) 2x torque bolts removed above battery to gain access to cable routing.
5) ‘Punch’ bulkhead grommet else it will split if you knife it.
6) secure cable every 200mm approx to avoid movement (I used spare dodo)
Relocating connectors.
7) they easy fit under swivel - double sided down
8) You could disconnect plugs, but I just cut off the plastic holder I’d be binning anyhow.
Fitting swivel
9) wind the nuts on front 4x before cutting down.
10) don’t forget to cut the horizontal studs in the frame also!
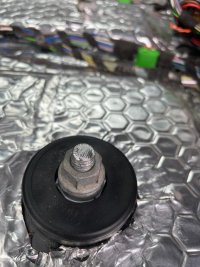
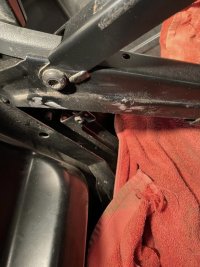
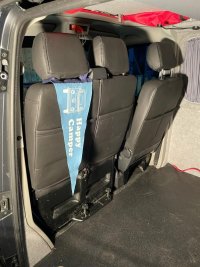


Last edited:
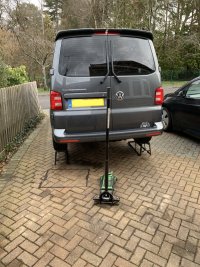
Another step forward today with the van build as I’m now fitted the RIB Altair 120  seat / bed ! It was certain an arse getting it loaded on my own, marking out where to drill was a bigger pain than expected & I’ve even ended up with an extra set of rear holes - but with a little Sika all will be good!
The extra pair of hands towards the end of the day finally got the bolts pinched up before the rain set in & i’m very pleased to save the £1k fitting charge quoted.
Anyhow if your going to DIY, start with the front bolts & miss the chassis rails you can’t access
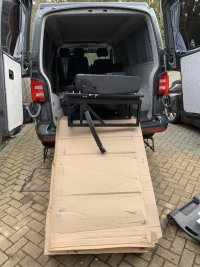
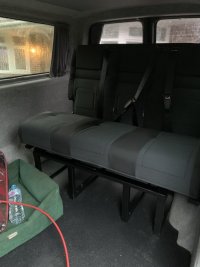
The extra pair of hands towards the end of the day finally got the bolts pinched up before the rain set in & i’m very pleased to save the £1k fitting charge quoted.
Anyhow if your going to DIY, start with the front bolts & miss the chassis rails you can’t access


The floor/liner ends as a straight line 5-10mm passed the cab mat rearmost line. Once I’d removed the seats & fitted the swivel I pulled the mat up & over before being siliconed into place.
The original option was to rivnut the floor at 5 positions, then fit a carbon fibre plinth from some scrap material I have, but it’s not needed.
If you have single seats & use the middle as a walkway then the plinth is more likely needed to stop it kicking up, but for me it’s no issue.
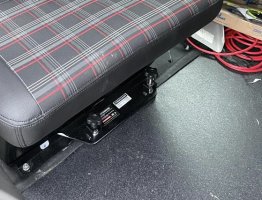
The original option was to rivnut the floor at 5 positions, then fit a carbon fibre plinth from some scrap material I have, but it’s not needed.
If you have single seats & use the middle as a walkway then the plinth is more likely needed to stop it kicking up, but for me it’s no issue.

Similar threads
- Replies
- 14
- Views
- 4K
- Replies
- 53
- Views
- 9K
- Replies
- 22
- Views
- 4K

