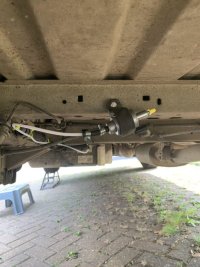
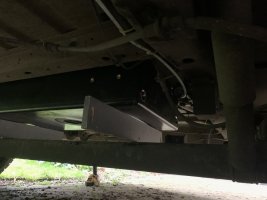
The joys of funemployment means I've more time to work on the crafter, so today I installed the Wheeliams spare wheel carrier.
1) Prep metal parts & paint.
2) Remove inner panels to access back of doors.
3) Switch magnetic stops from NS to OS & refit.
4) Support rear door
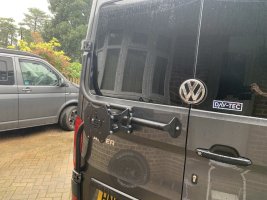
5) Remove upper bolts with breaker bar, hang upper beam & bolt back up, but don’t forget the rubber section that’s mean to stop damage.
6) Repeat for lower beam.
7) Fit middle beam (finger tight) & mark up hole.
8) Remove middle beam.
9) place pot inside door to catch swarf.
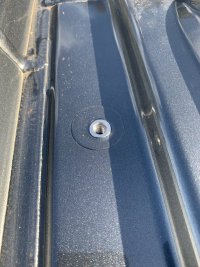
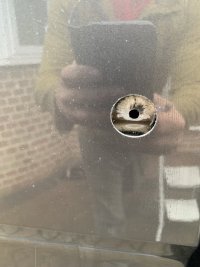
10) Pilot drill at 2mm, them hole saw to 25mm BUT only through the outer skin!
11) Open through hole to 8.5mm & deburr all.
12) Rust treat bare metal.
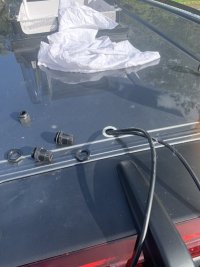
13) Sika EBT+ hole & insert nylon washer.
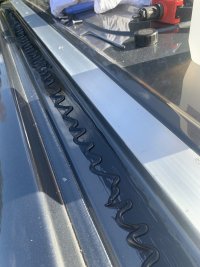
14) Sika mounting foot on mid beam.
15) Refit mid beam & the 8 bolts - don’t forget the mid beam is biased to the NS.
16) Place mounting plate & 6 bolts.
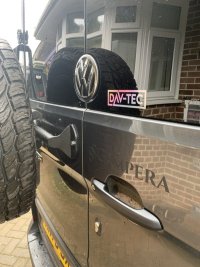
17) Copper slip 5x whee nut holes & hang wheel!
Like most people I agree this should really have a male bolt sticking out so you have something to locate the wheel on when mounting. But if you balance it on your knee & rest on the bumper, it’s not to bad.
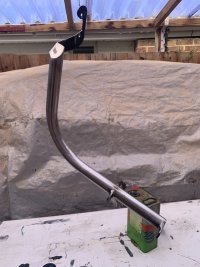
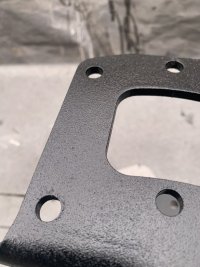
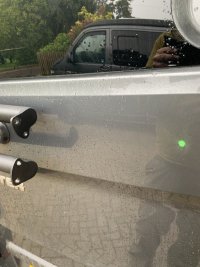






 .
.

