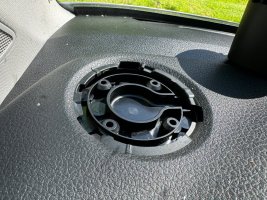
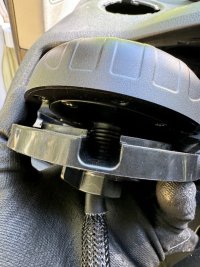
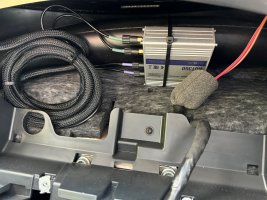
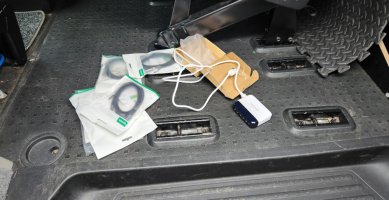
12v USB power supply for Cab area + WIFI feed.

.

getting back on track, we have this kit in stock now.
1718028291756.png

I've used BESTEK before and find there small 300W Pure Sine Inverter great,

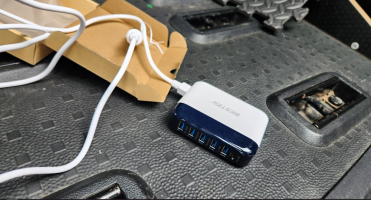
so had no problem ordering this mini 6way USB power supply.
1718028351472.png


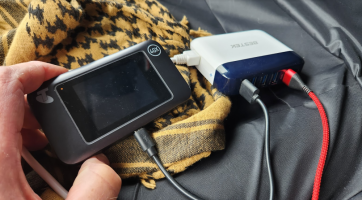
plugging it in for a quick test in the 12v dash socket, , , with the phone and tempory MIFI box,
1718028409557.png


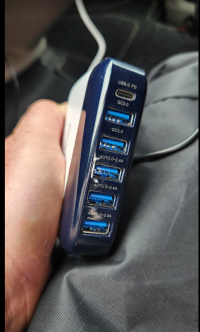
the ports show two charge speeds, ,

QC3.0 in the top two A ports, and AUTO 0-2.4A in the lower three A ports. ( the very top is USB-C PD)
1718028511933.png

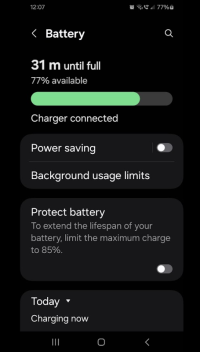
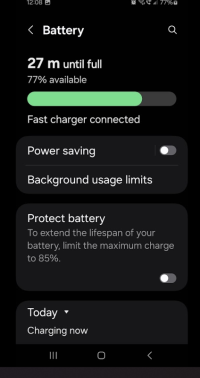
testing with the phone, we see "charger connected" in the standard ports,
1718028554524.png


and "FAST charger connected" to the QC3 ports, - so well be using these for the main two phone charge leads, as they will charge faster.
1718028611144.png


+++


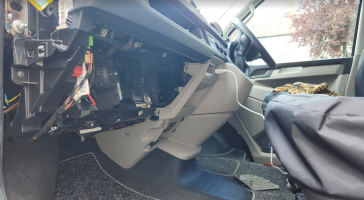
1st step was to remove the Glovebox, DC fusebox cover and end cap,
1718028670722.png

and the lower cover. . .

1718028721011.png


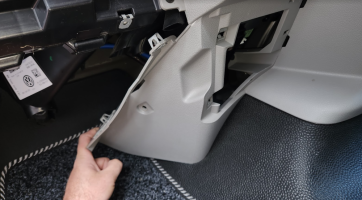
we are looking to locate the USB charger unit behind this trim as there is loads of space. . . . it will be tucked away behind and to the side of the SC fusebox.
1718028775040.png


loads of space back there, though it doesnt look like it from this pic. . . .
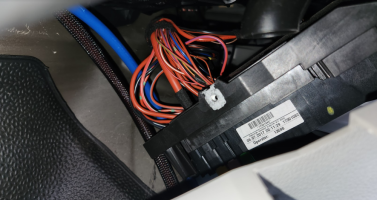
1718028841730.png


i removed the vent and radio trim next. . .
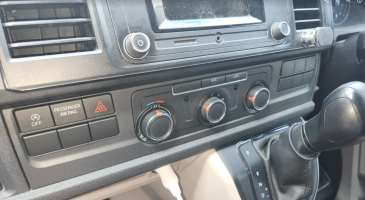
1718028875717.png


i find it easiest to pop out these blanks with a trim tool, then gently pull out to pop the clips.
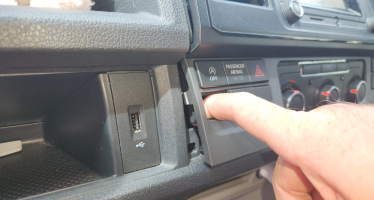
1718028932021.png

then work your way around with the tool . . . .
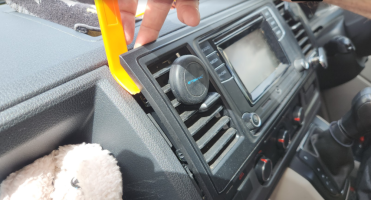
1718028961917.png


eventually you end up with this, which gets you loads of access around the dash. . .
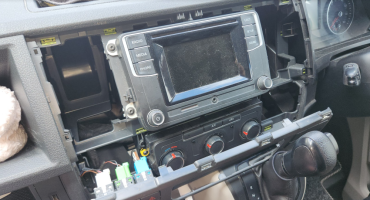
1718029002656.png

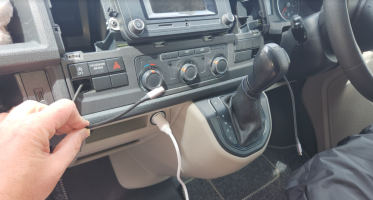
i fished up a 1M USB-A to C lead to the LEFT and a 2M USB-A to C lead to the RIGHT

(ill be cutting holes in the blanks and replacing them after.)

1718029120937.png


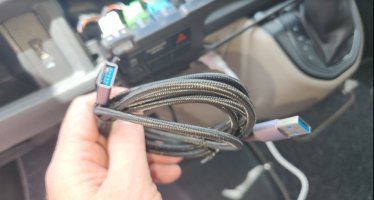
i used a 2M USB-C 3.0 extension lead to the glovebox area. . . .
1718029204328.png

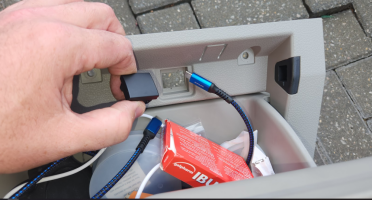
which will come through this black cap here . . . . i think its for USB port or the OEM torch location? cant remember ATM, but it very handy to get a USB lead into the glovebox)
1718029232142.png


and ill fit a 3M USB-C 3.0 extension cable for the WIFI up to the A-pillar,

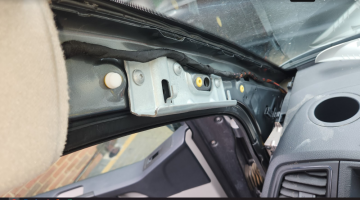
but i then realised that the van had the A-pillar grab handles. . . so ill carry on up too the centre roof line by the mirror.

my original idea was to the the WIFI stick plugged in behind the A-pillar plastics as they pop off super easy. . .

but that's now not an option as the grad handles are bolted in.

so plan B is to just plug it in, in the glovebox link cable (worked fine in the VAN for years)

or

Plan C is to plug it in, centre top windscreen, which will give it better reception and range. . .


so well take the leads from the footwell,

up being the glovebox to the corner of the windscreen, up the A-pillar. .
1718029511370.png

and tucked in over to the centre, with the slack pushed into the roof void.

1718029544118.png

...


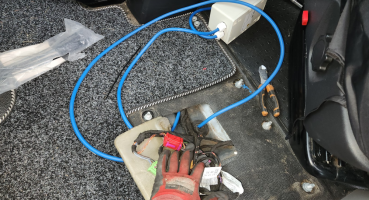
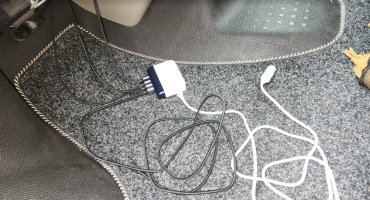
the result is this. . . . . all the leads plugged in at the footwell area.
1718029591855.png

Pic limit . . . .

TBC:


.
 
Last edited:
continued:

we see the red is the centre pin POS, and the screen is the NEG.

unfused as most of the higher power units are, they rely on the OEM 12v socket fuse for protection.


1718030499004.png


looking the the SC fusebox there are some spare slots, ill be using on woth the ATC fuse tap.

1718030584325.png


i crimped on a ring terminal for the NEG and the ATC fuse tap for the POS. ( remember to test the fuse tap, remove the fuse and make sure the feed goes dead as they can be inserted either way round.)

1718030619072.png

i used an OEM screw for the NEG.

1718030680992.png


powering the unit with no loads we see 0.03A standby power. 30mA. im happy with that.

but will probably trigger the starter battery "quiescent current drain too high" code from the van on a scanner. - but this isnt a problem as i have the AMT12-2 trickle charger from the LB.

1718030843748.png

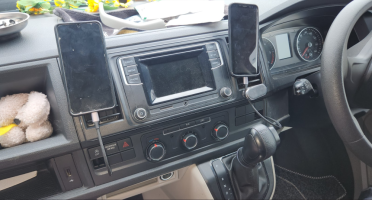
this is the idea. . . . i have these airvent magnets that the phones stick too.

so these leads are in the right place to charge the phones. . . heres two old phones to test the charger.

1718030911631.png


plus a tablet connected to the glove box USB.

1718030958916.png


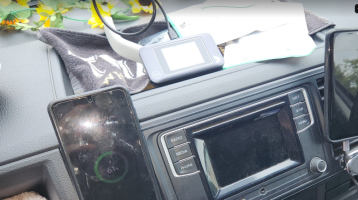
plus the MIFI box plugged into the top centre USB.

1718030999417.png


with all that running we show 12v 2.13A (25w) being pulled from the starter battery by the charger.

1718031087779.png

which is well within the 86w max of the charger. - so its going to run cool.

1718031120332.png


i left if running for half hour while i tried to get the thermal cam running. - but it was flat.

but after 30mins it was still cool to the touch.


the units lifter up and over, then into the gap behind the trim plastic. . . # ( thats the glovebox lead left out)

1718031615344.png


like this. . . .

1718031627973.png


with the glovebox back in we have this. . .


1718031675033.png


all the trim back together . . . . .

a quick check of the monitors shows the AMT12-2 doing its job keeping the starter topped up.

1718031754816.png


(plot from the VAN that's had the AMT12-2 fitted for ages)

now shows that the starter battery doesn't drop below 12.2v.

1718031825812.png


...
 
in the mean time. . .


we have some goodies arrive for the van.

its all a bit busy atm, so these wont be fitted till spring id imagine.


lets see what we got..

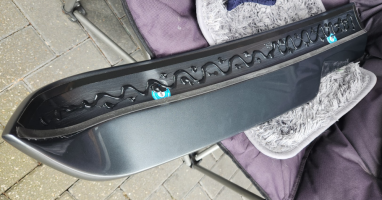
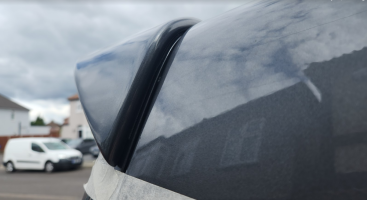
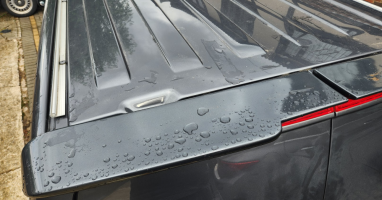
first up - painted barn door OEM copy rear spoiler.

from THQ:


pre-painted so i don't need to faf with them. . . .

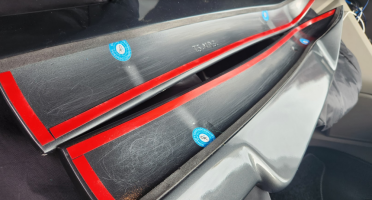
I'm not 100% sure what the foam bits are for, sure not to stick to the van . .. ?

so I'm assuming they are there to stop the bonding stick stuff from oooosing out? - if so, then that's clever.


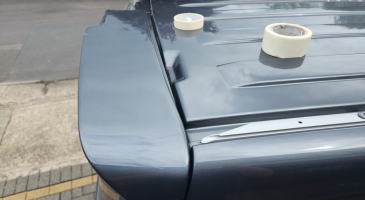
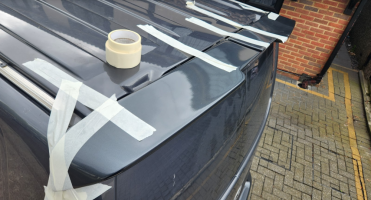
View attachment 220907View attachment 220909View attachment 220908


also, we went for the recommended sticky-stuff.


View attachment 220910


.


View attachment 220911


OEM copy rear spoiler Barn Doors - Pre Painted
Finally got a chance to fit these. . .

first up a quick clean of the top of the doors and the spoiler itself to remove any wax or grime.


1718106225478.png


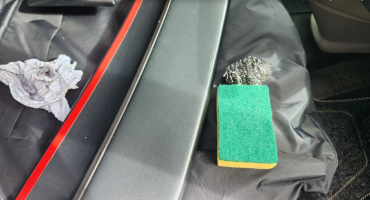
i used a green scourer and wire washup ball to key the surface of the painted spoiler.

1718106269282.png


that should help the adhesive bond better.

1718106295349.png


working out the dry fit,

i decided that this side edge was a good point to line up.

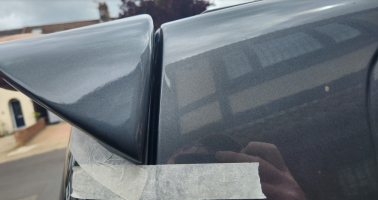
so i making taped the bottom corner so i had something to aim for.

1718106393021.png

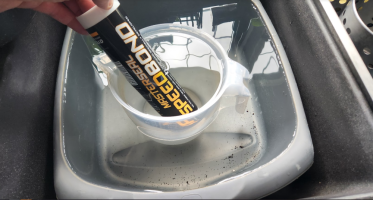
so pre-prep work id dropped the adhessive into a jug of warm water to make sure it was not cold.

1718106443294.png

and cutting the end for about a 7mm bead.

1718106470057.png

its difficult to work out how much to apply,

as you dont want too much so that it oozes out the sides. . . the foam taped edges should stop that hapefully.

and you need enough for it to bond well.

i rough guessed it with a zigzag and some spots.

1718106589268.png


then using the corver and the edge as a guide line i stuck it on,

the doudle sided sticky foam stips grabbed quick, so there was next to no adjustment possible, so it needs to be right first time, so you will be in a world of mess.

1718106698643.png

the profile shows a bit odd up top,

but the sides and the high level brake light light all line up perfect.

1718106751347.png1718106815602.png


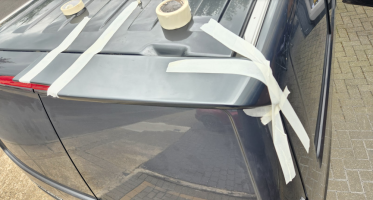
i used some masking tape to hold everything in place - not that it would move anyway.

1718106791828.png


then copy and paste for the other door. . .

1718106843055.png1718106865017.png

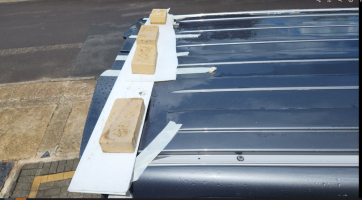
and decided to add some bricks to weigh it down for a few hours while the adhesive set.

1718106985613.png


ill add some final pics once all the tape and stuff it off.


..
 
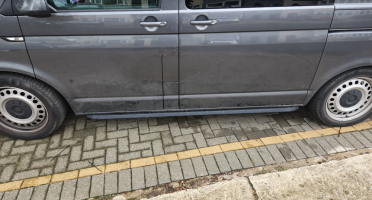
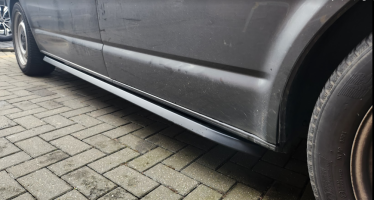
THQ Matt Black SWB trapezoid Side Bars. . .

carrying on from here, i had the chance to fianly get the job done.

+++


+++


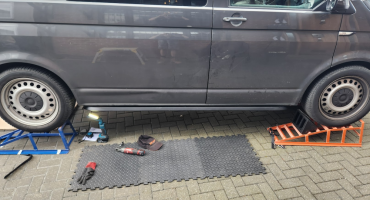
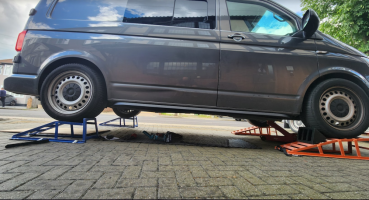
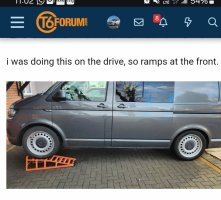
first of all its get the van up on the ramps as i had a nightmare last time.

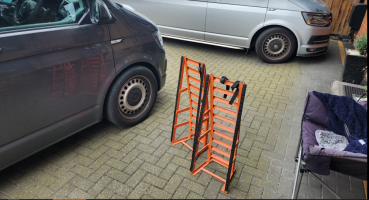
I've moded the ramps to add some trainers on them - to stop any slip.

1718218307880.png

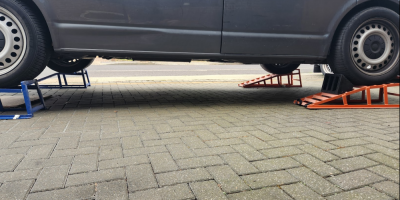
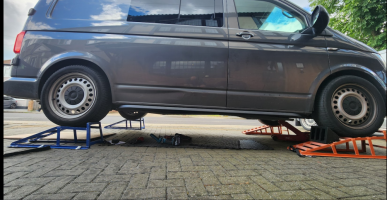
so double ramps this time. . .

1718218349632.png

which gets us a nice bit of clearance. . . and using the jack or axel stands for safety.

1718218383930.png

back to these brackets. . . .

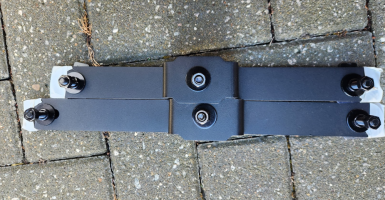
Long bracket - rear of van
short bracket - front of van.


but then, each bracket has a long bit and short bit.

I've now sussed out that the SHORT bits are to the front of the van.

oh, also - as we know the actual bars are handed - so the longest bit of "bar from the bracket" goes to the front of the van.

now knowing all of this, things go on much quicker.


1718218594761.png


+++++

TBC

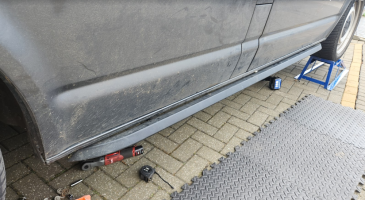
pop out the bungs. . .

1718295846616.png


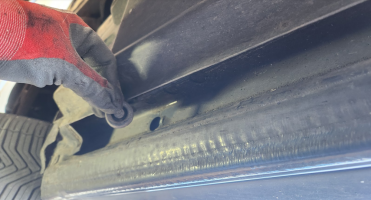
then lining up the brackets, the bits pop in at an angle, remembering the plastic paint protector.

1718295952189.png


the just bolt an bar - loosely.

1718295982912.png


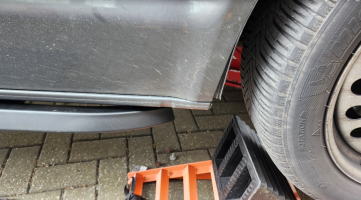
i used a measure tape to get the bar ends equal as i could, spaced from the wheel arch to the bar end,

rear :


1718296040309.png


and front:

1718296052195.png


nice. . . .

1718296066743.png


infact now the van was in the air, i decided to remove the passenger side bar and re mount it.

i had big arch-bar gap at the front and small gap at the rear.

so i had to drop both brackets and ensure that the short arms of the bars faced the front of the van.

was. . . . .

1718296176402.png


and a quick zip zip. . . .

1718296237840.png


we had the bars off - rotated - back on in no time, . . .

1718296275044.png


job done.


+
 
Last edited:
more bits inbound thanks to 12v Planet + Screwfix.

View attachment 241928

thinking of going with the external EHU IN under the bonnet by the battery . . .

View attachment 241929View attachment 241930


got some 2.5mm 20A Arctic blue cables for the runs. . .

View attachment 241931


a two way CU . . . . ( the red lamp show incoming reverse polarity L/N apparently)

View attachment 241932

which comes with some paperwork, , ,


View attachment 241933


...


and for outgoing EHU I've gone for this one. . .

View attachment 241934


...


my thoughts are:

EHU IN under bonnet by battery.

CU passenger seat base. - as no room next to battery.

240v outlet on a 4way fly lead for now - but to be replaced with a twin socket on a seat base back panel.

the idea being no inverter for now, just the EF deltas - so the EHU can charge that

+++++++

BUT, i also want EHU OUT,

that will be run from the EF Delta2 240v output . . .

its a floating inverter, so doesn't need the chassis earth bond.

and i would use EHU extension reals that have built in RCD protection.

so no need to worry about fancy transfer switches..


I'm thinking of just an extension lead style. . . a plug in the van - plugged into the Delta2, which runs external from the van, to the EHU OUT socket.

WHY?

well when camping for a couple of nights or longer we normally have the twin compressor fridges, tea & coffee machine in the side awning.

and normally have to have extensions leads trailing out the passenger window, or slammed shunt in doors. . . which is not ideal.


the plan being when we OFF GRID, the Delta provides the 240v, then we just use the EHU lead run from the external point inro the awning for the above kit.


simples right?


+++++++


as for location, i first thought up front - next to the EHU IN.?

but now im thinking of at the rear under the the rear bumper passenger side? - cable run could then be out the floor grommet under the seat, then allong the underside of the van to the back bumper location.

that will make it easier to connect to and run into the side awning via its cable entry point.


+++


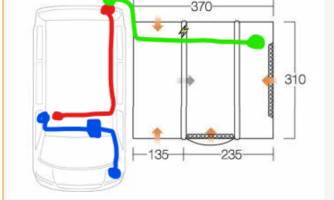
this kind of thing. . .

BLUE is the EHU IN , via the CU to a double socket.

RED is the EHU OUT , from the delta2 (or plugged in to a EHU in socket for EHU loop-through)

GREEN is the external EHU RCD real out to the awning for off grid EHU from the delta2.


View attachment 241937


+++


separately we will be having the SB230ah + DC-DC charger under the drivers seat - that will trickle charge the Delta2. + 12v stuff.

and decided to defo get a derv heater fitted ( OEM location under van with OEM B-Pillar ducting as both seat bases will be full)

we also have a new AMT12-2 to be used as a start battery trickle charger from the SB230,

solar will be mobile for now as needed and connected via SB50`s


+++


EHU OUT from VANs 240v to REAR socket.


1718296421935.png


Time for the RED link,

as the van was up and some of the trim removed, i carried on.

1718296489188.png

getting the remainder of the Blue 3core mains cable.


i removed the trim from under the passenger side, down to the rear by the spare wheel carrier.

1718296554697.png1718296575855.png


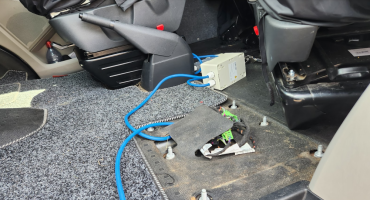
we took the seat and base out, to get to the OEM hole and grommet,

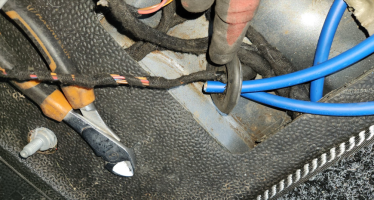
adding a new hole in the rubber bung i pushed the blue cable down,

1718296647536.png1718296689687.png

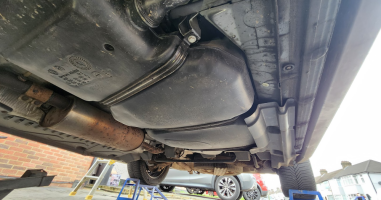
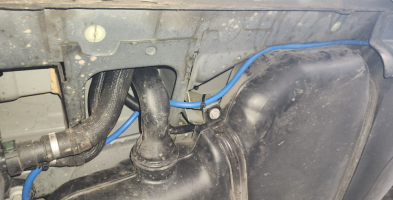
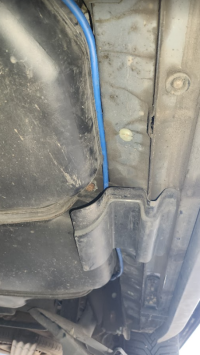
which come out above the adblue tank.

1718296718078.png


feeding the cable tying the cable along the tank towards the rear.

1718296768311.png1718296819652.png


being carful to stay away from any moving parts or suspension parts. . .

all the way back to the spare wheel tray. . . .

then pushed it up and over the tray, untill it come out behind the rear bumper area.

i left it there for now. . . . the rear external EHU OUT will be fitted later.

then all the trims were replaced. . .


leaving the other end up under the passenger seat next to the CU,

1718296976745.png


next steps will be:

wire on the ext EHU out socket,

find a way to mount it securely,

wire a 3 pin plug to other end under the seat.


TBC . . .


.
 
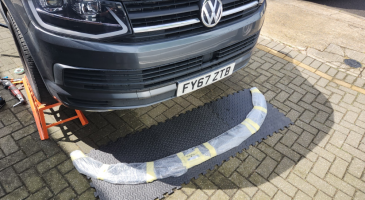
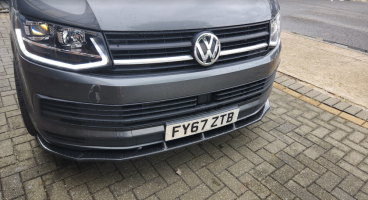
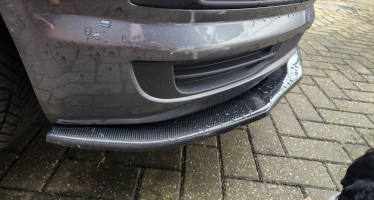
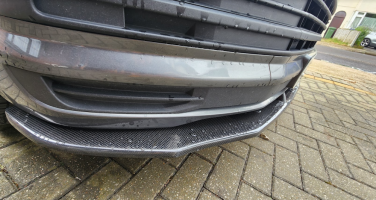
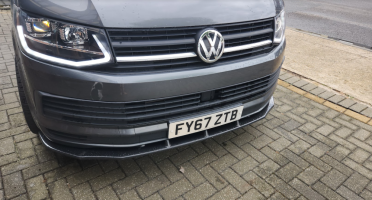
WORLD OF CARBON - Front Lower Splitter.

i already had one of these on the VAN, and loved it,


1718297232821.png

..

so thought id get one for the van, . . .

well actually i damaged the one on the van doing up the ramps to quick - so bought a replacement, but never got round to fitting it.

so ill fit it on the BUS instead.


again - having the van up in the air makes this job easy . . .

1718297346446.png1718297357325.png


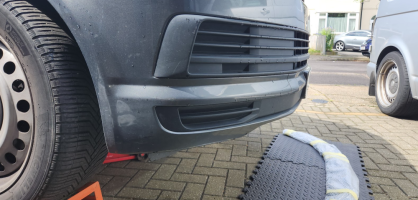
this is what it looks like before - just the standard front bumper.

1718297389278.png

1718297405510.png


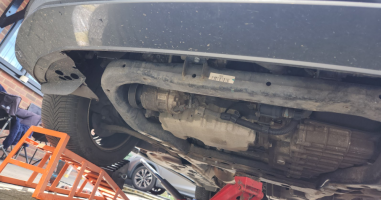
out the packet it had 9x pre drilled holes. . . .

1718297440007.png


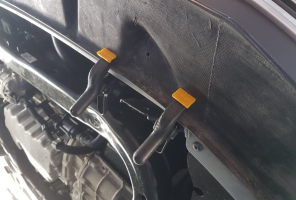
i used plastic spring clamps to hold it in place, while i lined everything up.

1718297492348.png


lined up it looks like this. . .

1718297580709.png


and same as last time i added extra 6mm penny washers. . . on both sides of the splitter/bumper.


1718297522244.png1718297596873.png


i done 7x of the fixings, but skipped the third one round on both sides, as there was some plastic bracket behind. . . but 7x were more than enough.

1718297667602.png

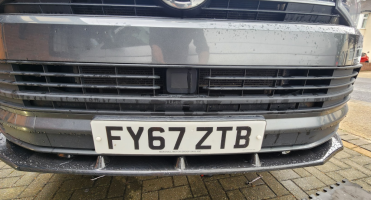
and that it - job done. . .

1718297708690.png


much better. . . .

1718297725801.png


not much else to show really, but take a look at the other thread on the VAN.


.
 
I was briefly worried about abrasion to that cable but I'm assuming you're taking the feed downstream of the RCD/MCB in the CU shouldn't the worst happen.

I do wonder if it would benefit from some copex/tessa tape. Artic is usually quite thick but it's not super abrasion proof.
 
A weekend of Bling !


no quite bling, but some styling mods.. . . and a now and then look.

we went from this. . . . . . . .

1718297881177.png

1718298176810.png1718298188117.png

to this . . . . . .


1718297977329.png1718297987994.png1718298003343.png1718298024027.png1718298034986.png

1718298075263.png


+++

a slimline pop-top with a Black canvas will ne the next visible external mod. (when funds allow)


internals will be: Rib Bed + kitchen units (when funds allow)

and off course a diesel heater. - hopefully before it starts to get cold again.


.
 
I was briefly worried about abrasion to that cable but I'm assuming you're taking the feed downstream of the RCD/MCB in the CU shouldn't the worst happen.

I do wonder if it would benefit from some copex/tessa tape. Artic is usually quite thick but it's not super abrasion proof.
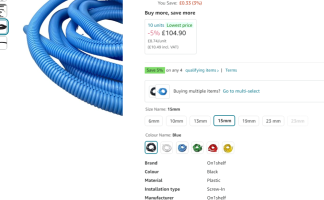
i was thinking of some Split copex,?

maybe 15mm/Split. . . ?

i only had 20mm regular copex which was a bit too big, . . . but i can retrofit some split copex at any time.


ill get some in and add it on next time im under there. . . . . .

+++++++++++++++


+++++++++++++++


1718298772296.png


+++


they even got fancy colours. . .


1718298872215.png

.
 
THQ Matt Black SWB trapezoid Side Bars. . .

carrying on from here, i had the chance to fianly get the job done.

+++


+++


first of all its get the van up on the ramps as i had a nightmare last time.

I've moded the ramps to add some trainers on them - to stop any slip.

View attachment 245788

so double ramps this time. . .

View attachment 245789

which gets us a nice bit of clearance. . . and using the jack or axel stands for safety.

View attachment 245790

back to these brackets. . . .

Long bracket - rear of van
short bracket - front of van.


but then, each bracket has a long bit and short bit.

I've now sussed out that the SHORT bits are to the front of the van.

oh, also - as we know the actual bars are handed - so the longest bit of "bar from the bracket" goes to the front of the van.

now knowing all of this, things go on much quicker.


View attachment 245791


+++++

TBC

pop out the bungs. . .

View attachment 245870


then lining up the brackets, the bits pop in at an angle, remembering the plastic paint protector.

View attachment 245872


the just bolt an bar - loosely.

View attachment 245873


i used a measure tape to get the bar ends equal as i could, spaced from the wheel arch to the bar end,

rear :


View attachment 245874


and front:

View attachment 245875


nice. . . .

View attachment 245876


infact now the van was in the air, i decided to remove the passenger side bar and re mount it.

i had big arch-bar gap at the front and small gap at the rear.

so i had to drop both brackets and ensure that the short arms of the bars faced the front of the van.

was. . . . .

View attachment 245877


and a quick zip zip. . . .

View attachment 245878


we had the bars off - rotated - back on in no time, . . .

View attachment 245879


job done.


+

Great write up Dell, and very timely. Your guidance on front vs rear brackets is particuarly helpful. I have the same job planned (I've had my THQ tapezoid bars in the garage since last black friday :rolleyes:). Do you think it will be possible to fit these without getting the van up on ramps? Not sure my front splitter would clear ramps. My plan was to just drop the outer edge of the under trays and do the job with the van on the ground.

And did you have to trim the undertrays to fit around the brackets? Thanks in advance mate.
It can be fiddly, but possible.. I'd say you would want 15inches of clearance.?

Might be best to gently lift the van front and rear on the one side with a jack? Or two?

Just to make access easier, these trays are a pain to push out the way.

I only unbolted the outside of the under tray.. but there are fixings further under.

In the end I unbolted most of the tray fixings so that it was easier to get the bars and brackets on.

Some people also cut the under trays to clear the brackets.... I just copied my other vans OEM fitting, where they just bent the plastic trays over the brackets.


....

This was how I don't the first side..... Just the front raised... Rear in the floor. (Vans about 45mm drop all round)


Screenshot_20240614_110237_Chrome.jpg

.
..
 
ill swap the SIM card from above to the Big Boy WIFI box . - Teltonika RUT951 150 Mbps, 4-Port Dual-SIM 4G LTE Router - Unlocked | eBay


we also went so this bad boy antenna . . - Poynting PUCK-5 Antenna | NetXL

I’ve run RUT360 and Puck 5 for quite some time now, it’s always on and used to transfer my CAN data to cloud. Has been rock solid and it’s time to tidy up the installation. Access will be difficult but I have high hopes I won’t have to do it any time soon.

Puck is perfect size to fit on dash by sacrificing a cup holder
IMG_4939.jpeg

The standard mounts allow sandwiching the dash in between of puck and the straight mount plate. Just had to drill 22mm hole to the mount plate to get the short hole mount through
IMG_4940.jpeg

As fitted looks like this. Might not work that well with the heated windshield.
IMG_4941.jpeg

Plenty of space for the router and extra loom behind instrument cluster. Antenna loom is long enough to fit the router nearly anywhere in the dash area but the accessible locations out of sight are scarce.
IMG_4938.jpeg
 
Last edited:
I've rigged up the Puck5 and the mag mount base and router for some quick testing.....

All looks good.

The USB router is running in the BUS ATM.... That gives a fairly good local WiFi coverage.

I'll be showing that and the Puck5 shortly.
 
I've rigged up the Puck5 and the mag mount base and router for some quick testing.....

All looks good.

The USB router is running in the BUS ATM.... That gives a fairly good local WiFi coverage.

I'll be showing that and the Puck5 shortly.

Oh btw if you are looking into making custom power cables for Teltonika routers the connector is Molex micro-fit, I used these cheap ones instead of paying premium: https://www.amazon.de/chenyang-Molex-Micro-Connector-4-Pin/dp/B00O5ZF49I
 
Yeah you can. I think. I'm currently trying to get my head around it all in the Victron manual...

I think in normal remote mode you turn off the engine shutdown detection so it's just activated via the remote aka ignition.

But you can have both (with slightly different wiring) so that when you turn off the ignition, the engine shutdown detection takes over, so if that's still a voltage above v-shutdown the charger will still be on.

I do love the customisation and options you get with Victron gear but it can give me a headache at times :rofl:

I jumped to Team Blue and replaced CTEK with Orion XS and SmartSolar MPPT 75|15 in this mess:

IMG_4954.jpeg

CTEK was still working but on it’s way out I think… the temperature compensation definitely had something wrong as it was these days keeping 15V way into spring months, can’t be good for the battery.

So now I’m trying to figure out my options regarding charging both batteries on EHU. For now I just connected engine run signal to H and that way engine shutdown detection does not work at all - apparently needs different wiring as you note above. I’m thinking just bridging L and H so feeding engine run signal to both - like it would be ign in Victron examples.

And yeah, options are nice but documentation could be better… I think a simple table with inputs (pin voltages, settings) and resulting charger mode would be easier to grasp!
 
I jumped to Team Blue and replaced CTEK with Orion XS and SmartSolar MPPT 75|15 in this mess:

View attachment 248381

CTEK was still working but on it’s way out I think… the temperature compensation definitely had something wrong as it was these days keeping 15V way into spring months, can’t be good for the battery.

So now I’m trying to figure out my options regarding charging both batteries on EHU. For now I just connected engine run signal to H and that way engine shutdown detection does not work at all - apparently needs different wiring as you note above. I’m thinking just bridging L and H so feeding engine run signal to both - like it would be ign in Victron examples.

And yeah, options are nice but documentation could be better… I think a simple table with inputs (pin voltages, settings) and resulting charger mode would be easier to grasp!
Yeah I've just gone with the ignition signal wire to H and turned off engine shutdown detection.

I don't think I'll need EHU ever again once I get my 305w solar panel on, and SB charging is taken care of by the Ablemail AMT12-2 so never need to worry about that either!
 
Yeah I've just gone with the ignition signal wire to H and turned off engine shutdown detection.

I don't think I'll need EHU ever again once I get my 305w solar panel on, and SB charging is taken care of by the Ablemail AMT12-2 so never need to worry about that either!

Sounds good!

Winter months are tricky for me and the van is my daily driver. No way solar would do the trick and I often keep the charger attached every night to make sure she starts at -20° or colder. My webasto engine/cab preheating runs off leisure battery so ideally I would like to also ensure leisure battery gets topped up on the same go by charging SB only, it’s not great to find out Webasto failed to start up due to undervoltage exactly when it’s most needed.

I will have to play with H/L + shutdown detection and see if I could get it work at least in some resemblance of how CTEK worked.
 
  • Like
Reactions: mmi
Back
Top