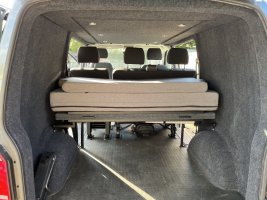
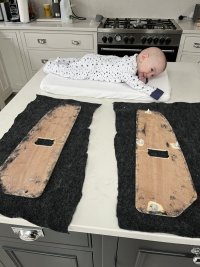
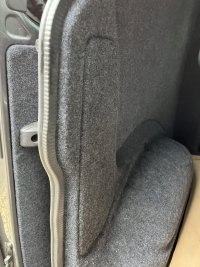
Well I finally managed to make a start on the winter changes. the plan is to go for a full camper conversion this winter. I found the lack of space in front of the kombi seats a little awkward so I've gone for a cali bed on rails. I'm torn between keeping the units at the back low so i can have a full width bad that just narrows for our feet or keep the cabinets high for more storage.
here are a few pics of this weekends work. I mostly followed the guide on the uberbus website but being a factory kombi most of the strengthening was in. I've put as much detail as I can below as I struggled to find much of use.
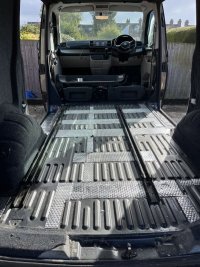
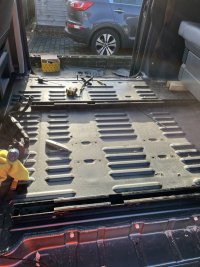
So that's the flooring stripped out and the Kombi Brackets Exposed, its worth noting on a factory Kombi only the outside seat mounts had strengthening plates and the rest were covered by strengthening plates under the floor.
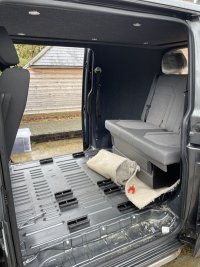
The next job as the strip the underneath of the van, if anyone if looking to do the rails you need to drop the tank and strip all the heat shields, and undertrays to be able to access the bolt positions.
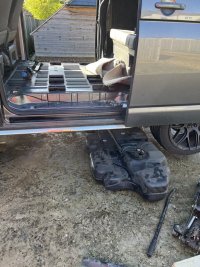
This was the rails dropped in place, they fit in two factory grooves on the floor and helpfully 3 bolts line up with the factory Kombi holes in the floor and use the same strengthening plates.

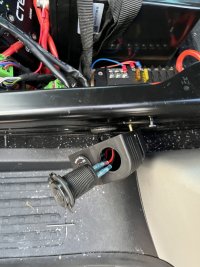
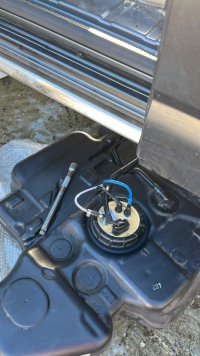
As the tank was out I also took the time to fit the stove pipe for the diesel heater, this was the only shot i got but my sender seemed different to those I had seen on line and didn't have any markings indicating where to drill.
This was the rails in place, you cans the the original holes in the floor across the van. to find the position of the third rail i drew a square line through the original holes to position it length ways and then spaced the rail 670mm from the closest rail before measuring for square. ill pop up some more exact measurements before I get the floor in.
Below the van i mostly used either cut double kombi seat brackets, the stock kombi seat brackets and the ones in the picture below. the drill holes fall through factory positios in the floor pan so that helps you know your on the right track. The passenger side one already had the hole drilled for the rivet, on the drivers side/ cenrte rail i had to trim this down as it was a little tall and drill for the rivet.

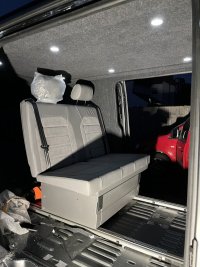
That was the seat in and tested, it all works well I will need need to trim it to get it to go all the way back, that's pretty well documented but it has a pretty good range as is. Its worth noting to fit the seat I removed the passenger seat and B pillar trim and un bolted the drivers seat and pushed it right forward. You also seem to need the rail cover's on to make it works, i think with a second person it would have been more straight forward as its a big lump to guide into place but it was manageable with a few choice words.
I still need to finish tidying up under the van and fit my diesel heater. I'll get some more photos of the bolt positions
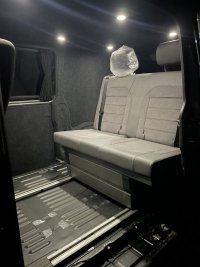
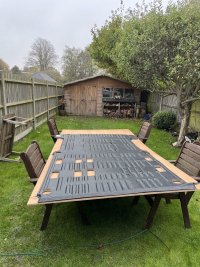
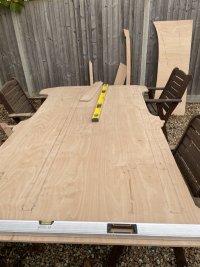
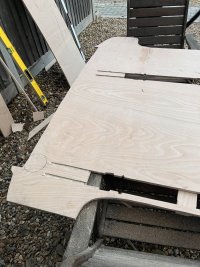
That's as far as i managed to get so far. i still need to make up a floor and replace the rail covers as these are a little tired. if anyone has the part numbers for those that would be awesome.

