Thought I’d post how I did each of my GND connections through a seat base mounting stud bolt.
I couldn’t use the factory GND studs under the seats because on the drivers side it had been removed to allow fitment of the diesel heater ductwork and on the passenger seat it was going to foul my Roamer 230SB battery install.
Unfortunately, I had already started before deciding on doing a detailed breakdown, so missing pictures from stages 1-3.
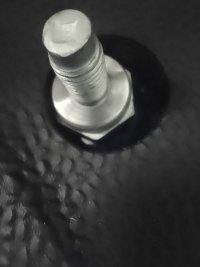
The seat studs have a protective coating which isn‘t very conductive, so they are not an ideal GNDing point unless you do something about it.
Forming a good conductive path is everything, so;
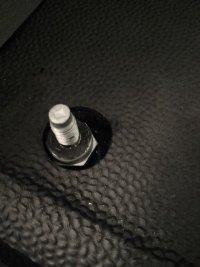
1) With the seat bases out, I removed one of the rear seat studs from both the passenger and drivers side; I chose the near side of each.
2) I removed the protective coating from the bottom thread of each stud and the top and bottom flat mounting faces.
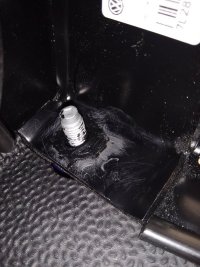
3) I carefully ensured there was no paint on the van floor where the stud mounting faces bolted down.
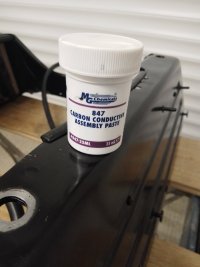
4) I then applied MG Chemicals 847 carbon conductive assembly paste sparingly to the bottom threads and slightly more liberally around the bottom flat mounting faces and the bare van floor, then reinserted the seat base mounting studs and tightened them fully. I used this assembly paste to protect the bare metal and to ensure a highly conductive interface.
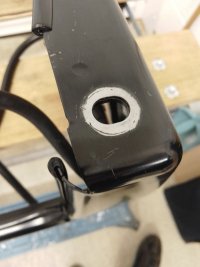
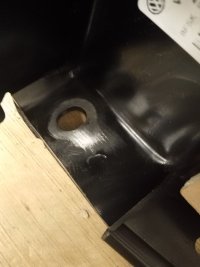
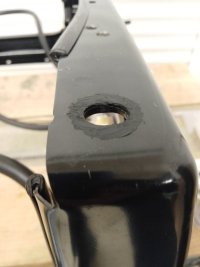
5) Then I removed the paint from the bottom of the seat bases where they would contact the seat base mounting face and the top of the seat bases where my GND connections were to be made.
6) Applied more 847 paste to the bottom bare metal GNDing point on the seat bases.
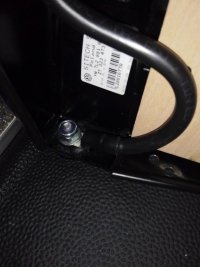
7) Then refitted each seat base, using 3 of the original seat base nuts, leaving each GND seat base stud unconnected.
8) Applied more 847 paste to the top bare metal GNDing point on the seat bases.
9) Attached my 35mm2 negative cables using 10mm copper tube terminals and secured each using a flat washer and locknut.
10) Finally I measured the resistance between each of the negative cables and the factory GND stud to ensure I had a really good GND.


